
It you’ve been a Curbly reader for a while, then you probably know that we love IKEA hacks. And if you’re new around here, then you’ll just have to take my word for it – we love IKEA hacks. Today we have a new one for you, and it’s super easy. Just grab a Kubbis coat rack and you’ll have a fun photo display in no time.
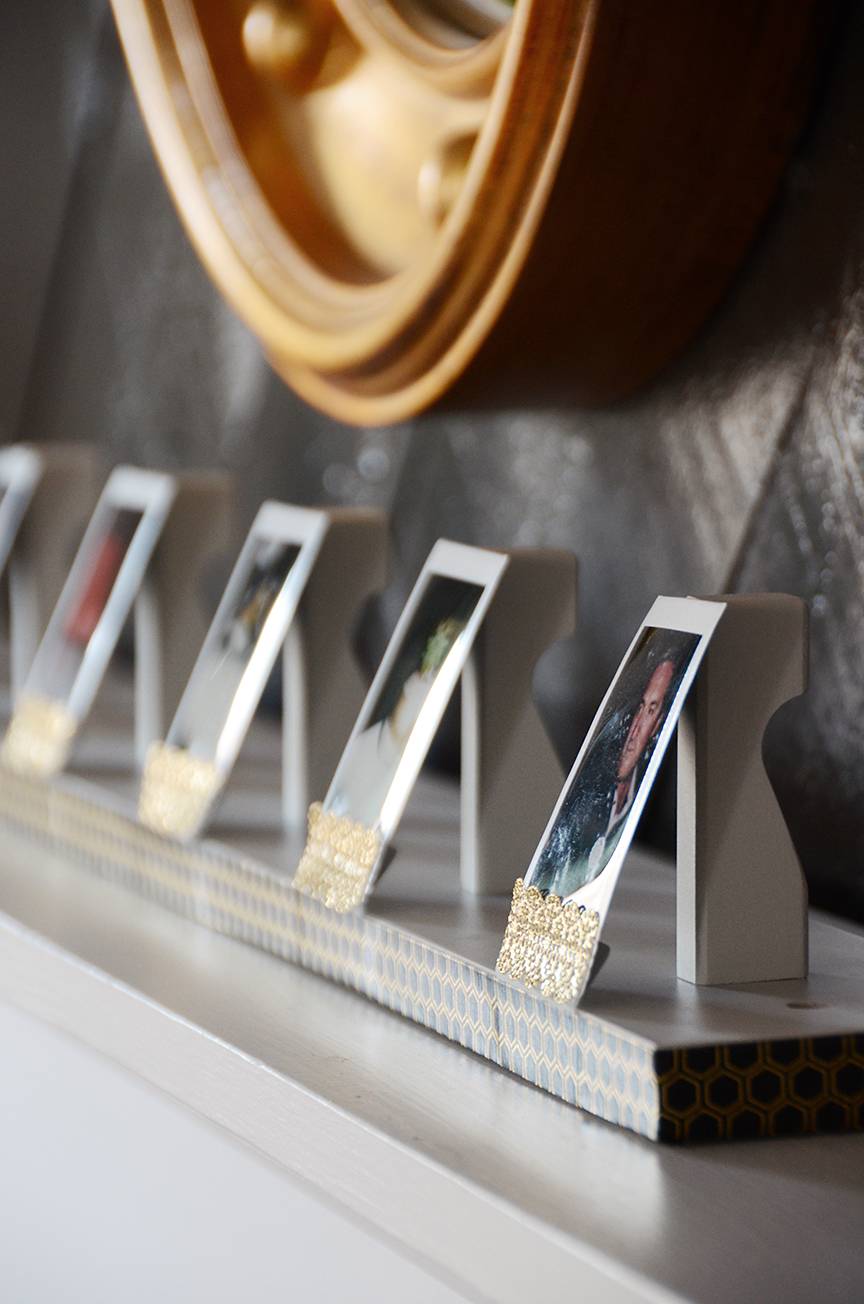
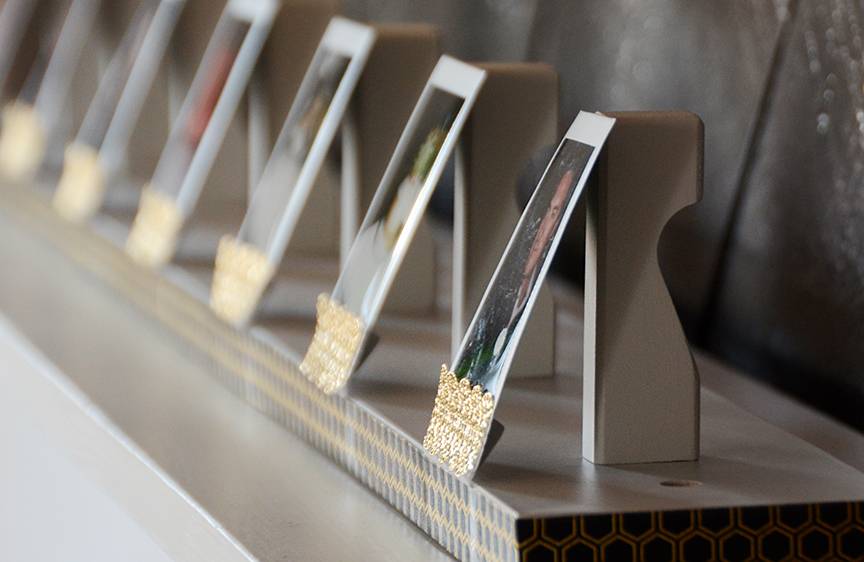
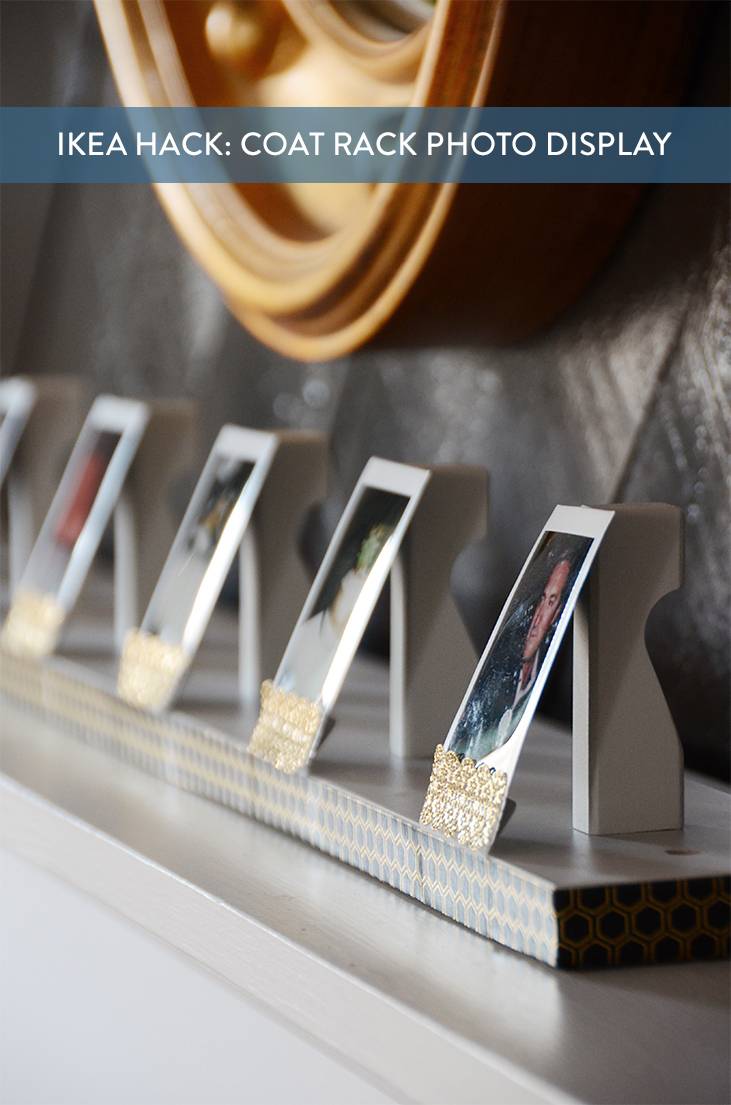
The Kubbis is tilted back instead of mounted on the wall… the photos lean up against the hooks, and are held in place by filing tabs – so easy!
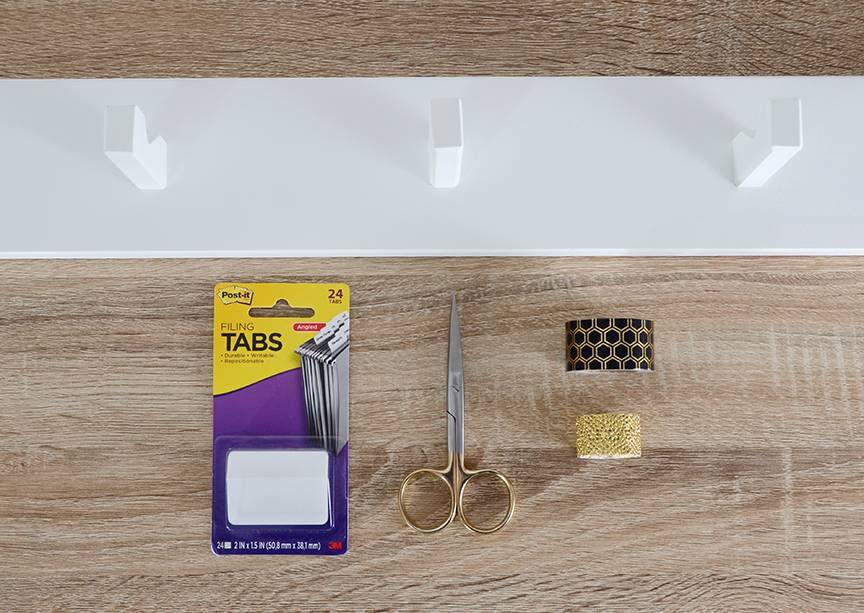
Here’s what you’ll need for this project:
- IKEA Kubbis Rack
- Adhesive Filing Tabs
- Washi Tape (Two Colors)
- Scissors
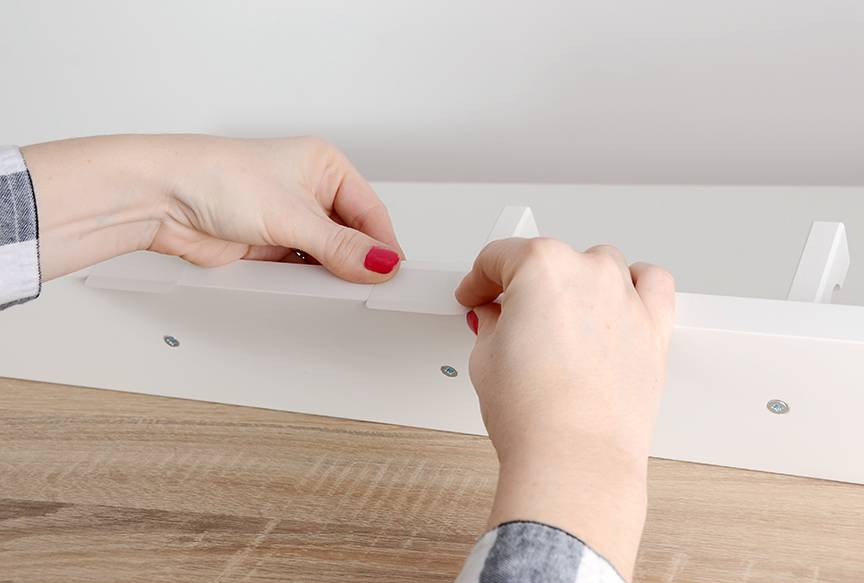
Begin by assembling the Kubbis rack. Next, take two adhesive filing tabs and attach them in front of one hook. It is important to use two, because you will slip the photo in between. Make sure they are centered, and place them so that the spot where they are bent lines up with the top edge of the Kubbis (visible in the photo below). Attach tabs in front of the remaining six hooks.
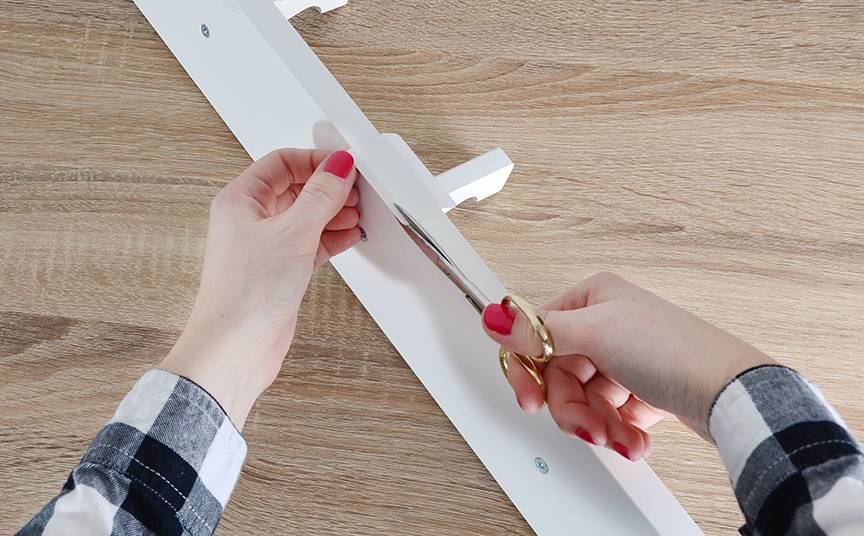
Trim the excess off the bottom of all seven tabs.
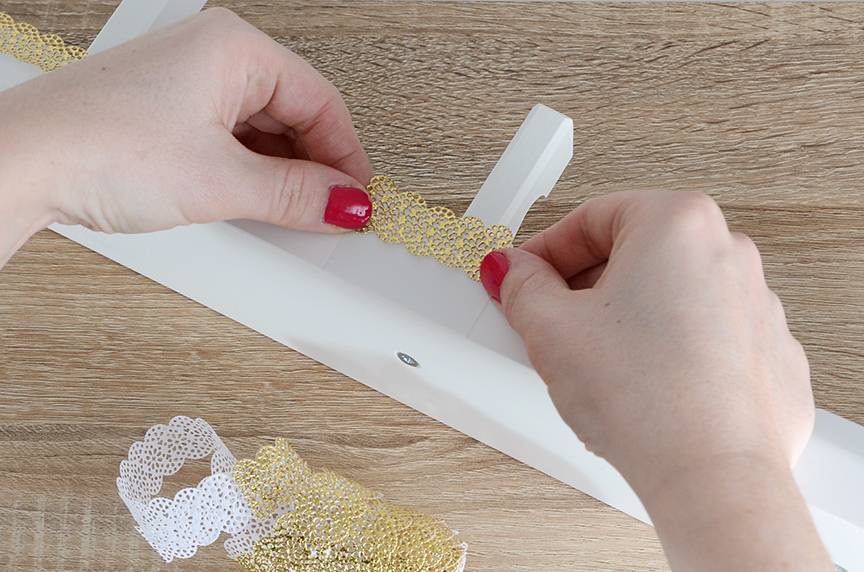
Next, cut pieces of washi tape that match the width of the tabs. Attach them to the front for a pretty decorative touch.
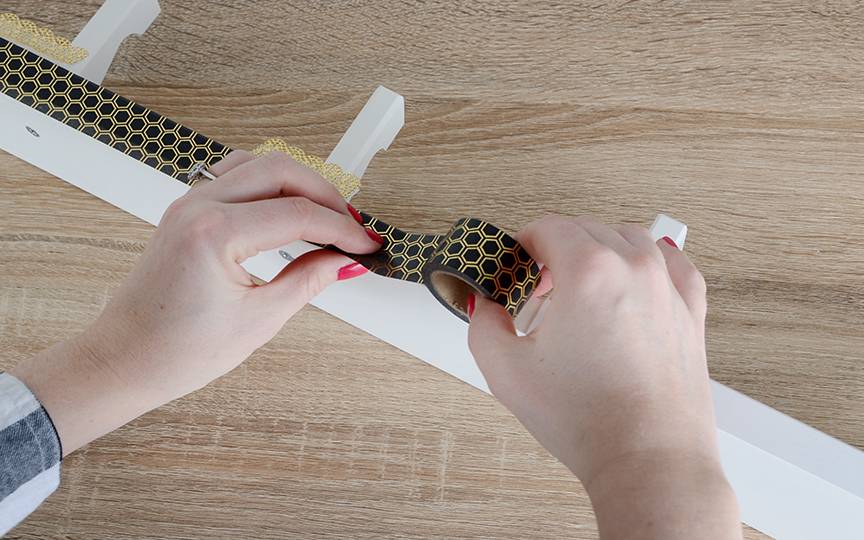
Use the other washi tape to line the edges of the rack. If it is too wide, simply fold the excess over onto the bottom of the rack – it will be hidden once you set it up in its final position.
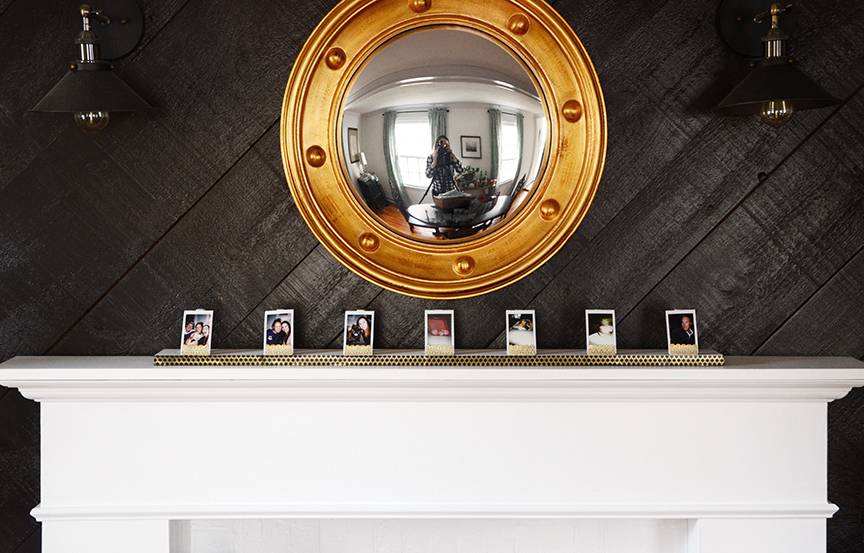
Now go slip your photos into the tabs, and you’re finished! I have lots of Polaroids, so I displayed those – but you could just as easily display traditional 4×6 snapshots.

You can use any color or type of washi tape, which makes it the sort of project that you can customize completely, matching it to your personality. I’m a huge fan of gold, so I went all out with the scalloped gold tape and honeycomb black and gold tape for the base.
In this digital world, it’s nice to have a way to display some actual photos… so go get them printed and get to it!
Very clever, Faith. Love this one!