
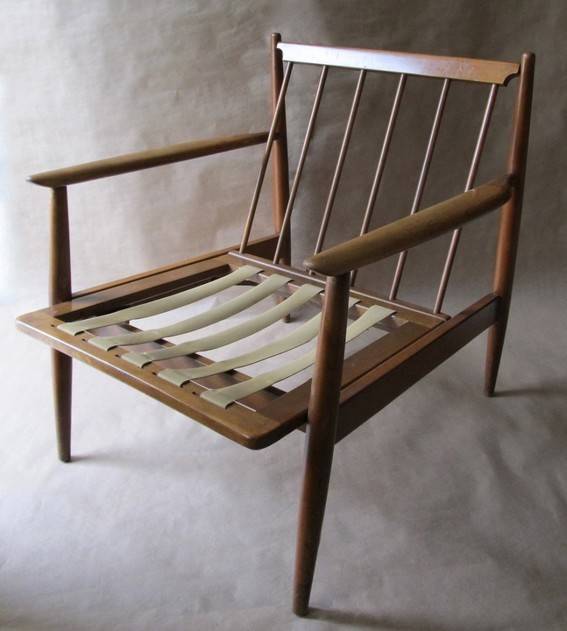
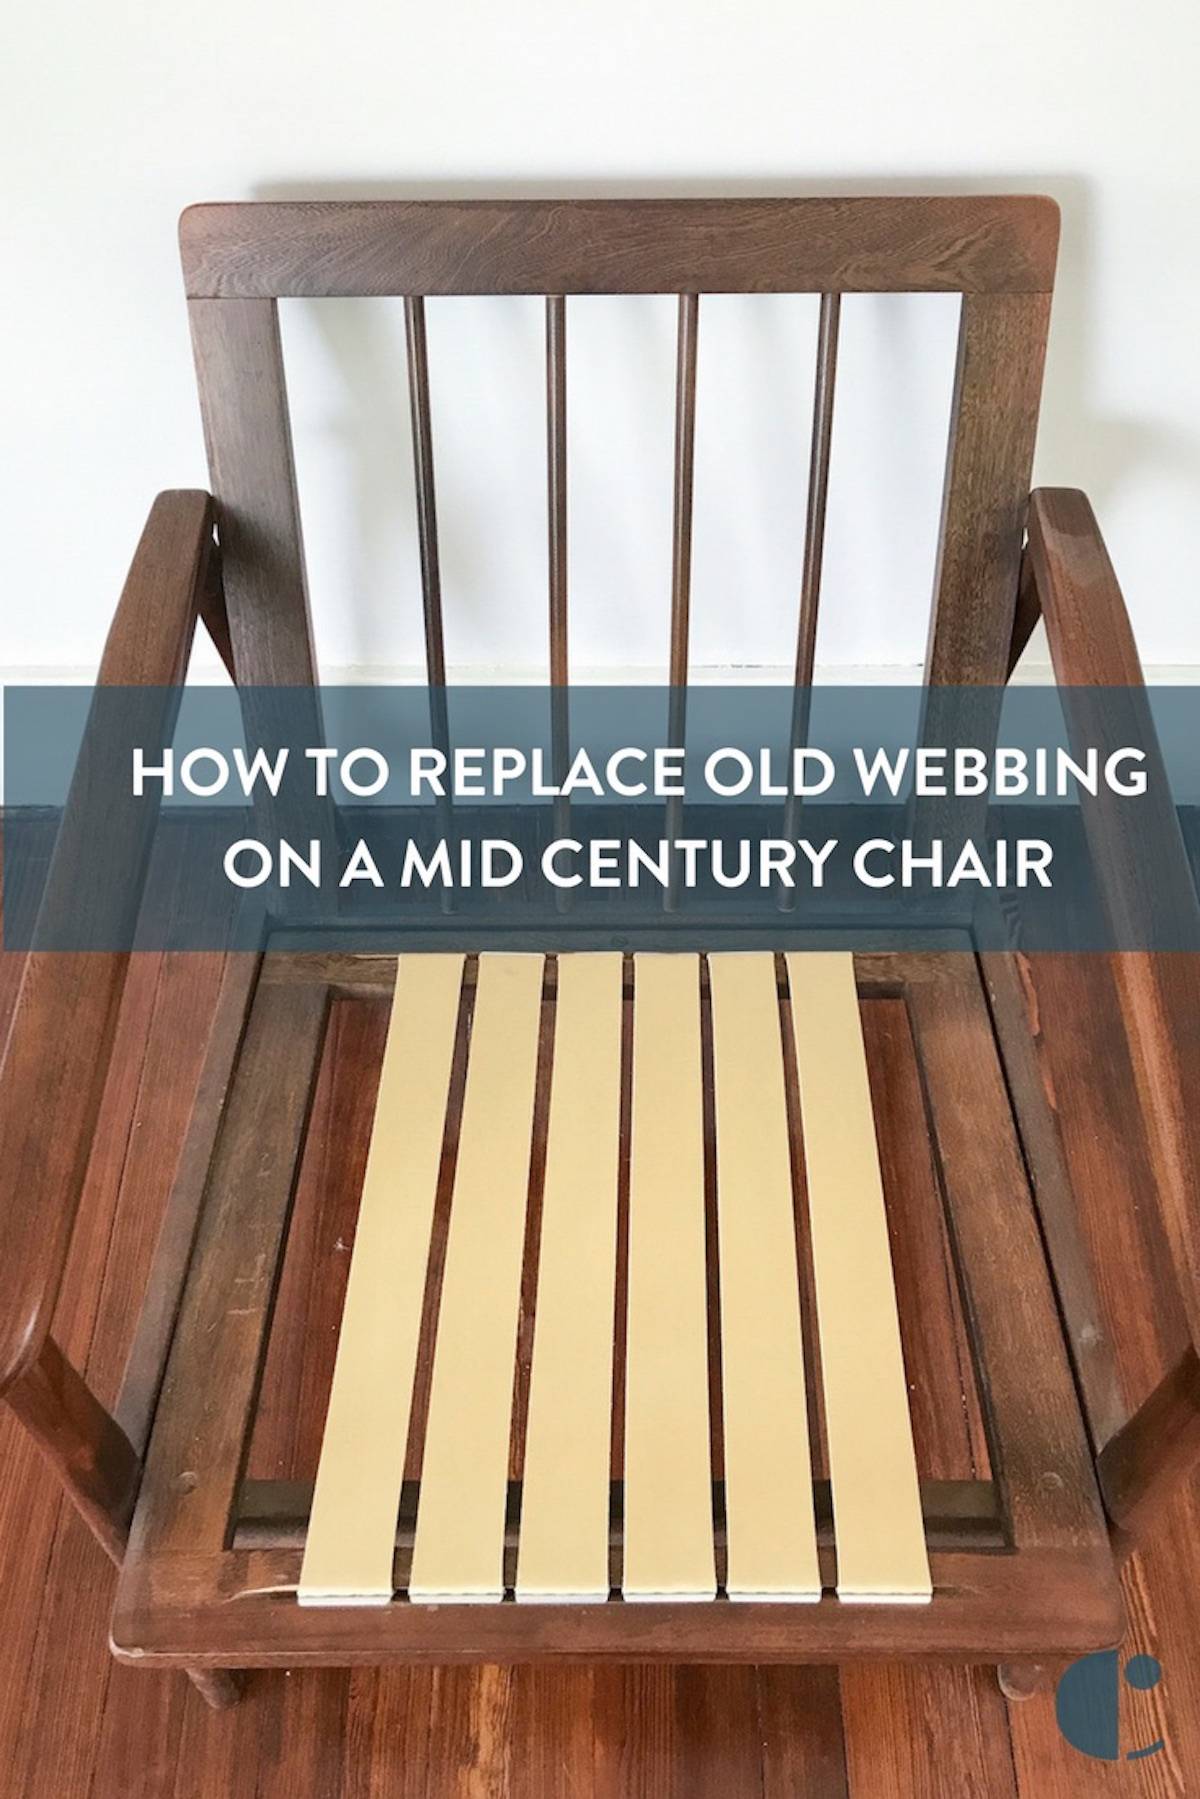
A vintage mid-century chair is always a great find. Unfortunately, the affordable ones are usually in bad condition, and they get passed up by many buyers because it’s intimidating to figure out where or how to fix them. Last winter I bought a mid-century chair at an estate sale for $15, with broken webbing, and worn-out cushions. But the structure of the chair was in excellent condition. If you find one like this, don’t pass it up! The webbing much easier to repair than you might suspect. Here’s how to do it …

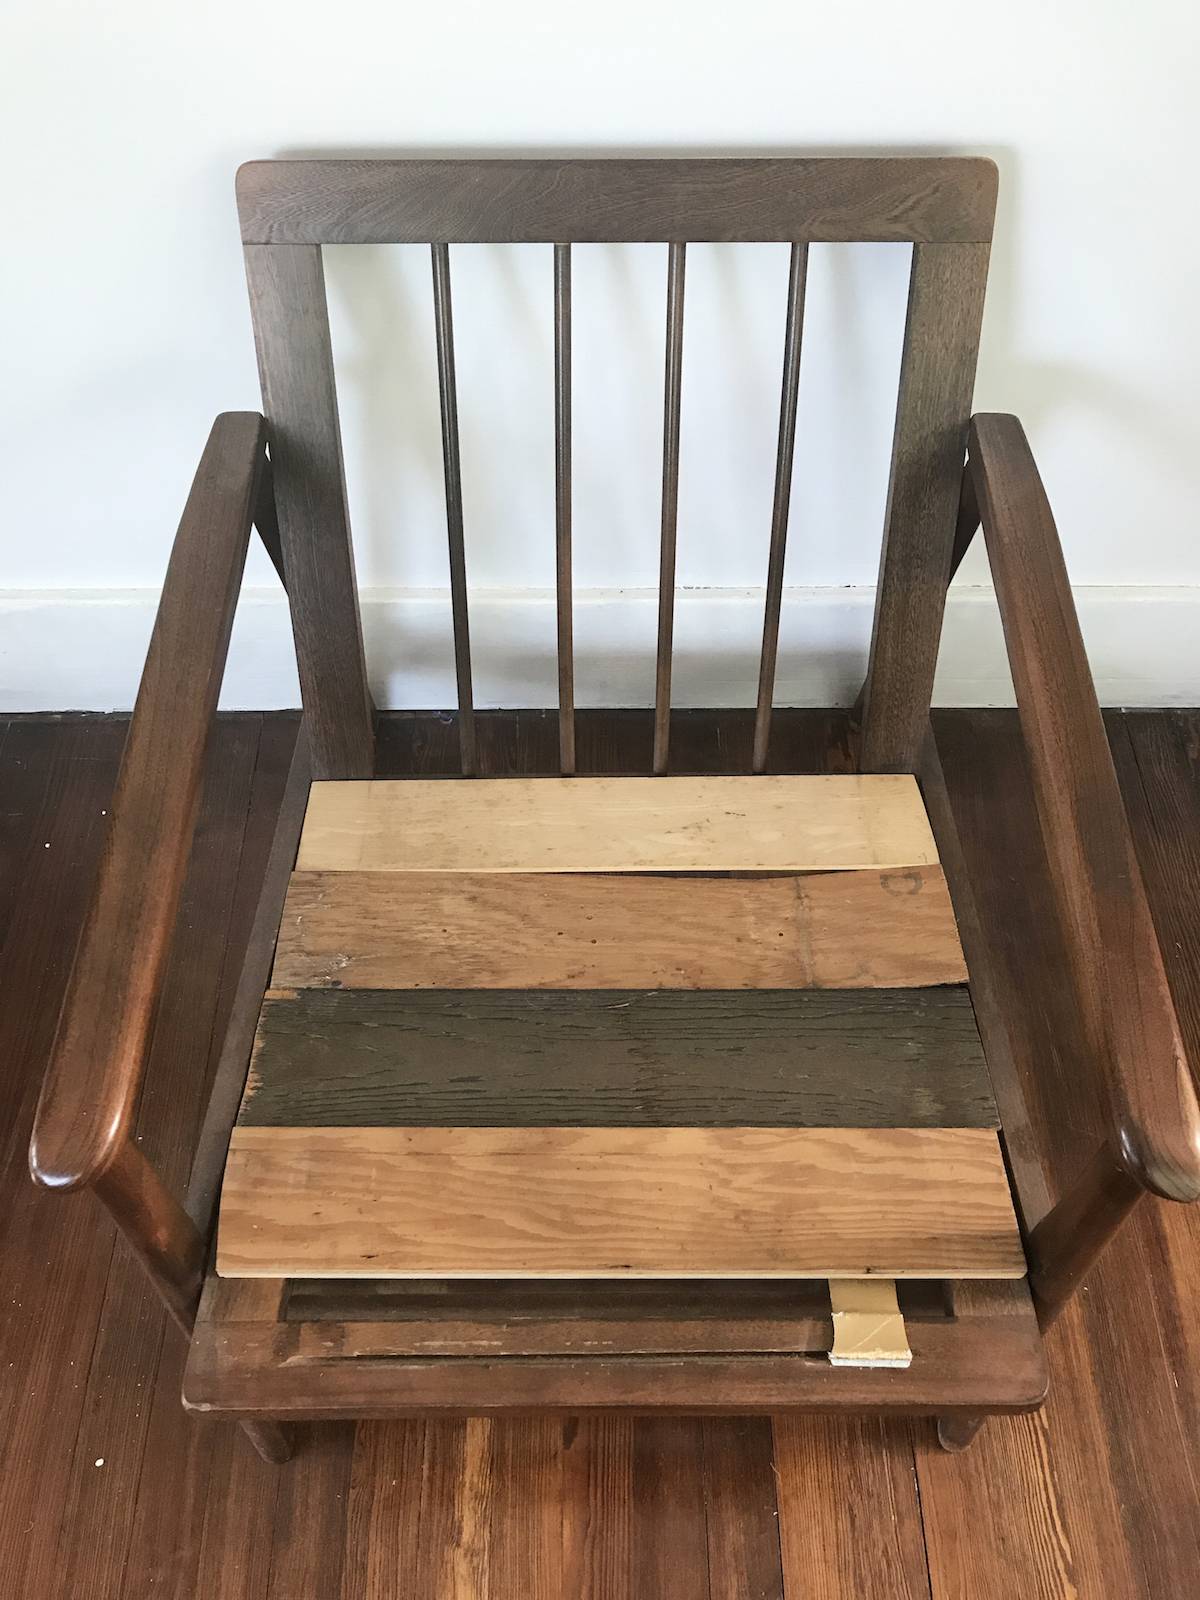
This chair was a little scary to sit in when I first bought it. I think the previous owner went out to the garage and used the thinnest scrap wood he or she had.
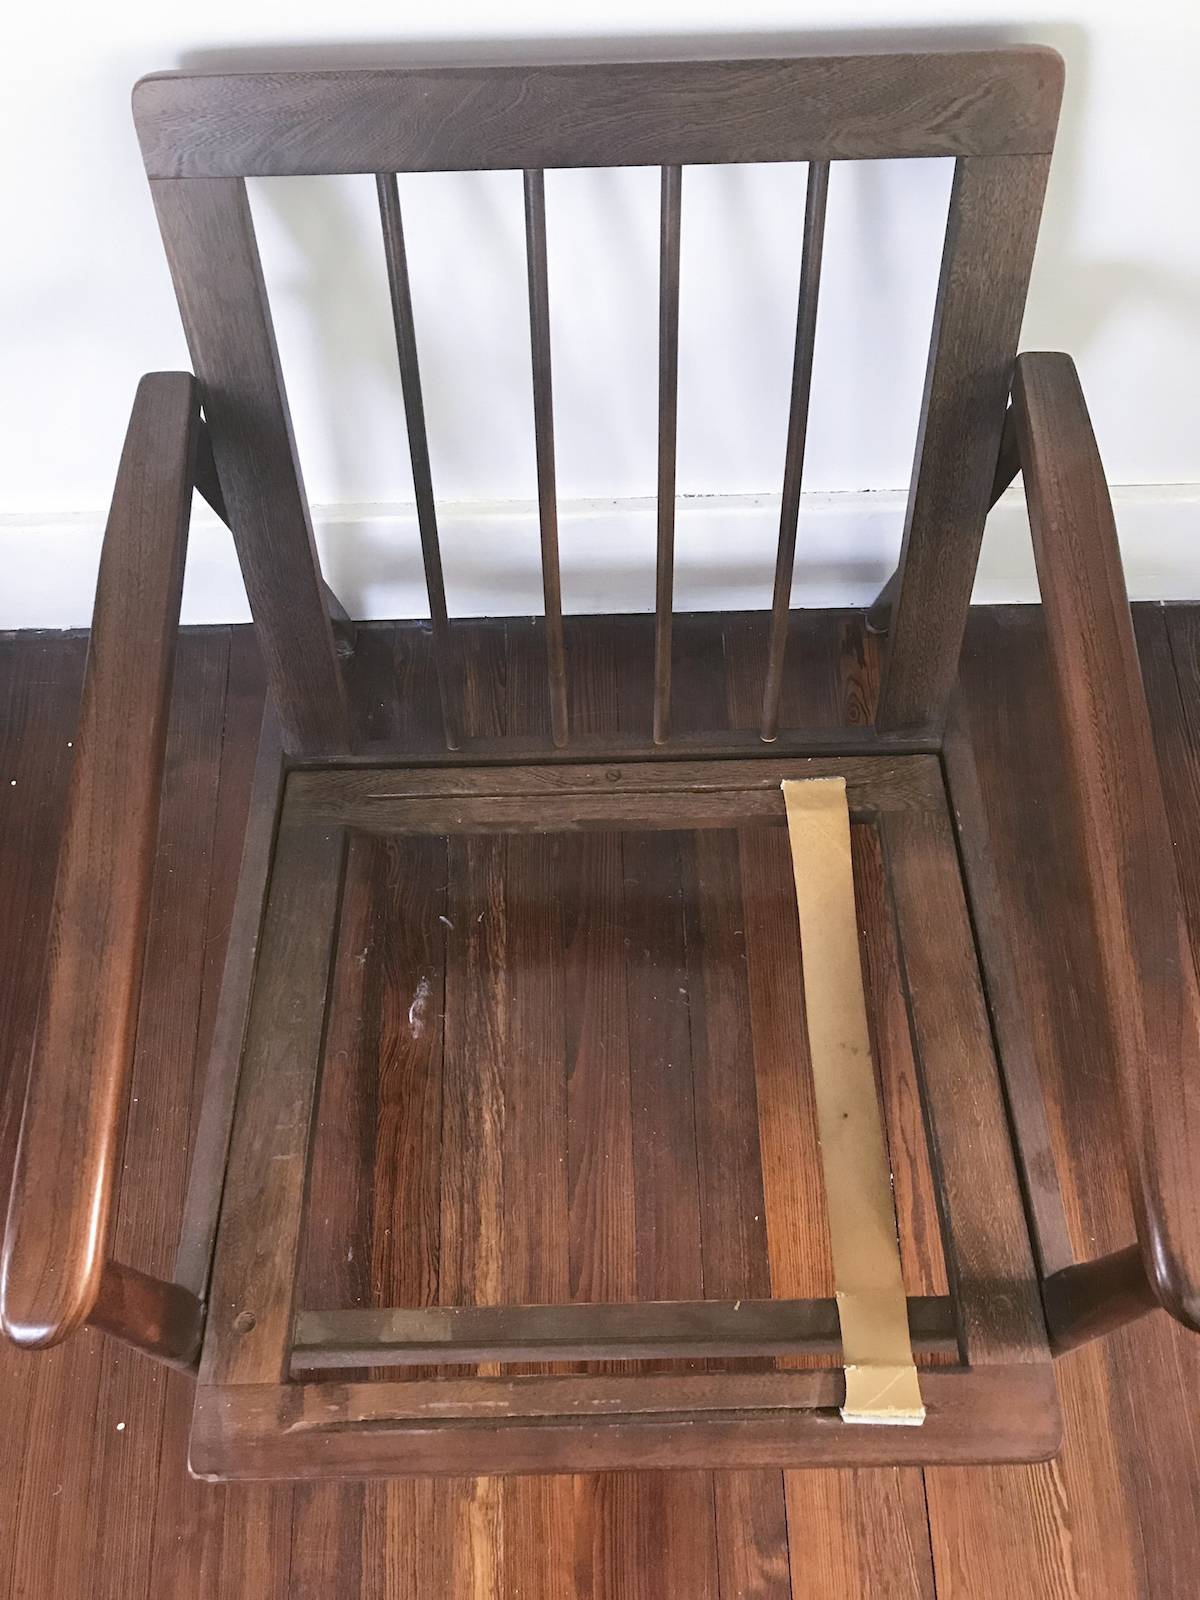
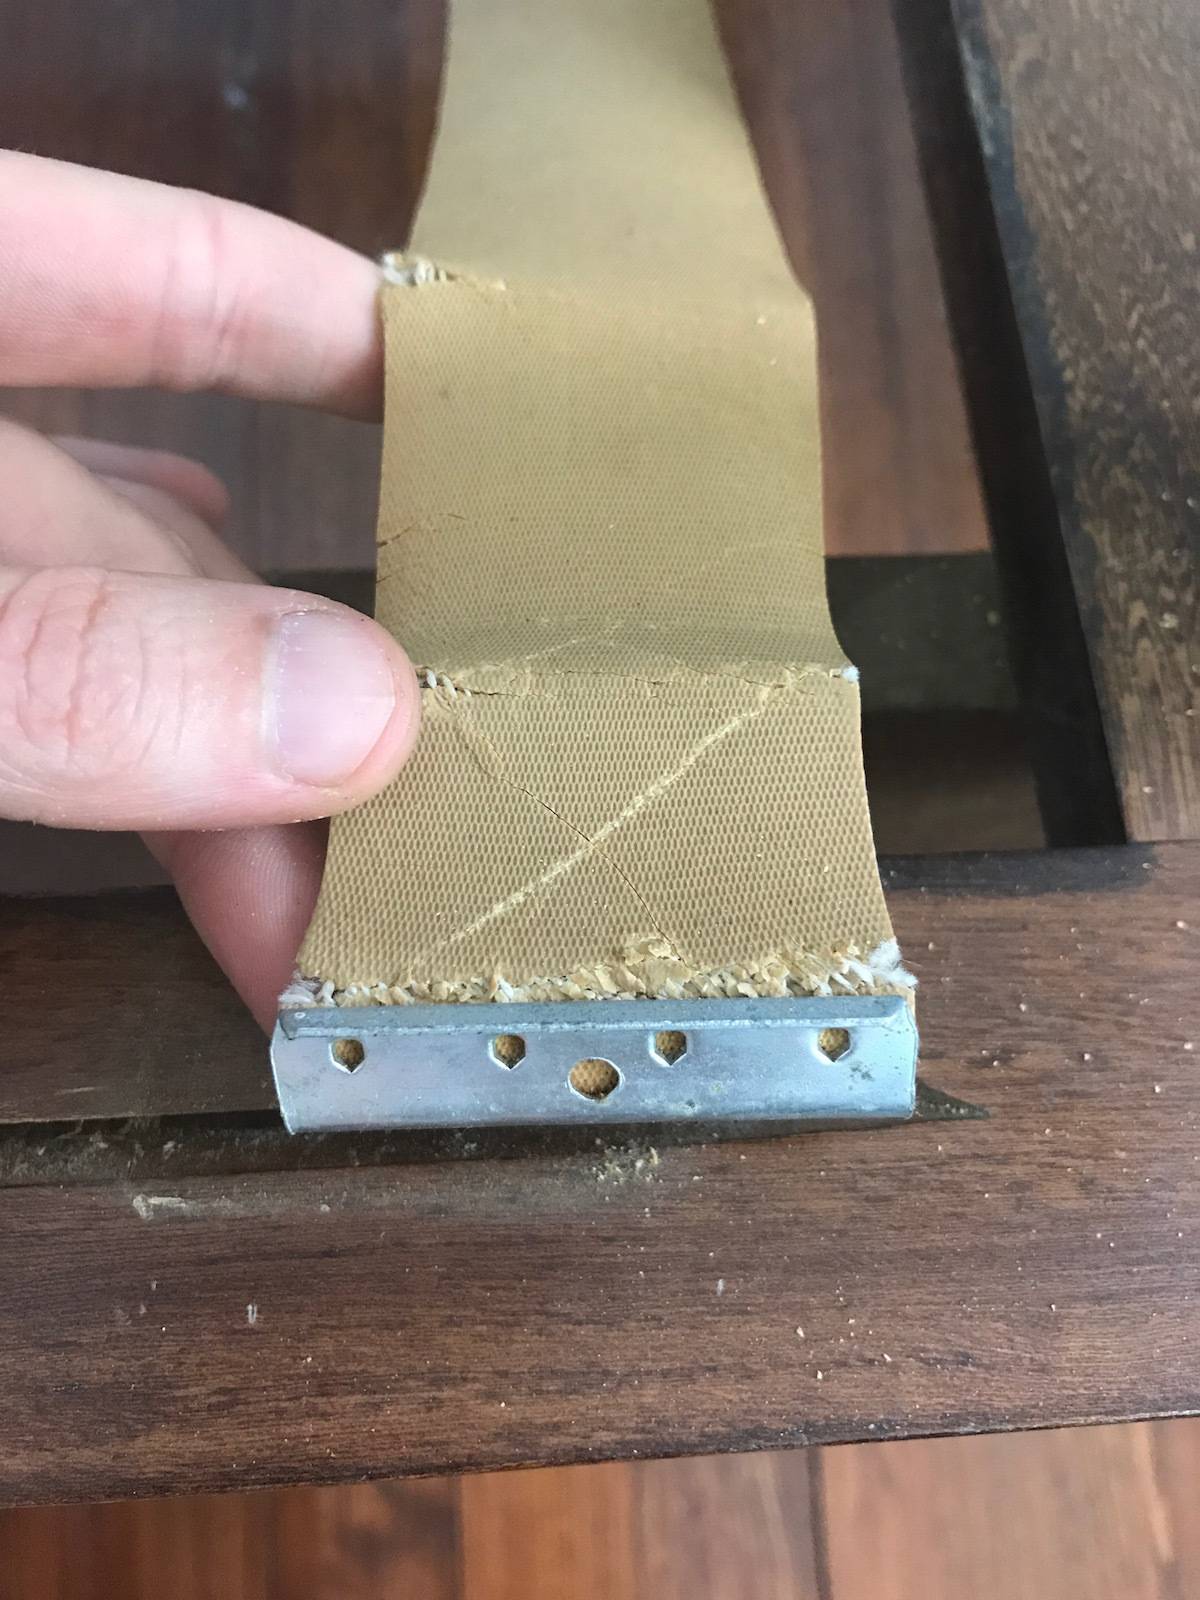
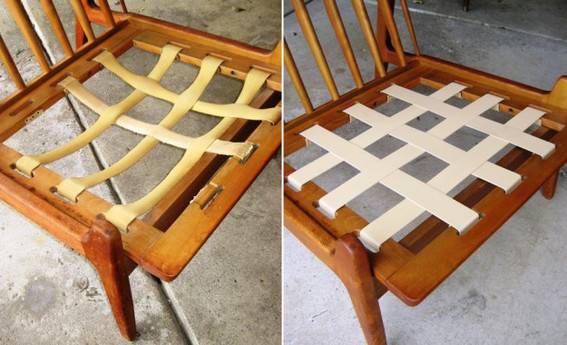
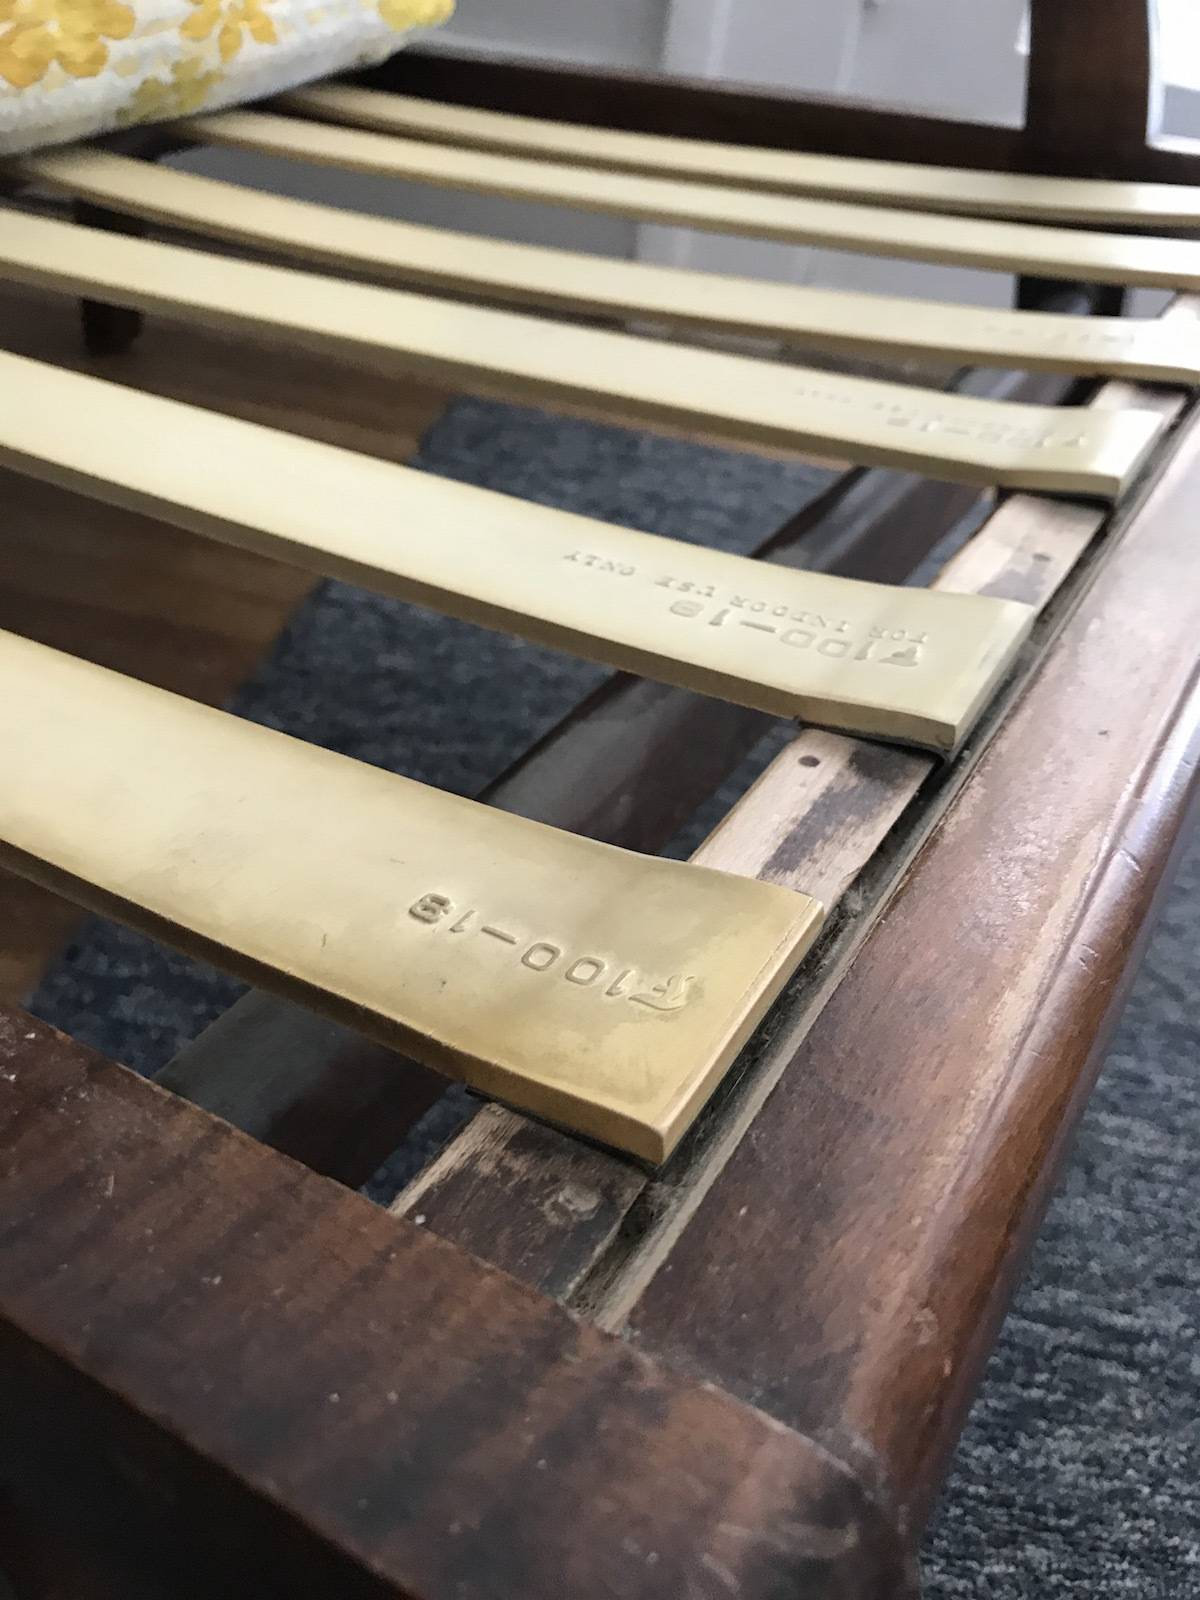
Underneath all the scrap wood was one of the old straps. It was stretched out and in really bad shape but it gave me a reference point for my replacement.
Materials
A teak mid century chair is usually structurally pretty simple. But there are lots of different ways it can be webbed. Most of these chairs are webbed with Pirelli Rubber Webbing. I’ll how show you how I re-webbed my chair, and also some other examples of how it’s done.

Here are the materials you need to repair your broken webbing:
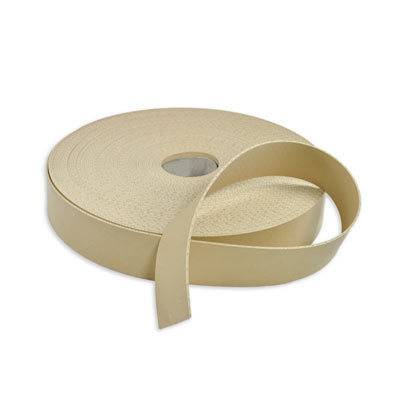
- 2 inch Rubber Pirelli webbing. I got my webbing here. You can find it in pre-cut lengths on Amazon and even on Etsy.
- Webbing Clips for rubber webbing (two for each strap)
- Tape measure
- Carpenter’s Square (or anything that will help you cut the straps at a 90 degree angle)
- Pencil or pen
- Bench vise
- A really good pair of scissors or a sharp box-cutting knife.
- An extra set of hands. This project is really hard to do alone.
Step
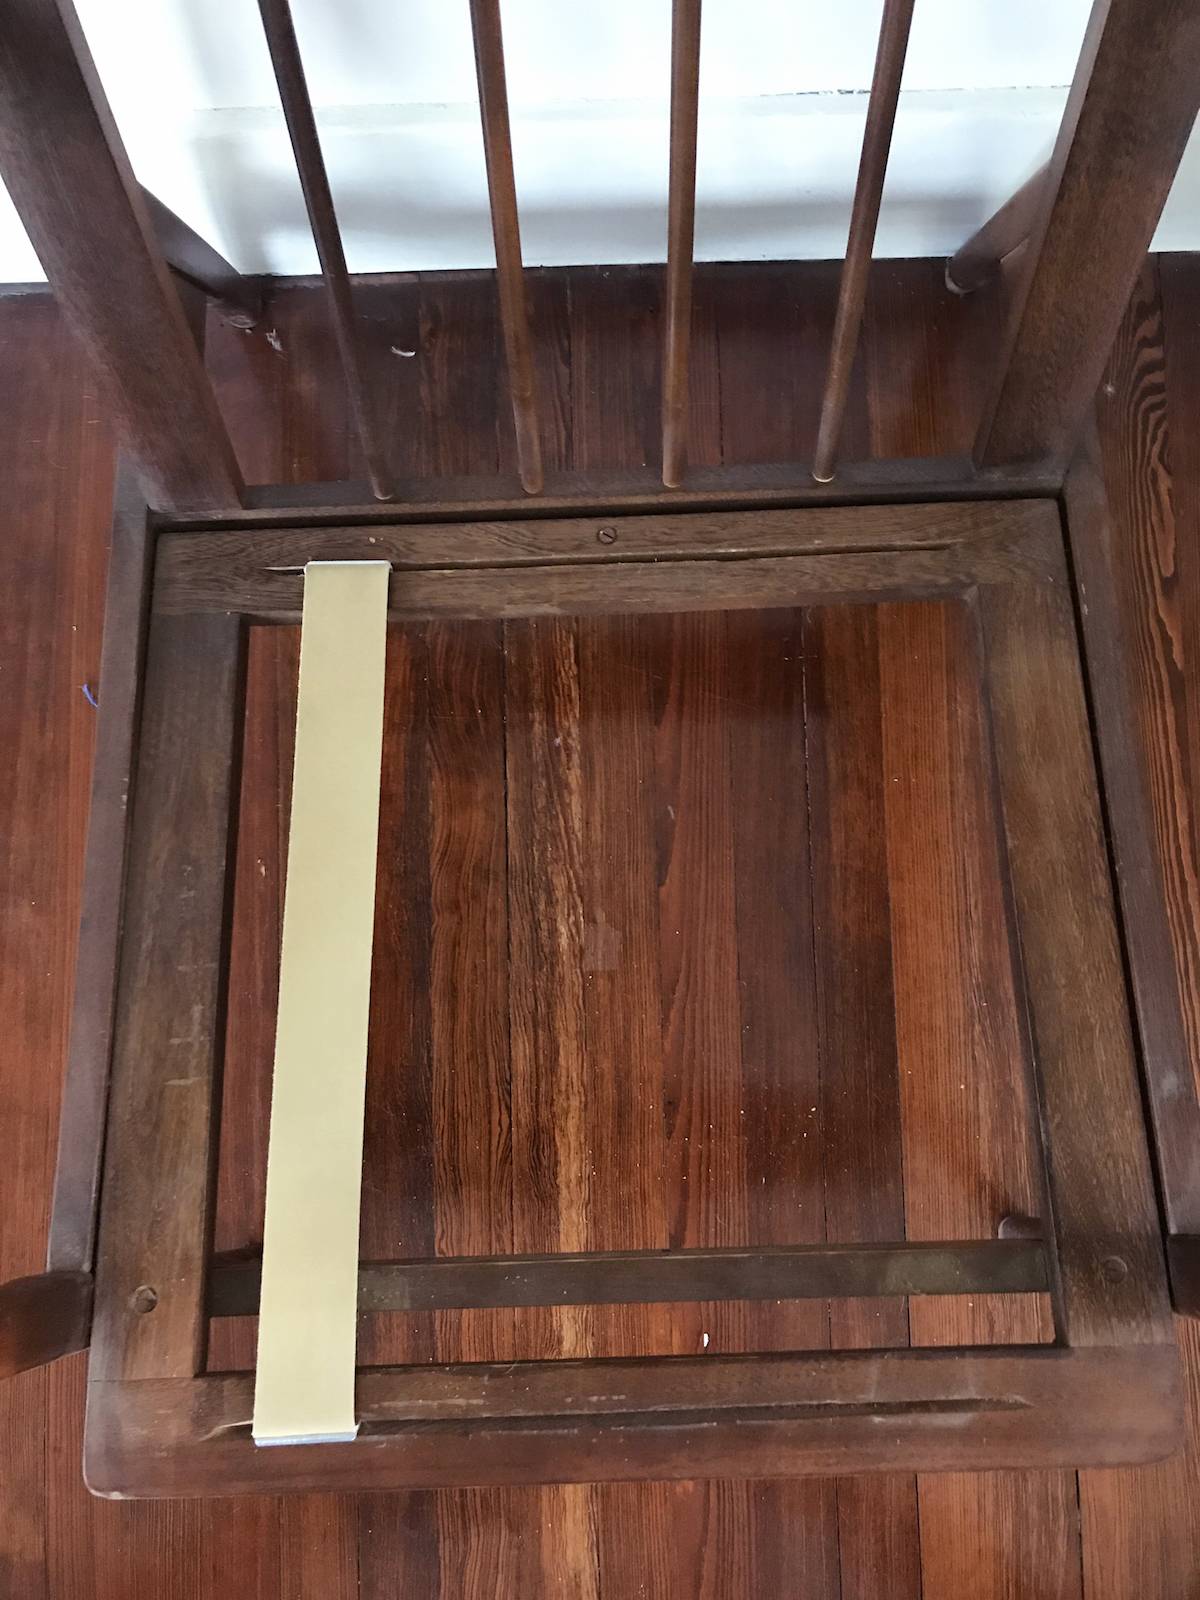
Investigate how the chair was meant to be webbed.
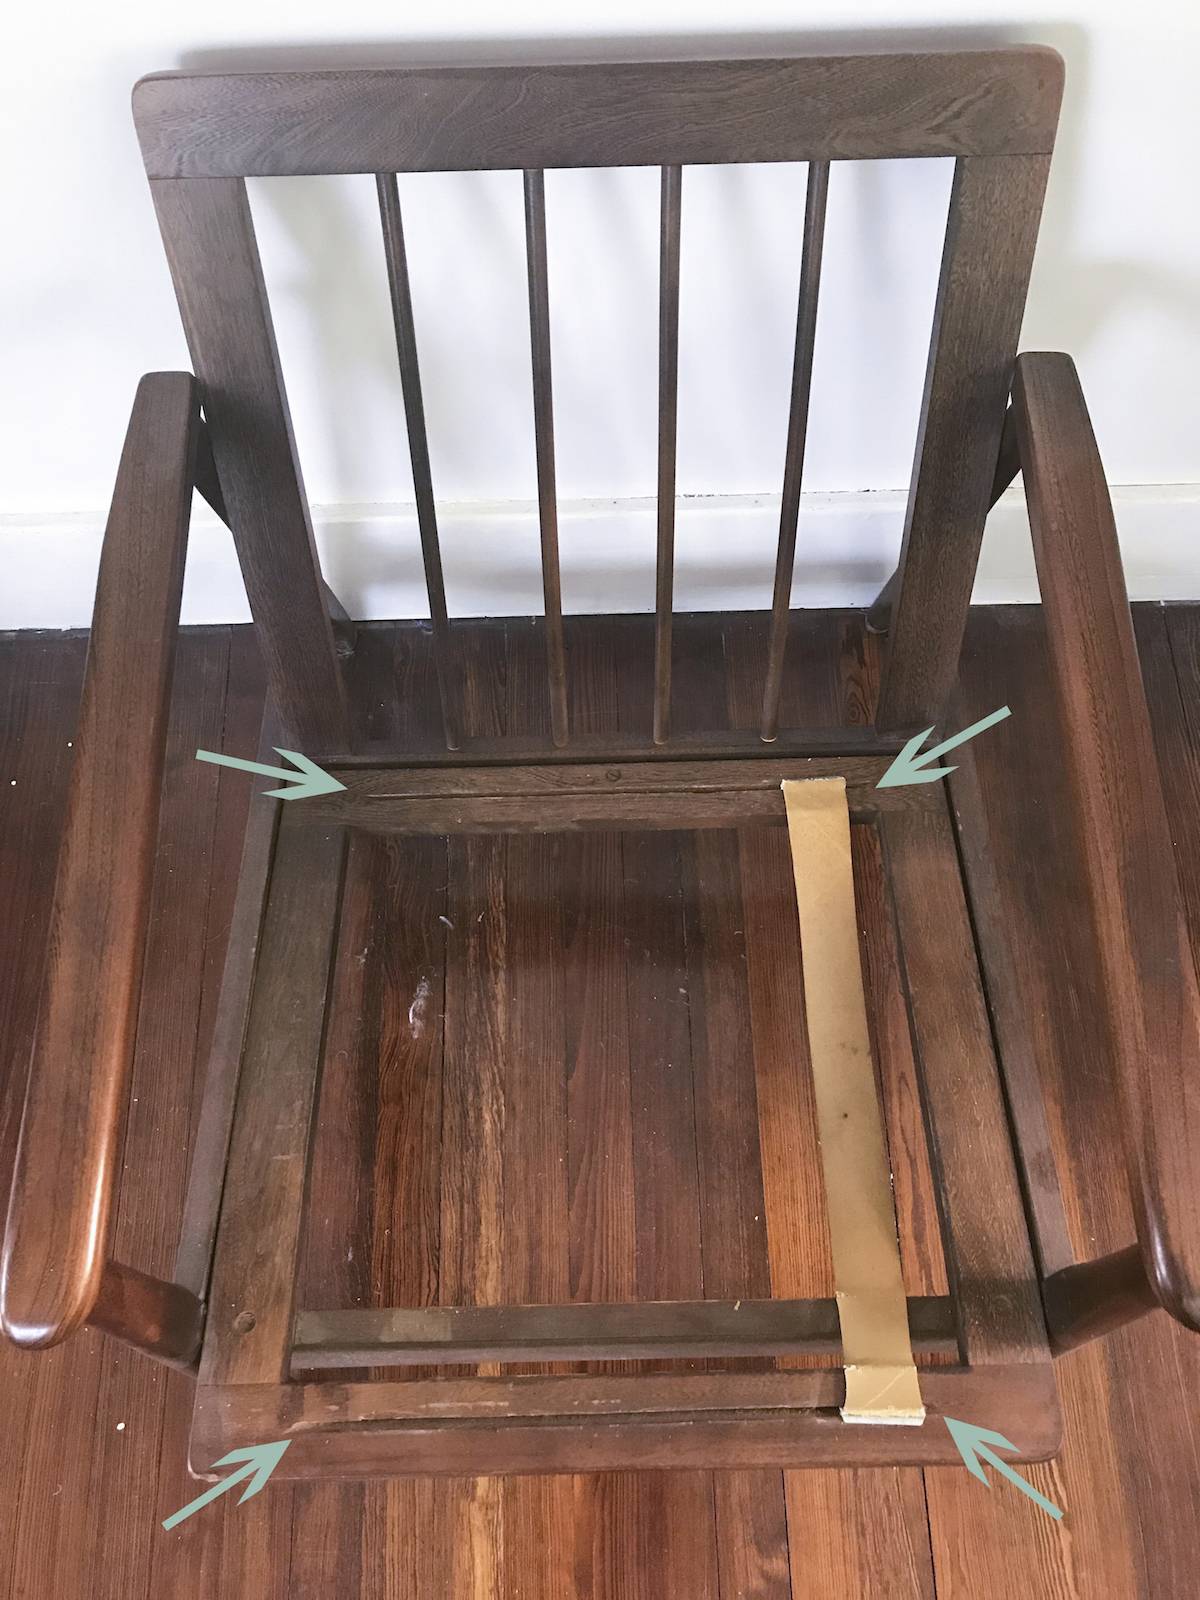
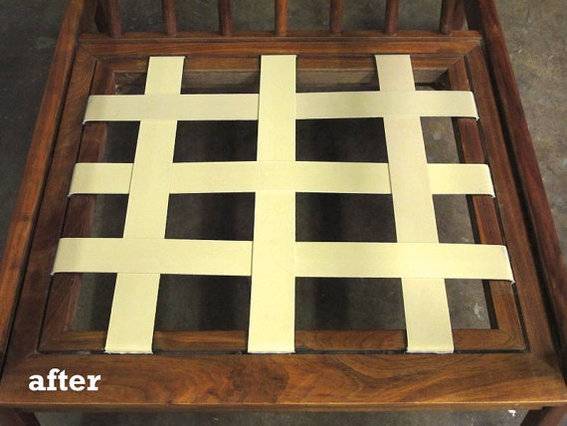
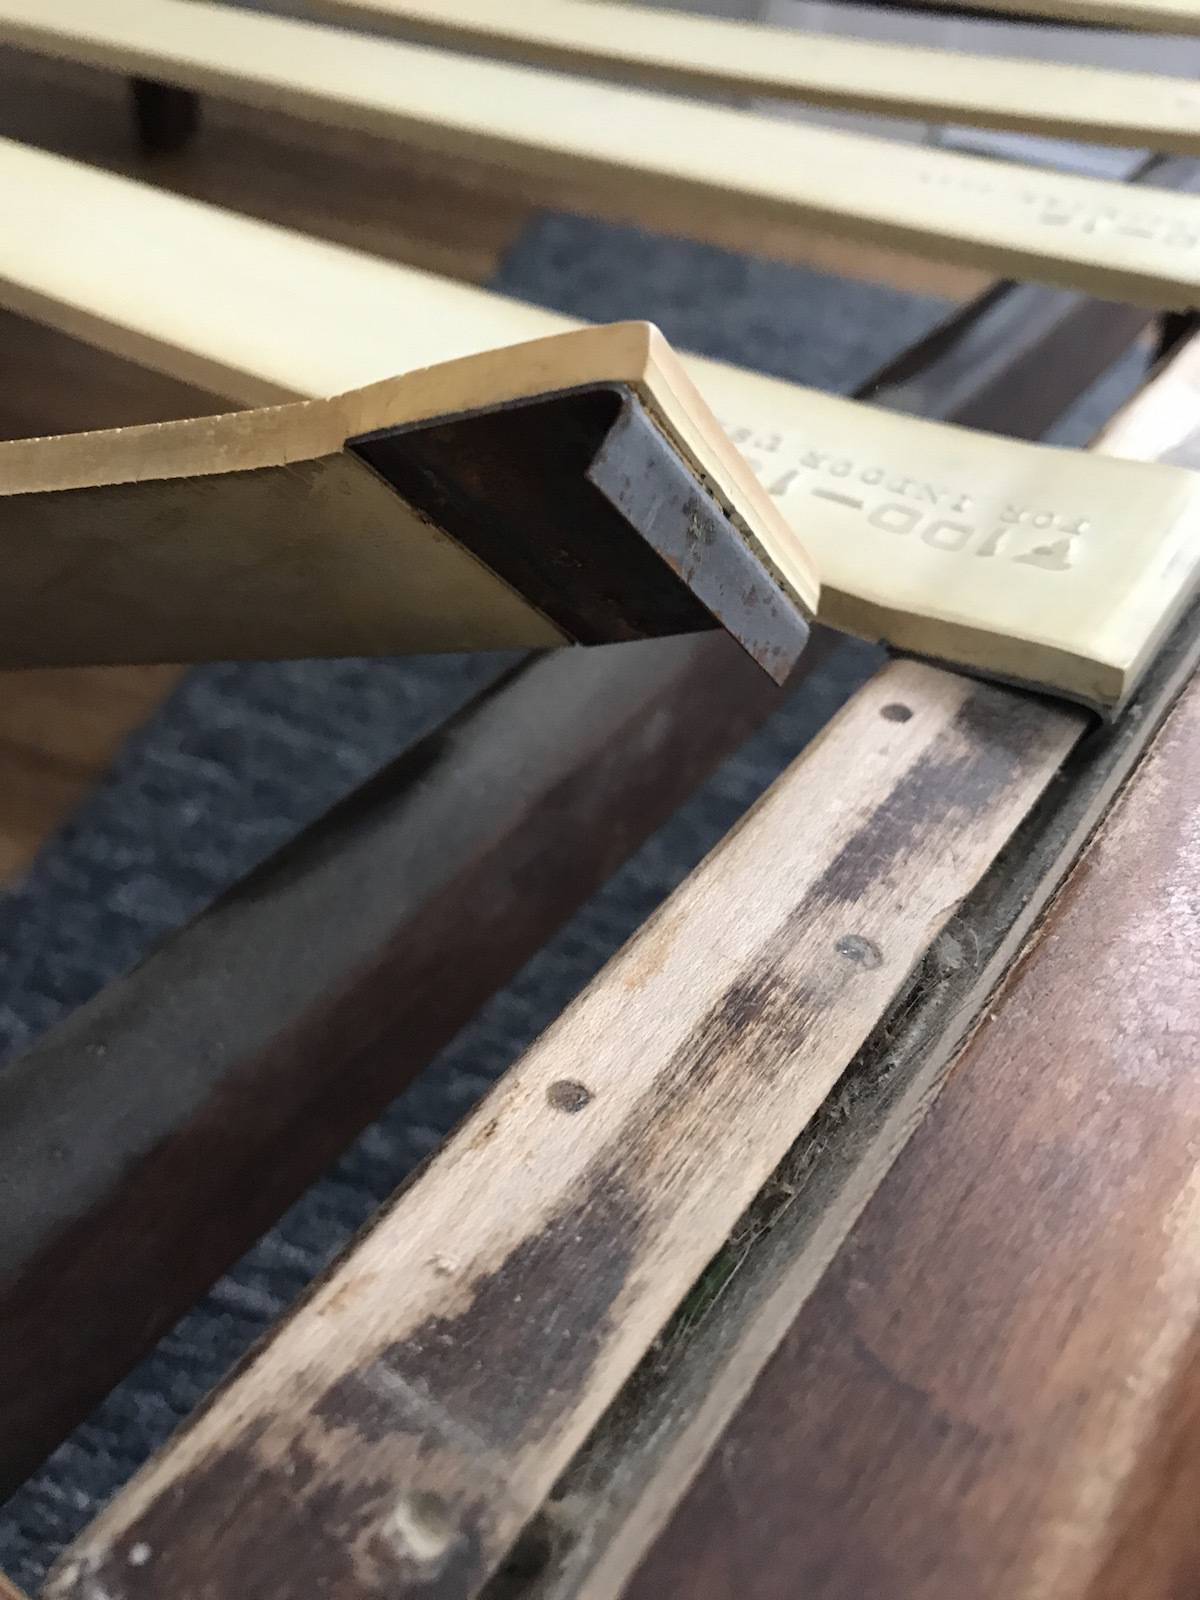
To do this, remove the cushions so you can see the complete structure of the chair. My chair was made with one long groove on the back and front. This is where the webbing clips will be inserted. So that means my chair was made to have its webbing straps go from front to back only. The number of straps is determined by the length of the slot on your chair and how much space you prefer between each slot.
Your chair might be a little different. Here are other common versions of mid-century chair webbing patterns:
Wider chairs or mid century sofas often have long grooves on all four sides. If your chair looks like this, then it’s meant to have woven webbing straps. The number of straps and clips are determined by length of the slots on each side and your preference of spacing.
Your chair might have a specific number of smaller slots/grooves. If the slots are not open all the way through to the bottom, you need clips on the ends of your straps. I have also seen versions of these chairs that have slots/grooves on all four sides (not pictured). If this is your chair, you will have a determined number of straps of each side and they will be woven.
There are some chairs that have individual slots that go all the way through the chair like the chair pictured above. In other words the slots are openings, not grooves.
In this case you would not need webbing clips, you’d simply insert the strap through the chair and staple the webbing on the underside of the chair.
One common mid century upholstery technique is the use of Fagas Straps. These use a much smaller groove (1/16 inch), and the straps are much thicker, with a clip that is angled 45 degrees. They actually only make the Fagas straps in Sweden these days. You have to send in your measurements and they will send you the strap and clip already attached. An American company called the Evans Company has created a 45 degree angle clip that you can use with the Pirelli rubber webbing. My tutorial will be with the regular clips but if you have these type of straps you can follow the tutorial but order these 45 degree angle clips instead.
Step
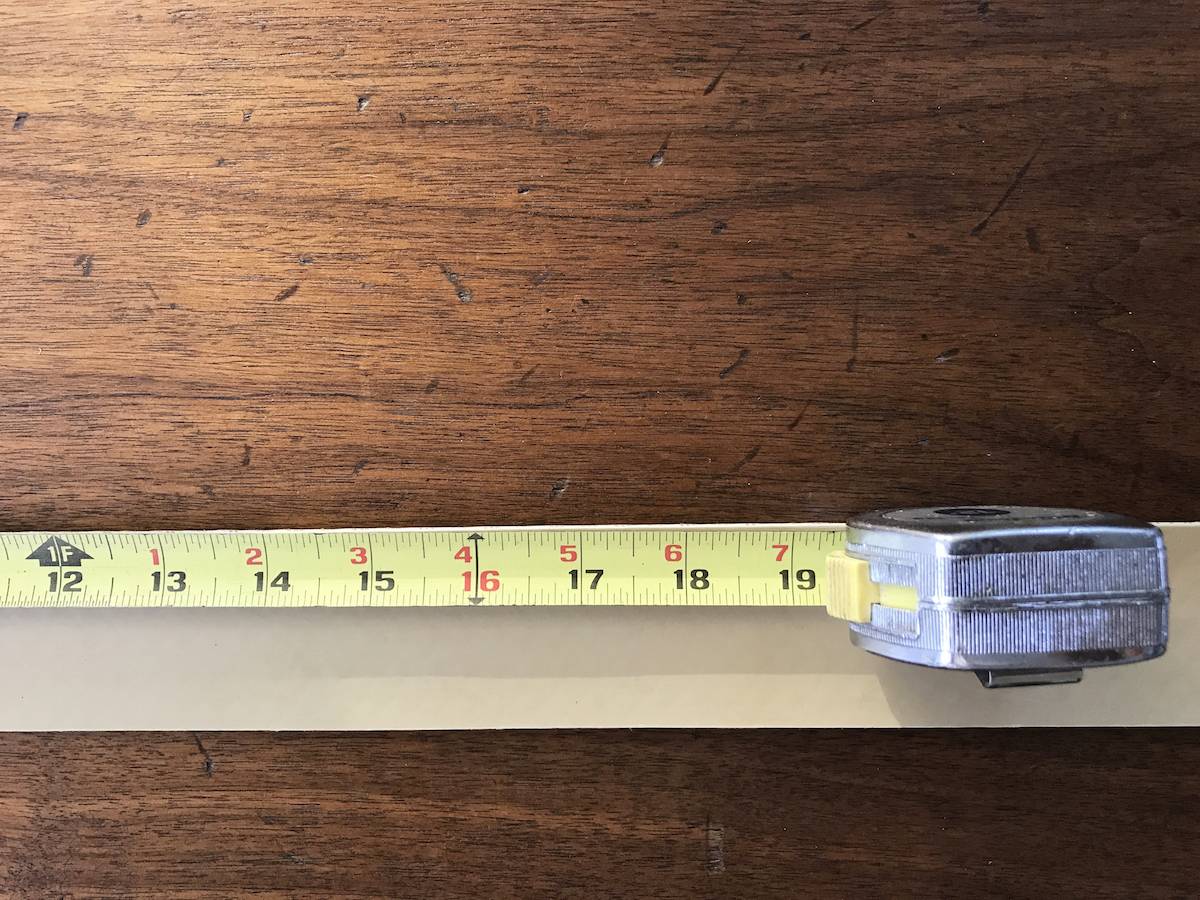
Measure the distance between your slots.
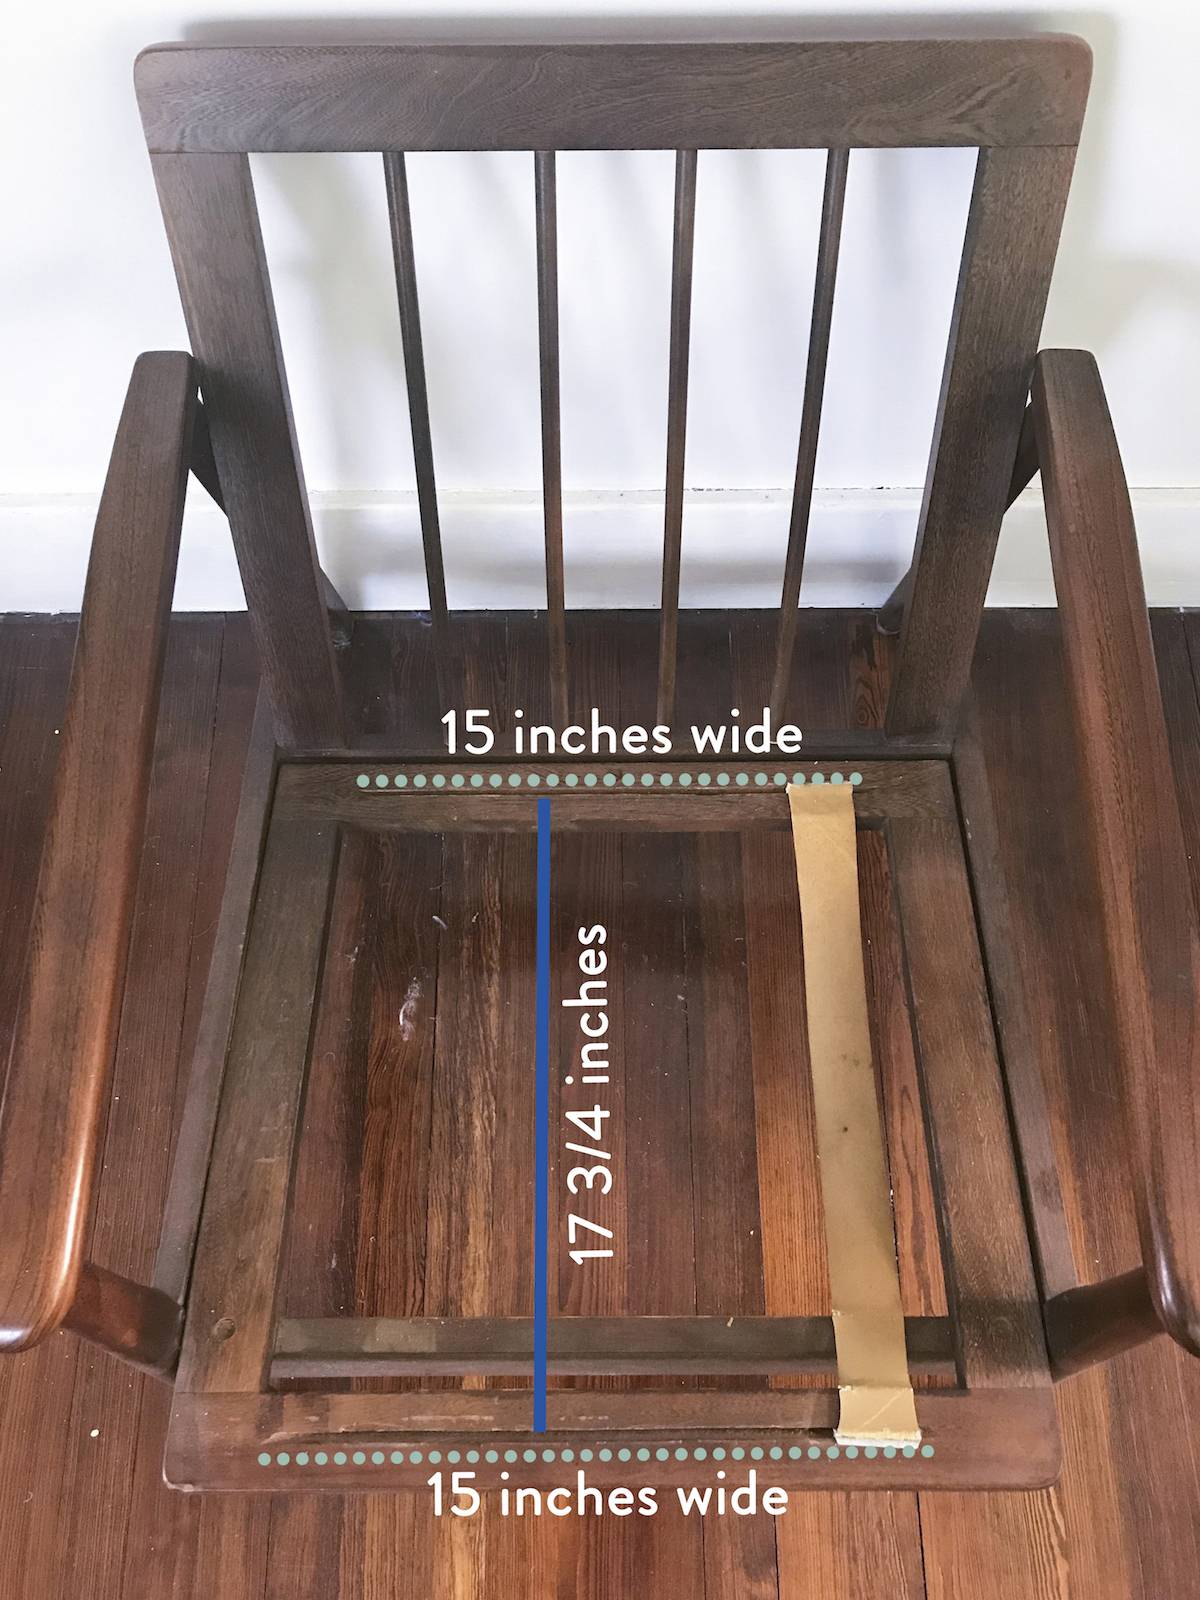
The length of the groove on my chair is 15 inches. The rubber webbing is 2 inches wide. I decided to use six 2″ straps with less than an inch between each strap. Since I don’t have grooves on all four sides I won’t be weaving the webbing. If I did need to weave it, I would have allowed for at least 1.5 inches of space between each strap.
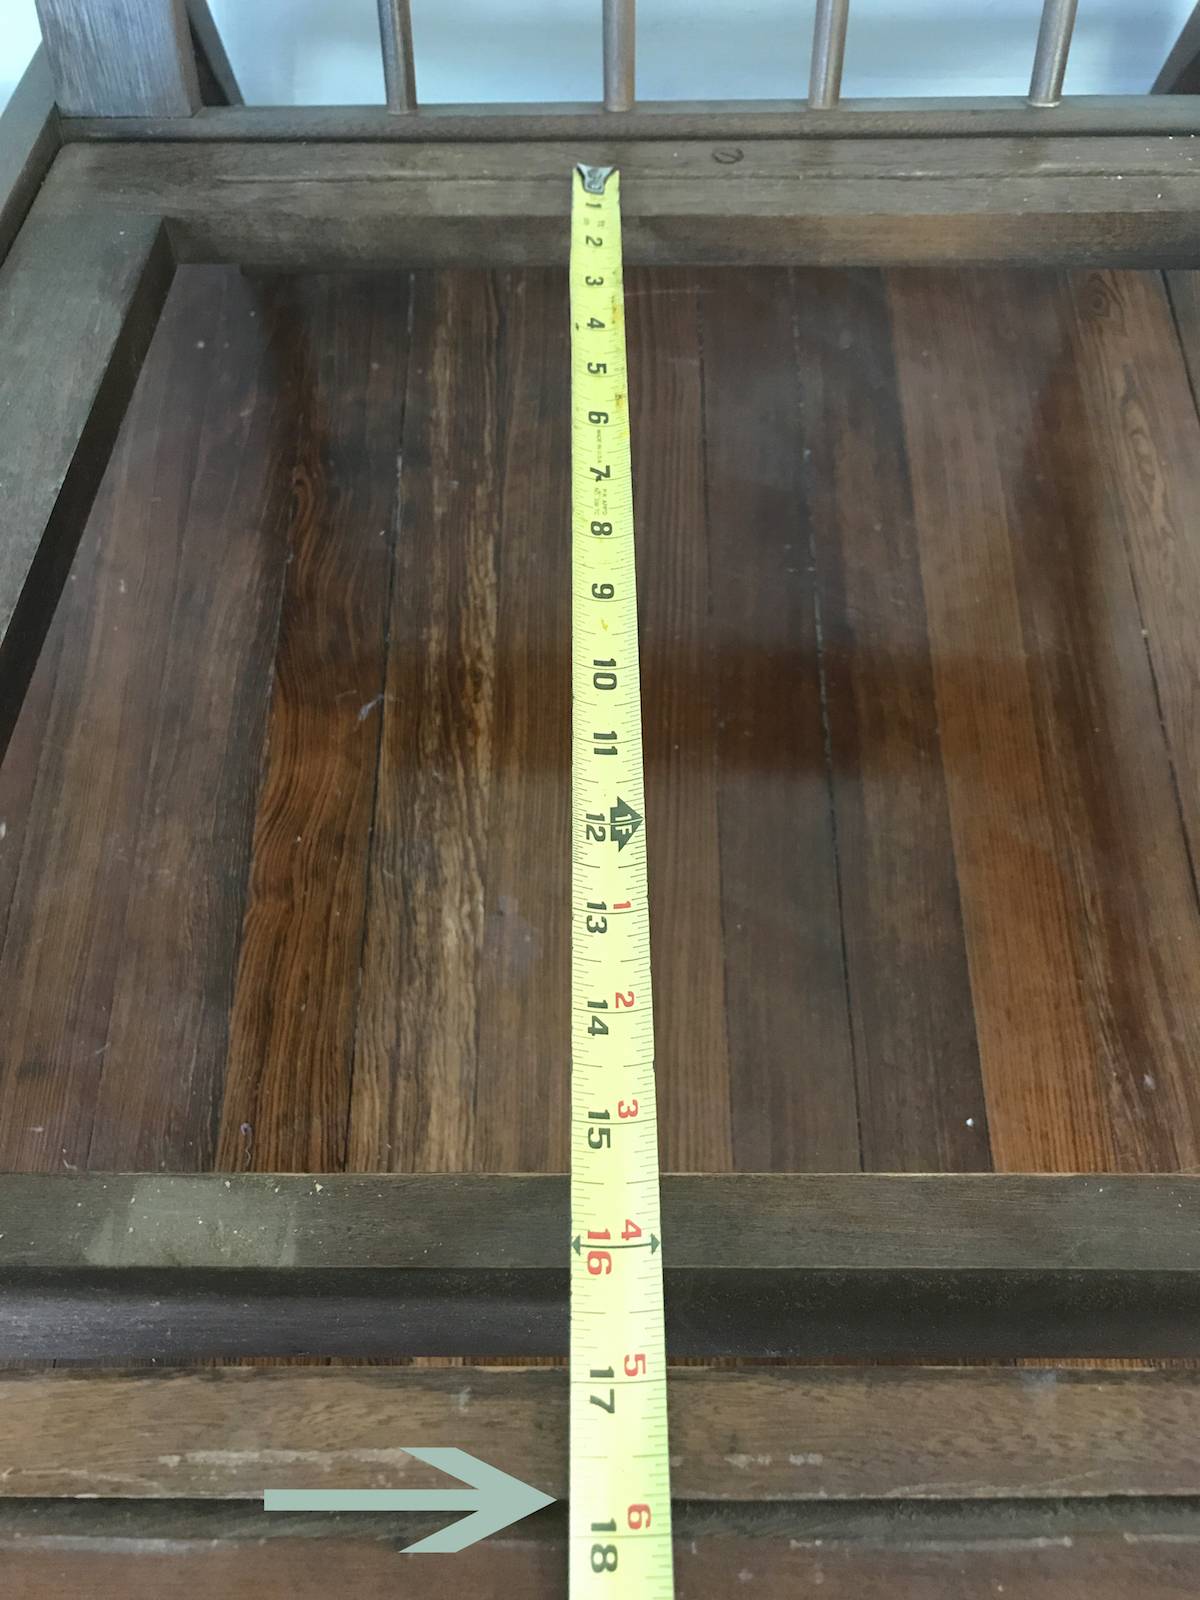
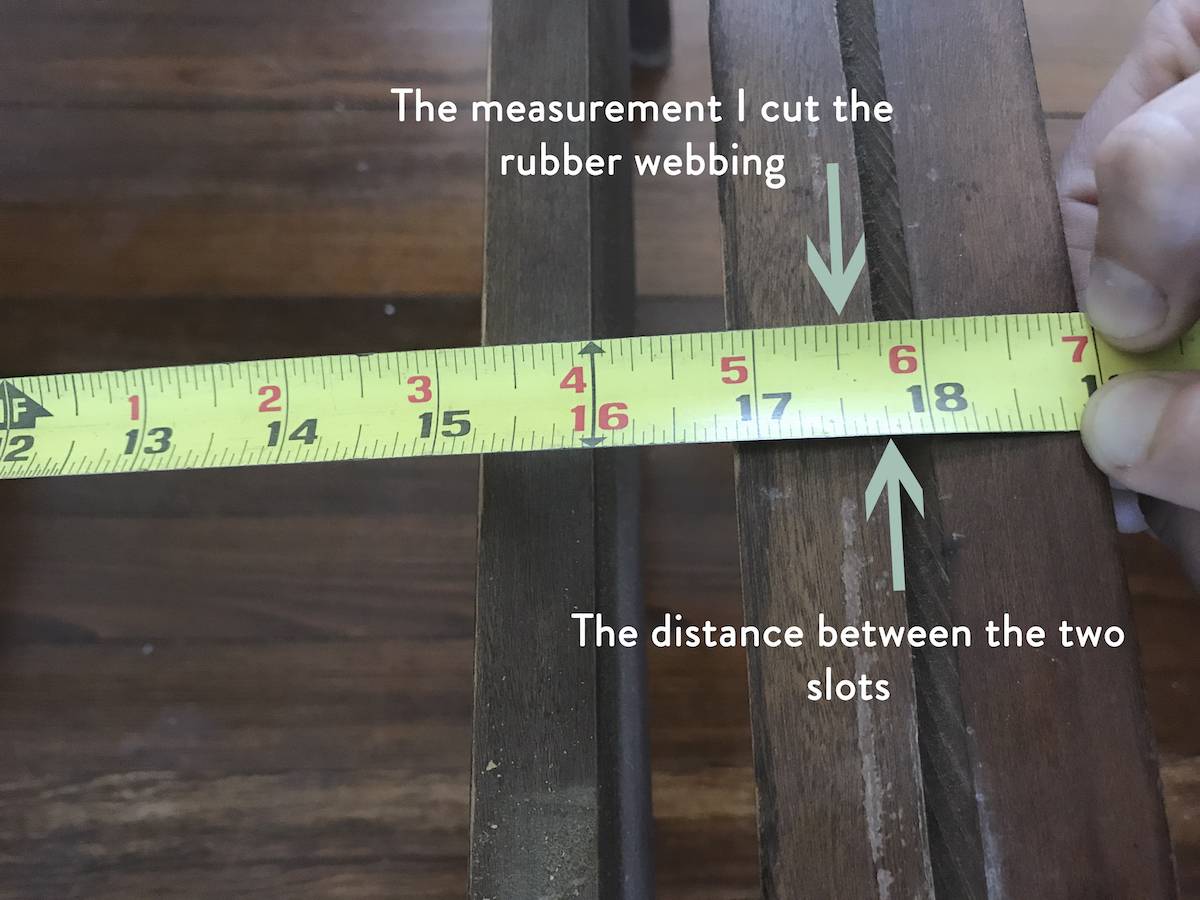
On my chair the distance between the front slot and the back slot is 17 3/4 inches. You want your straps to be cut to this exact length, or a little less. The rubber webbing is meant to stretch and be tight. For ordering purposes I rounded up to 18 inches per strap. I also wanted to buy enough to have some extra for mistakes.
I wanted to order 7 straps at 18 inches long, therefore, I needed a total of 10.5 feet of of rubber Pirelli webbing. I spent around $30 on the straps.
Most online upholstery stores will let you buy the exact length you need. Amazon, unfortunately only sells pre-cut amounts and you will more than likely have to spend more to get the amount you need.
Step
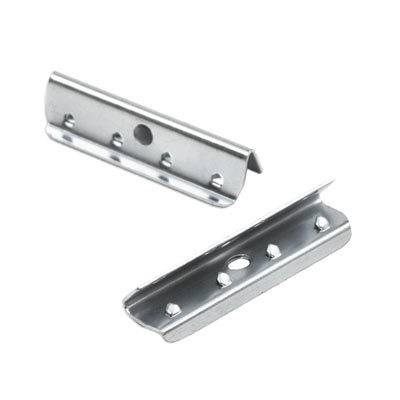
Determine the style of clips you need.
My chair required regular clips. If you need 45-degree-angle clips, you can order them here and attach them to the same rubber webbing I used for my chair.
How do you know which clips?
- Look at your old webbing.
- Look at your groove. All the grooves are angled a little bit but if your slot opening is 1/16 or less and then you need the 45 degree clips.
I needed 12 regular webbing clips, two for each strap. I bought two packs of ten clips for $2.70 per pack, a total of $5.40.
Step
Measure and cut your straps.
I recommend cutting your straps to the exact (or little less) distance between your grooves. You will have to stretch the webbing to insert the clips into the grooves, and that’s a good thing! You want your finished straps to be tight.
Since there would be no weaving on my chair, for extra seating support, I decided to cut my straps 1/4 inch shorter than the distance between the grooves. This stretches the webbing and makes for a more taut surface to rest the cushion.
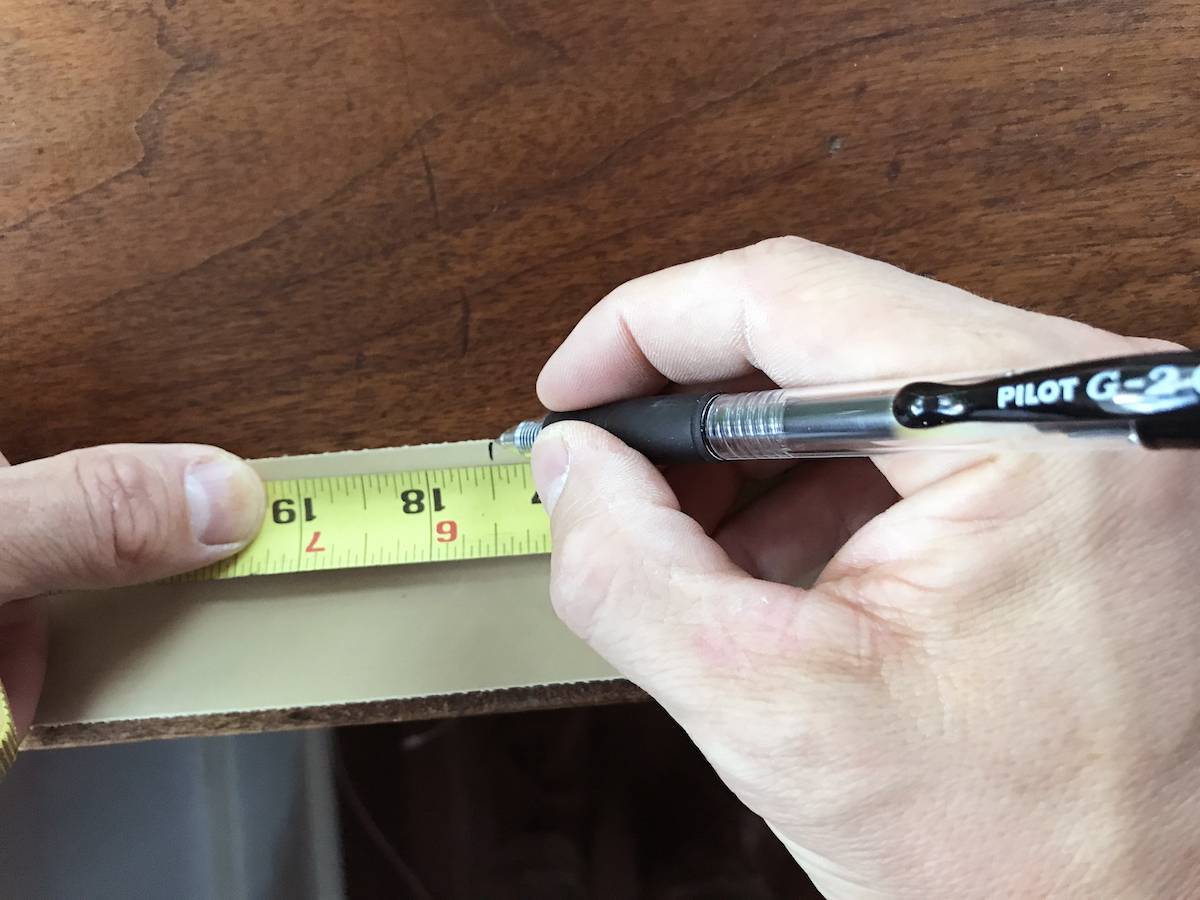
Use the tape measure to mark your where you need to make your cut line.
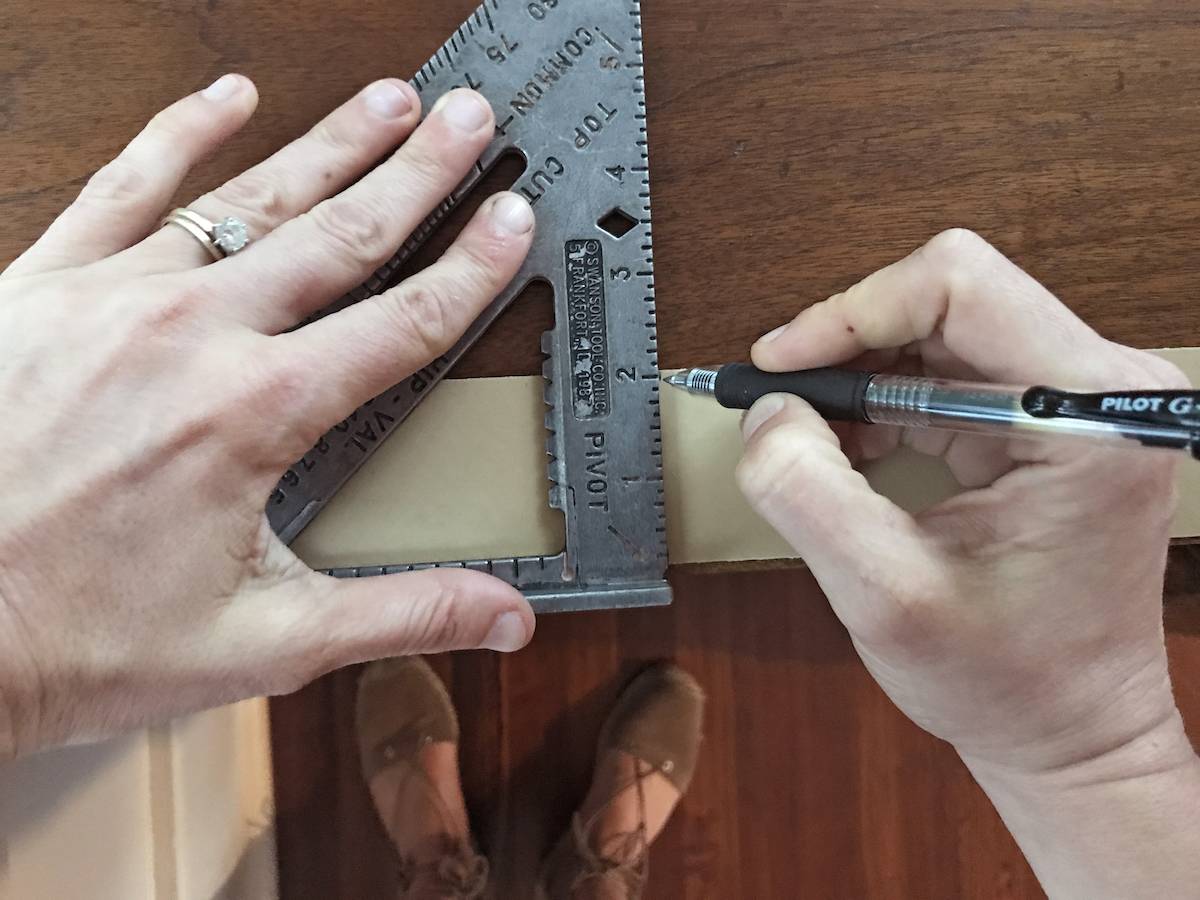
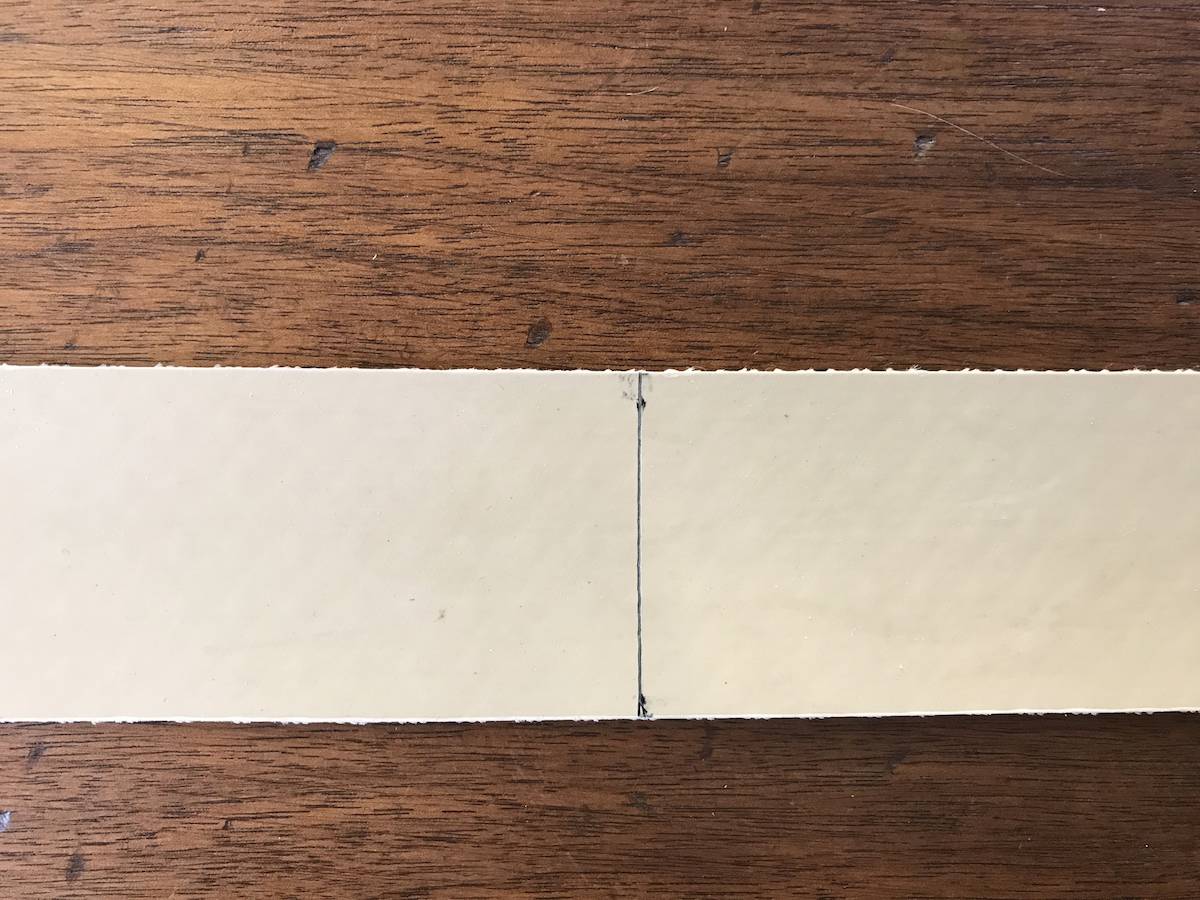
Use your carpenter’s square to make a straight line. Measure one more time, checking to make sure your cut line is the correct distance.
Use your scissors or box cutter to cut along the line.
Step
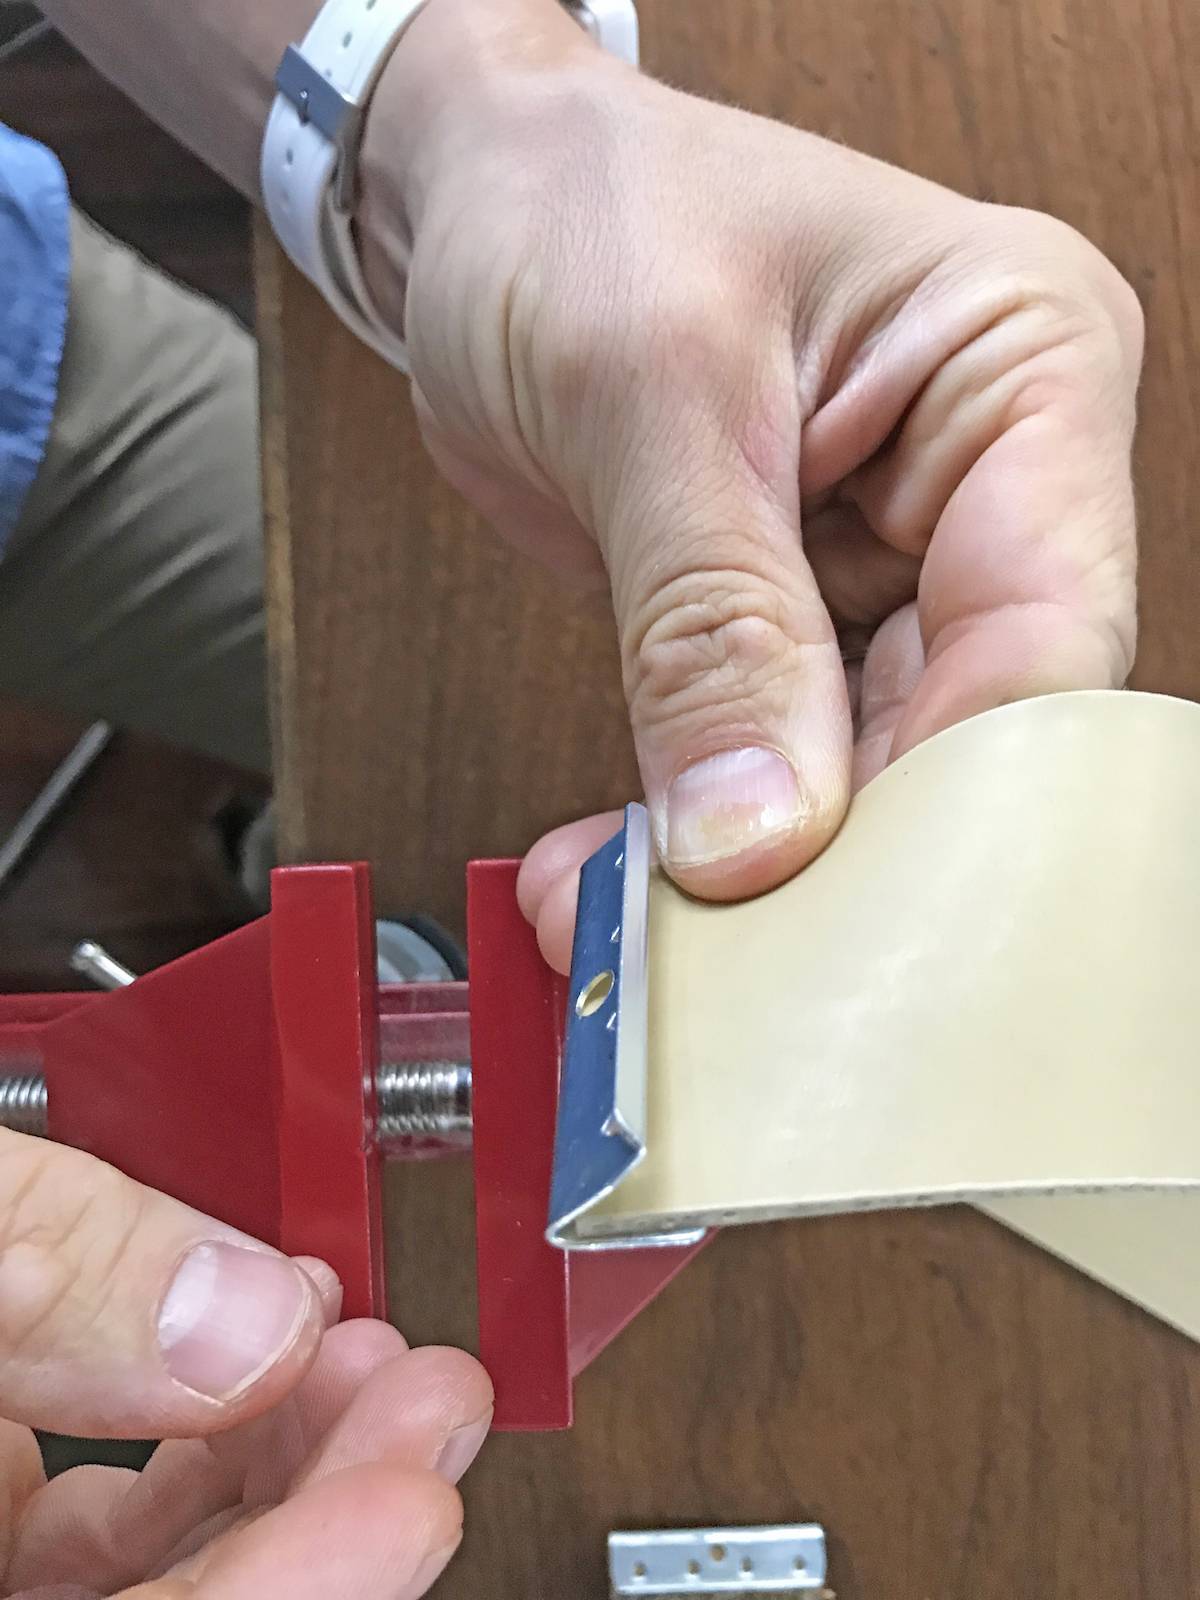
Use a vice to attach the clip to the webbing.
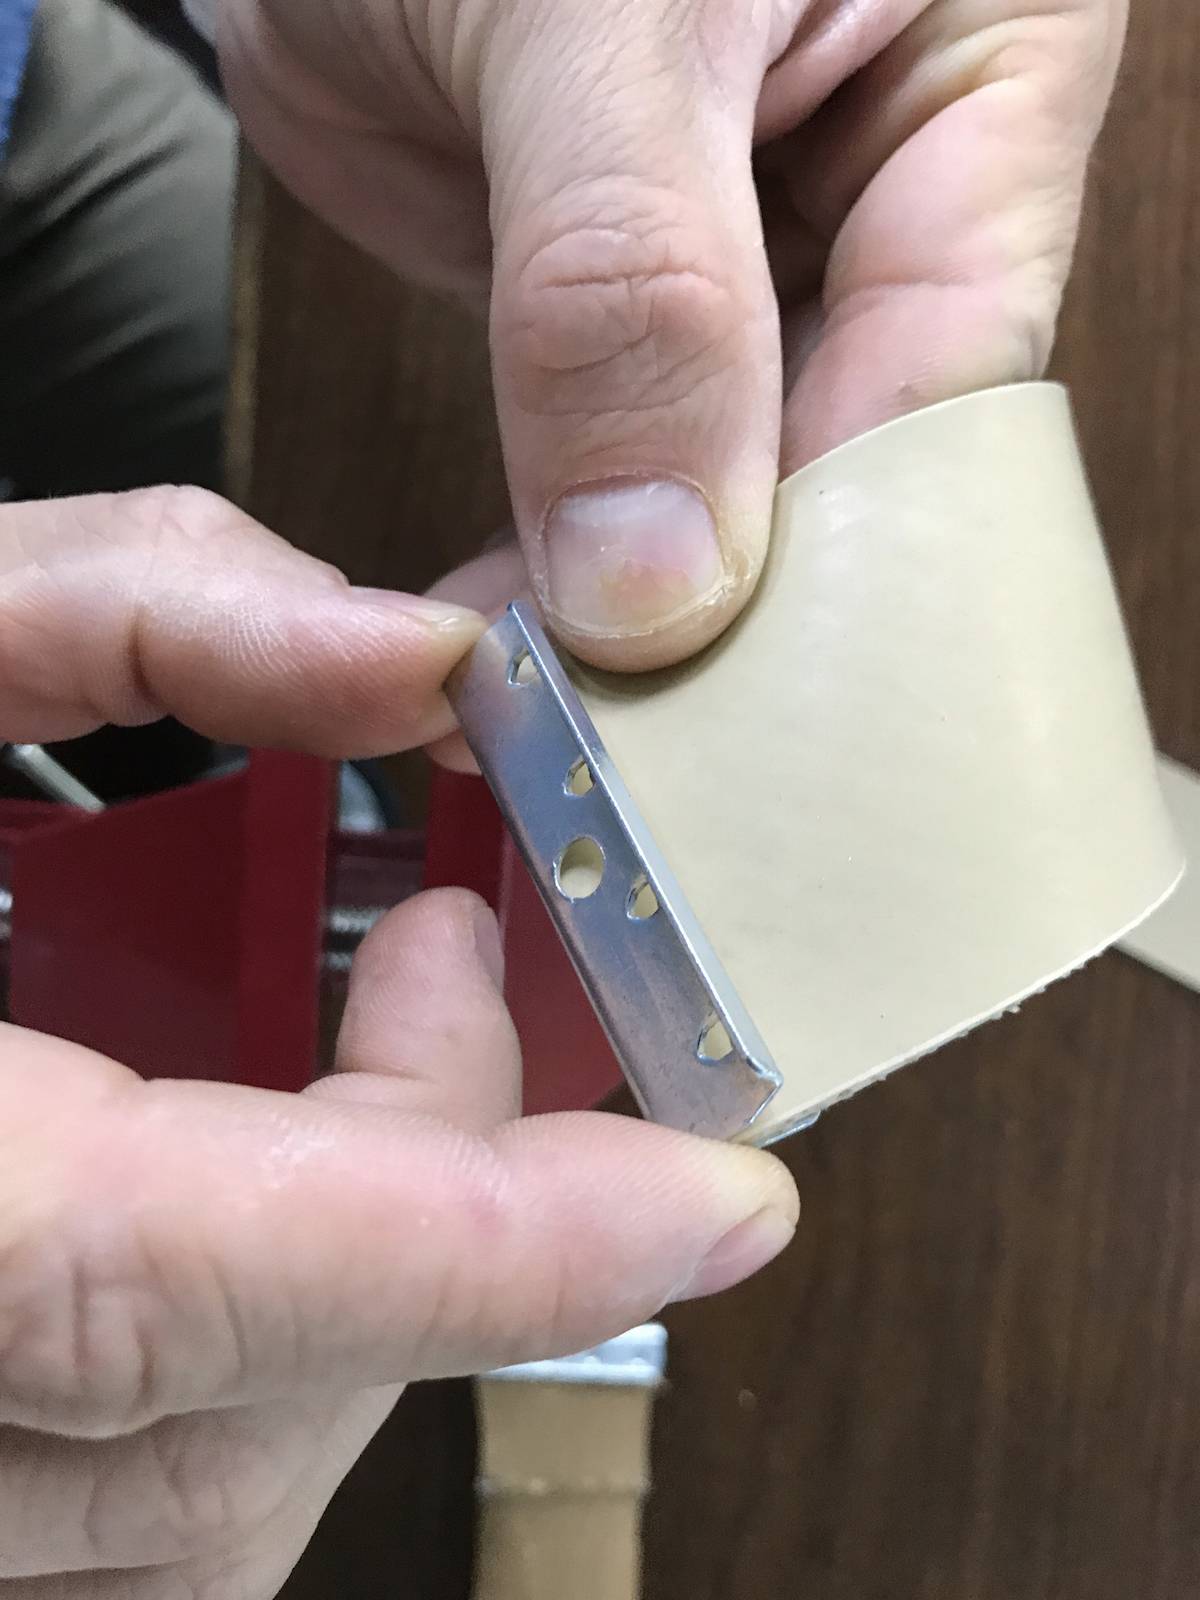
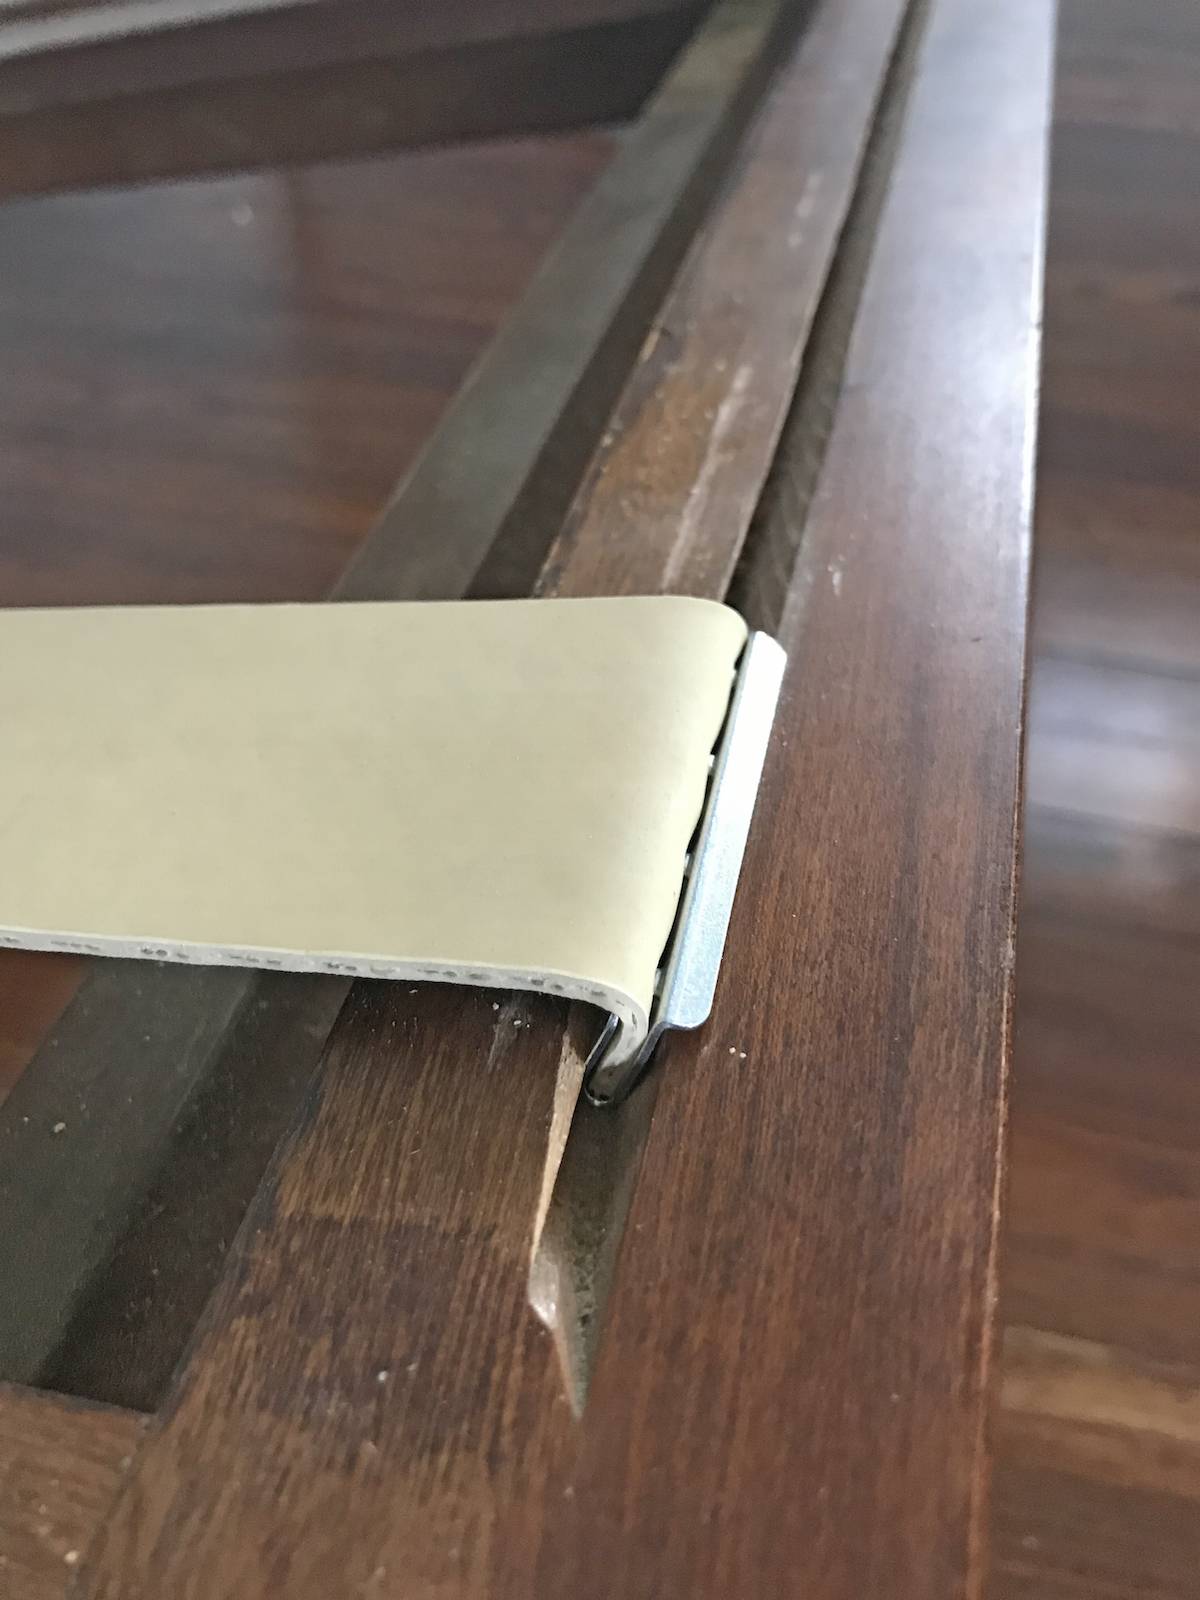
This is where you need two sets of hands. Place the clip onto the end of your strap. It doesn’t really matter what side of the strap is up. I chose to make the smoother side of the strap the side that faces up. Place the clip on the end of the strap with the “lip” of the clip facing up. Place the clip into the vice and have someone hold it while you turn the lever to close the vice.
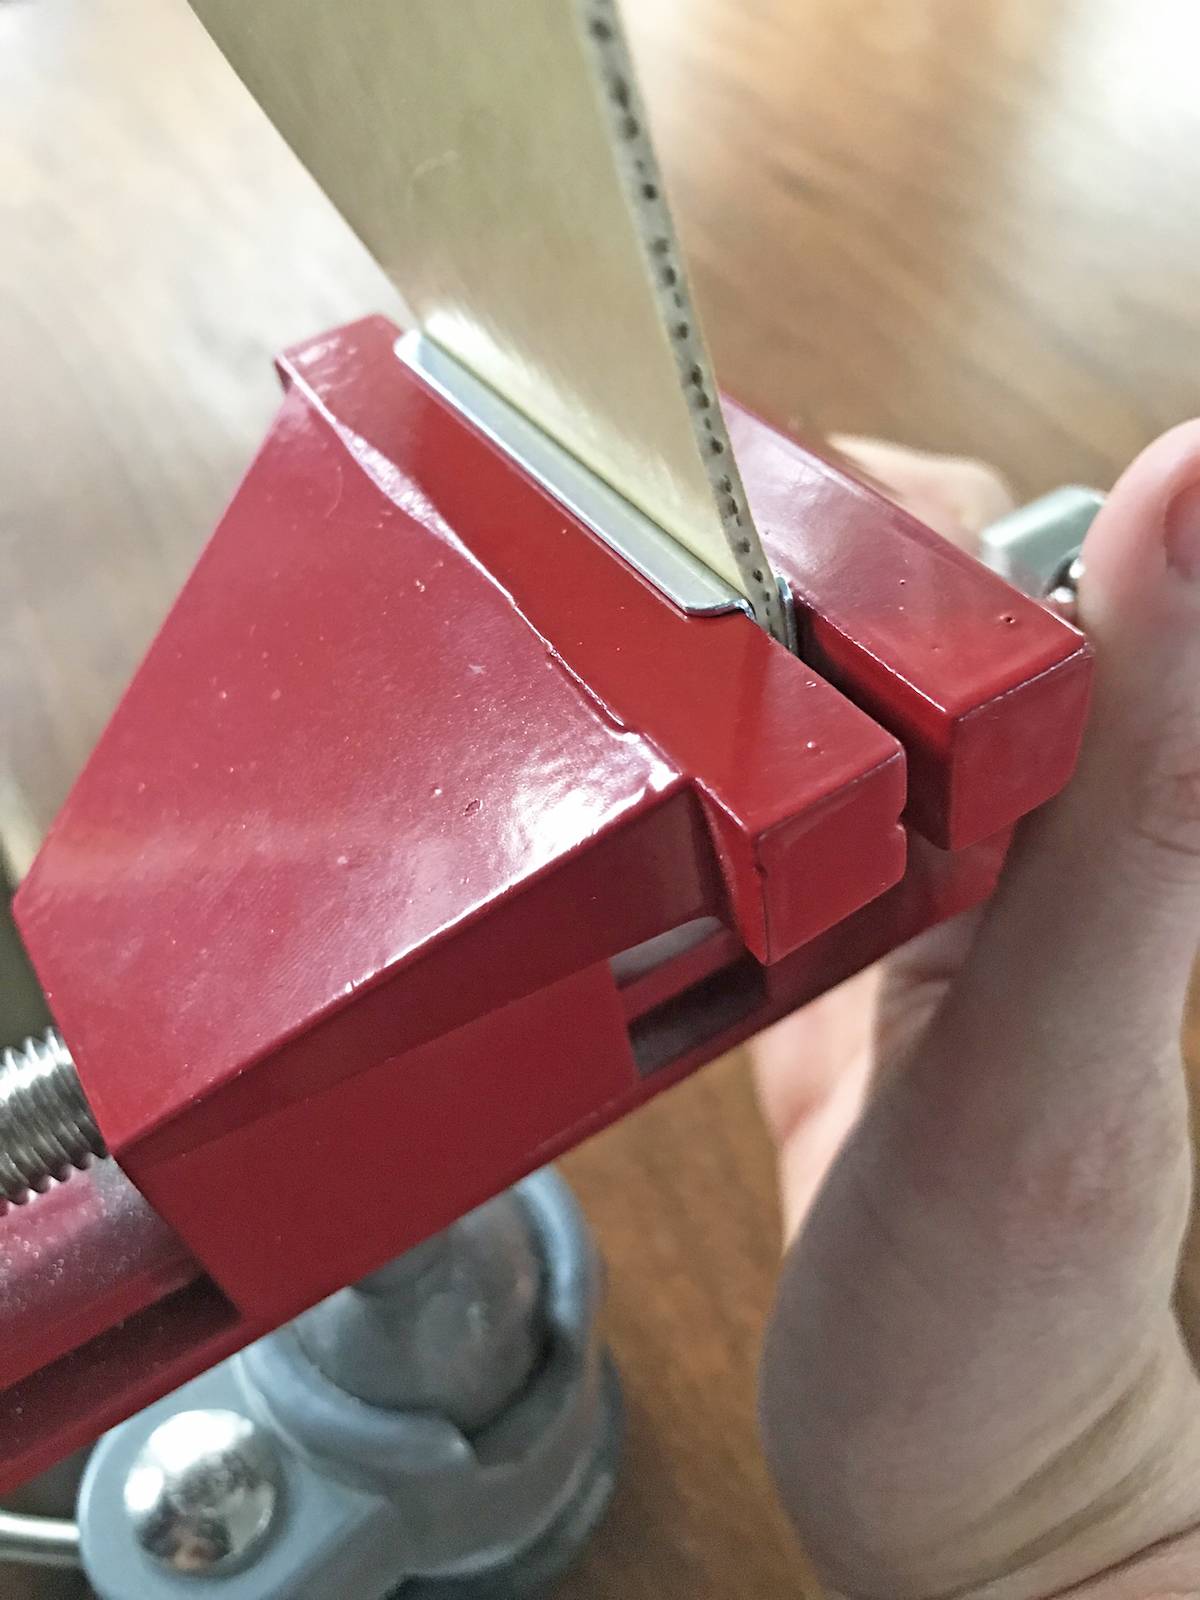
Once the vice closes on the clamp, hold the strap up and tighten.
Clamp the clip until the spikes are almost pushing through the webbing. Note: the spikes on the clips won’t push through the webbing. They are not sharp enough, but you will see them bulge through a little. If they do this, then you’re good to go.
Step
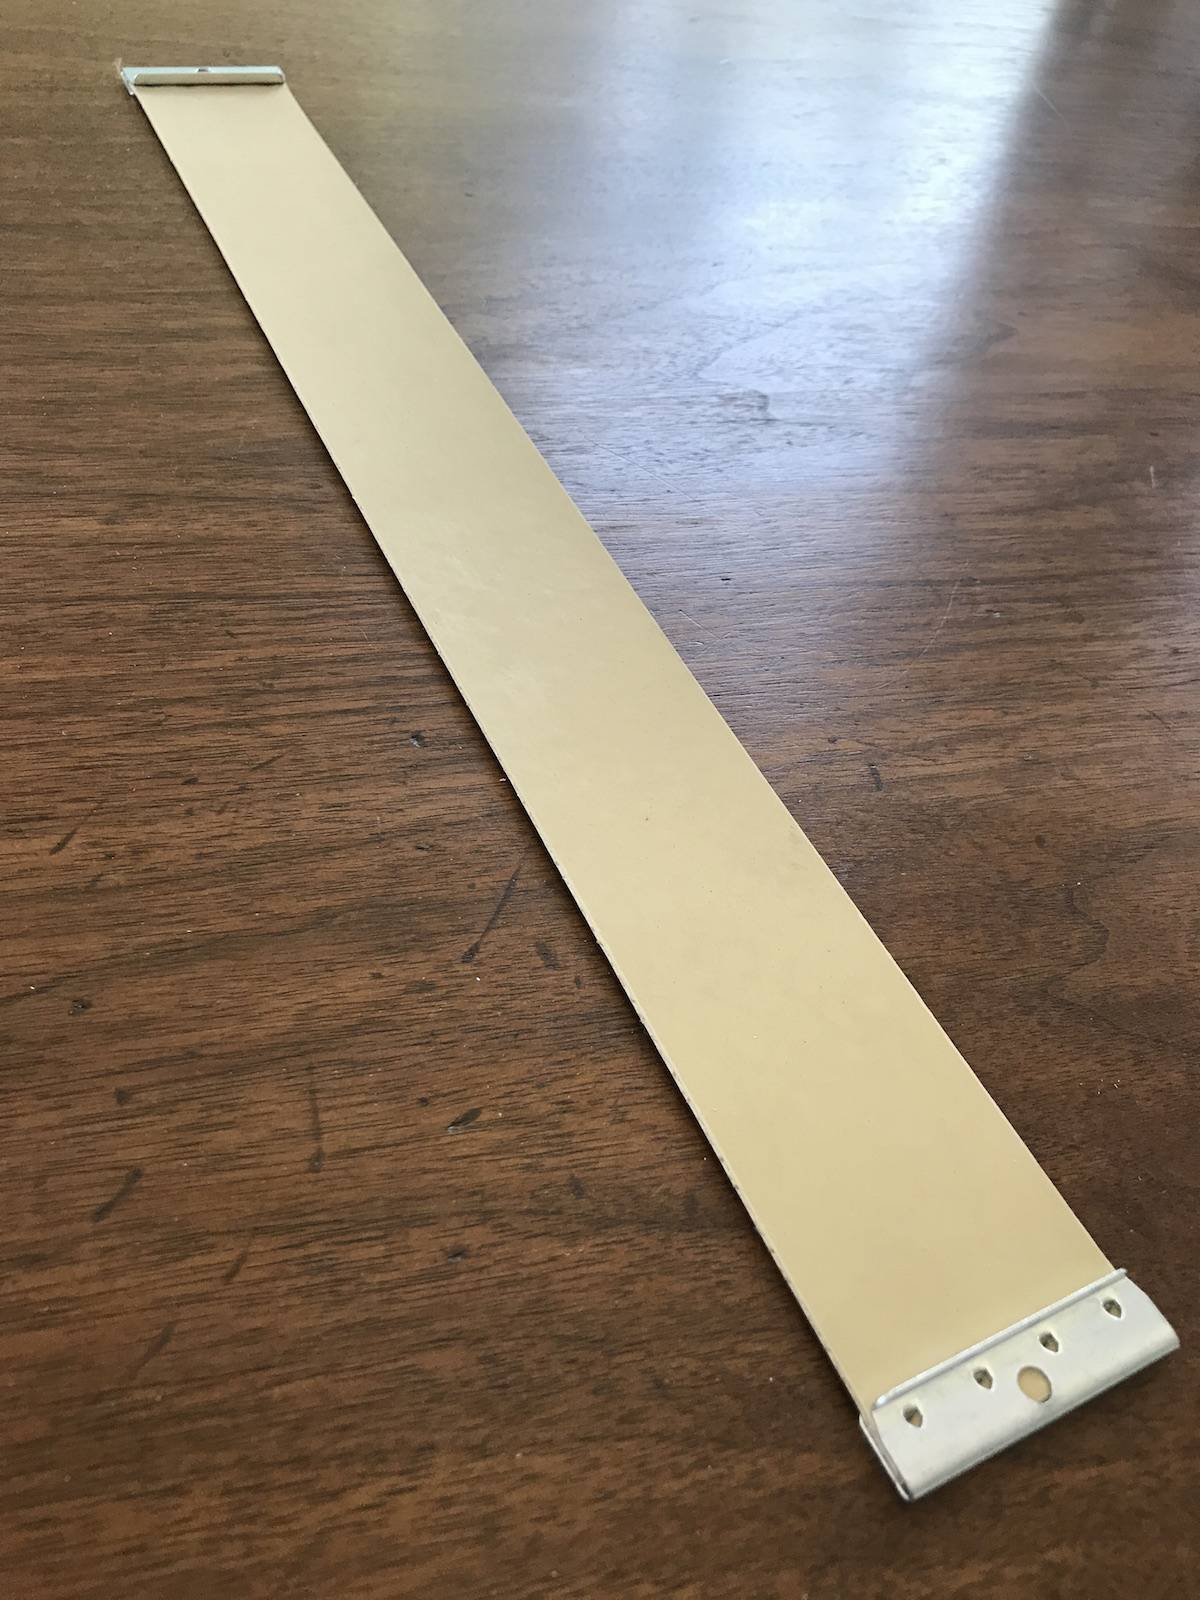
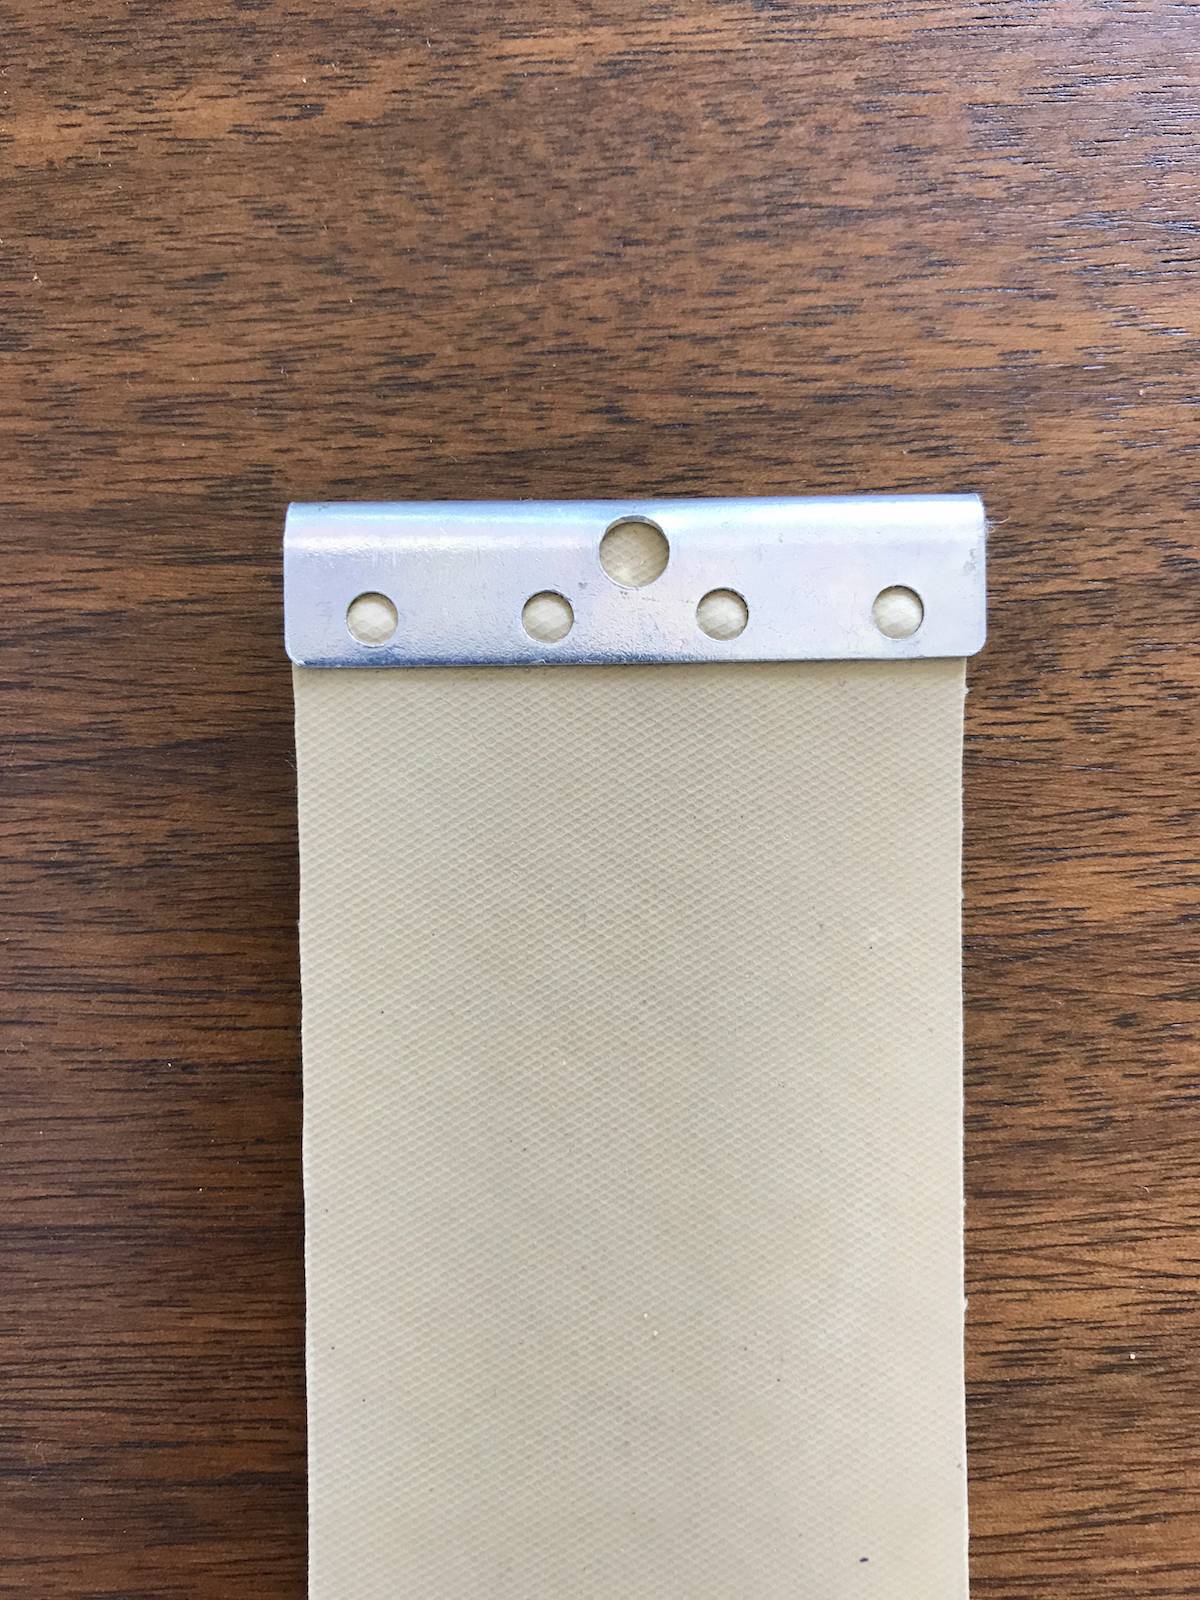
Repeat step 5 and attach a clip on the opposite side of the strap.
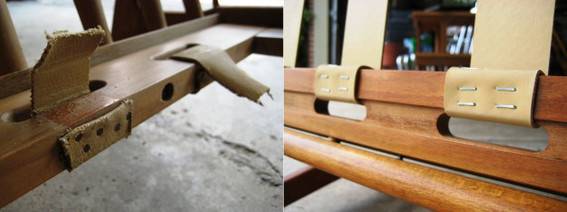
Make sure you clips are installed on the strap in the same way. One side of the strap will have both “lips” facing up like in the picture above.
Step
Attach your strap to the chair.
You’ll need to find a helper to stretch the webbing with you. One person holds the chair down, while the other stretches.
Step
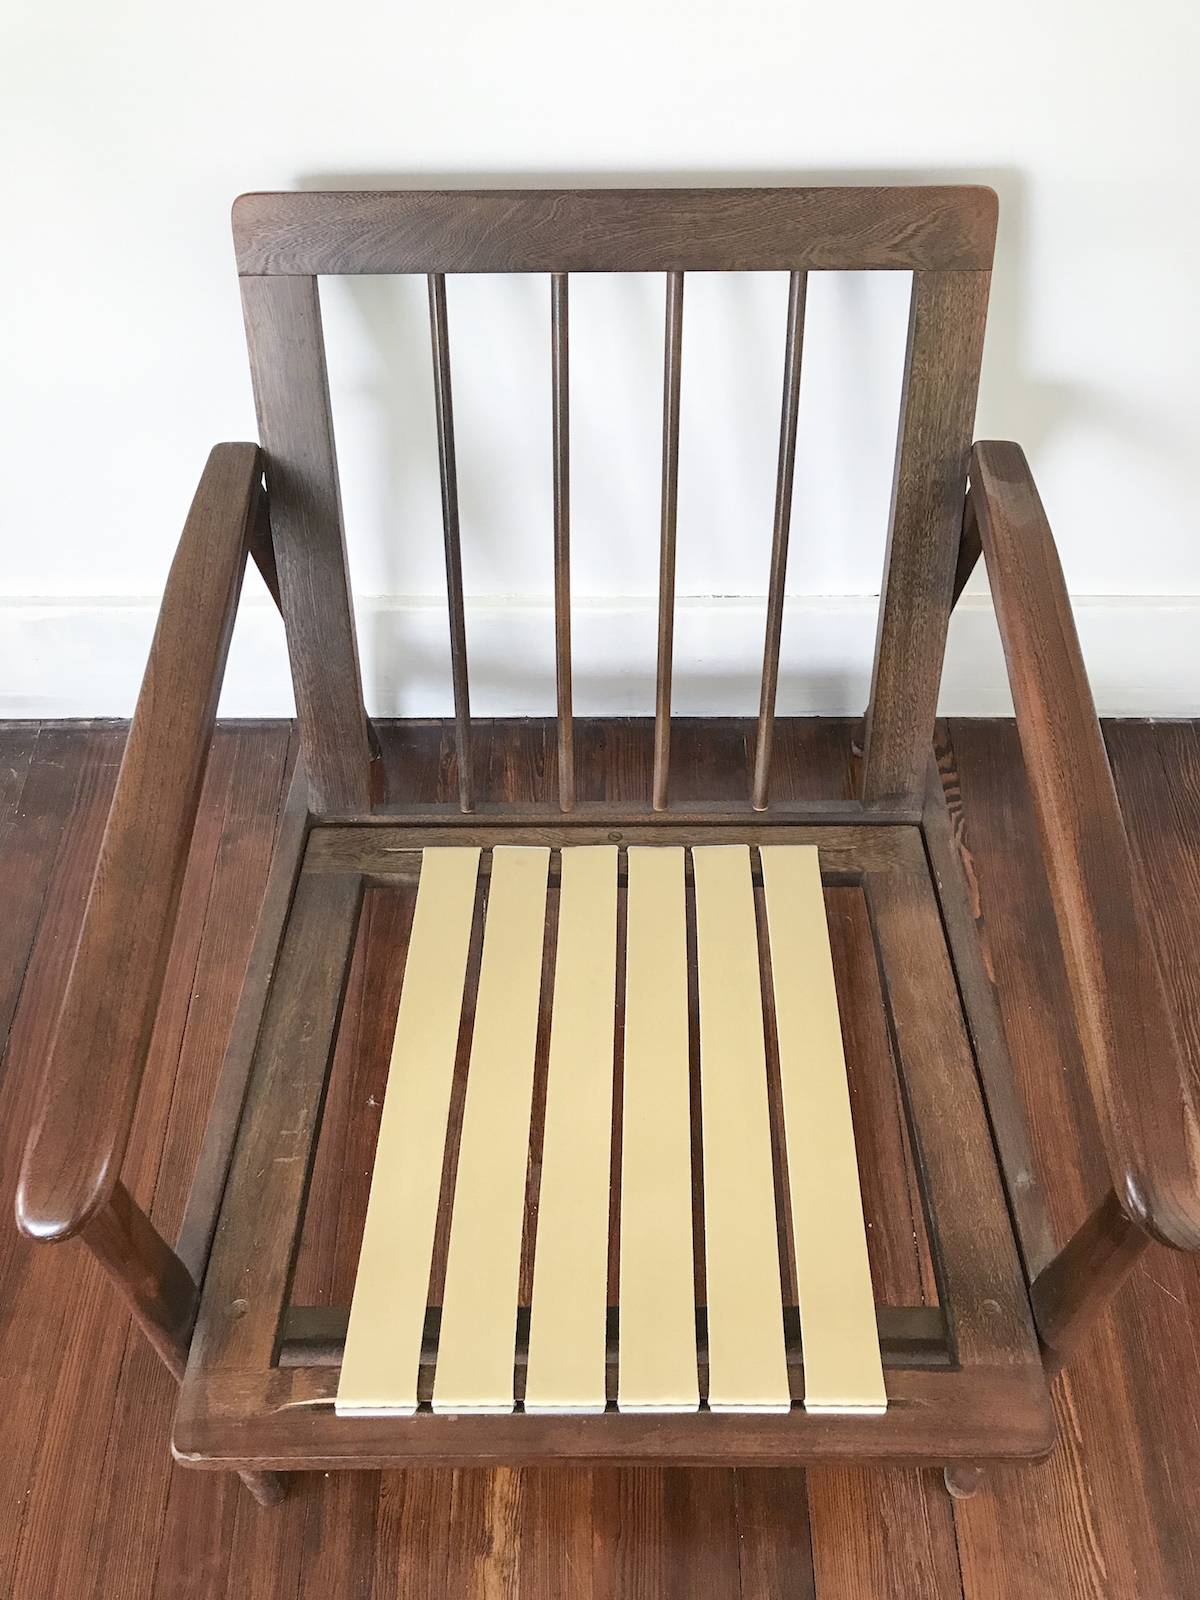
Repeat Steps 4-7 until all the straps are installed.
For extra support I chose to install 6 straps with small spacing in between. My chair really only needs five but I like the way it feels when I sit with six straps. I also feel like six straps will allow for a little more durability.
That’s it!
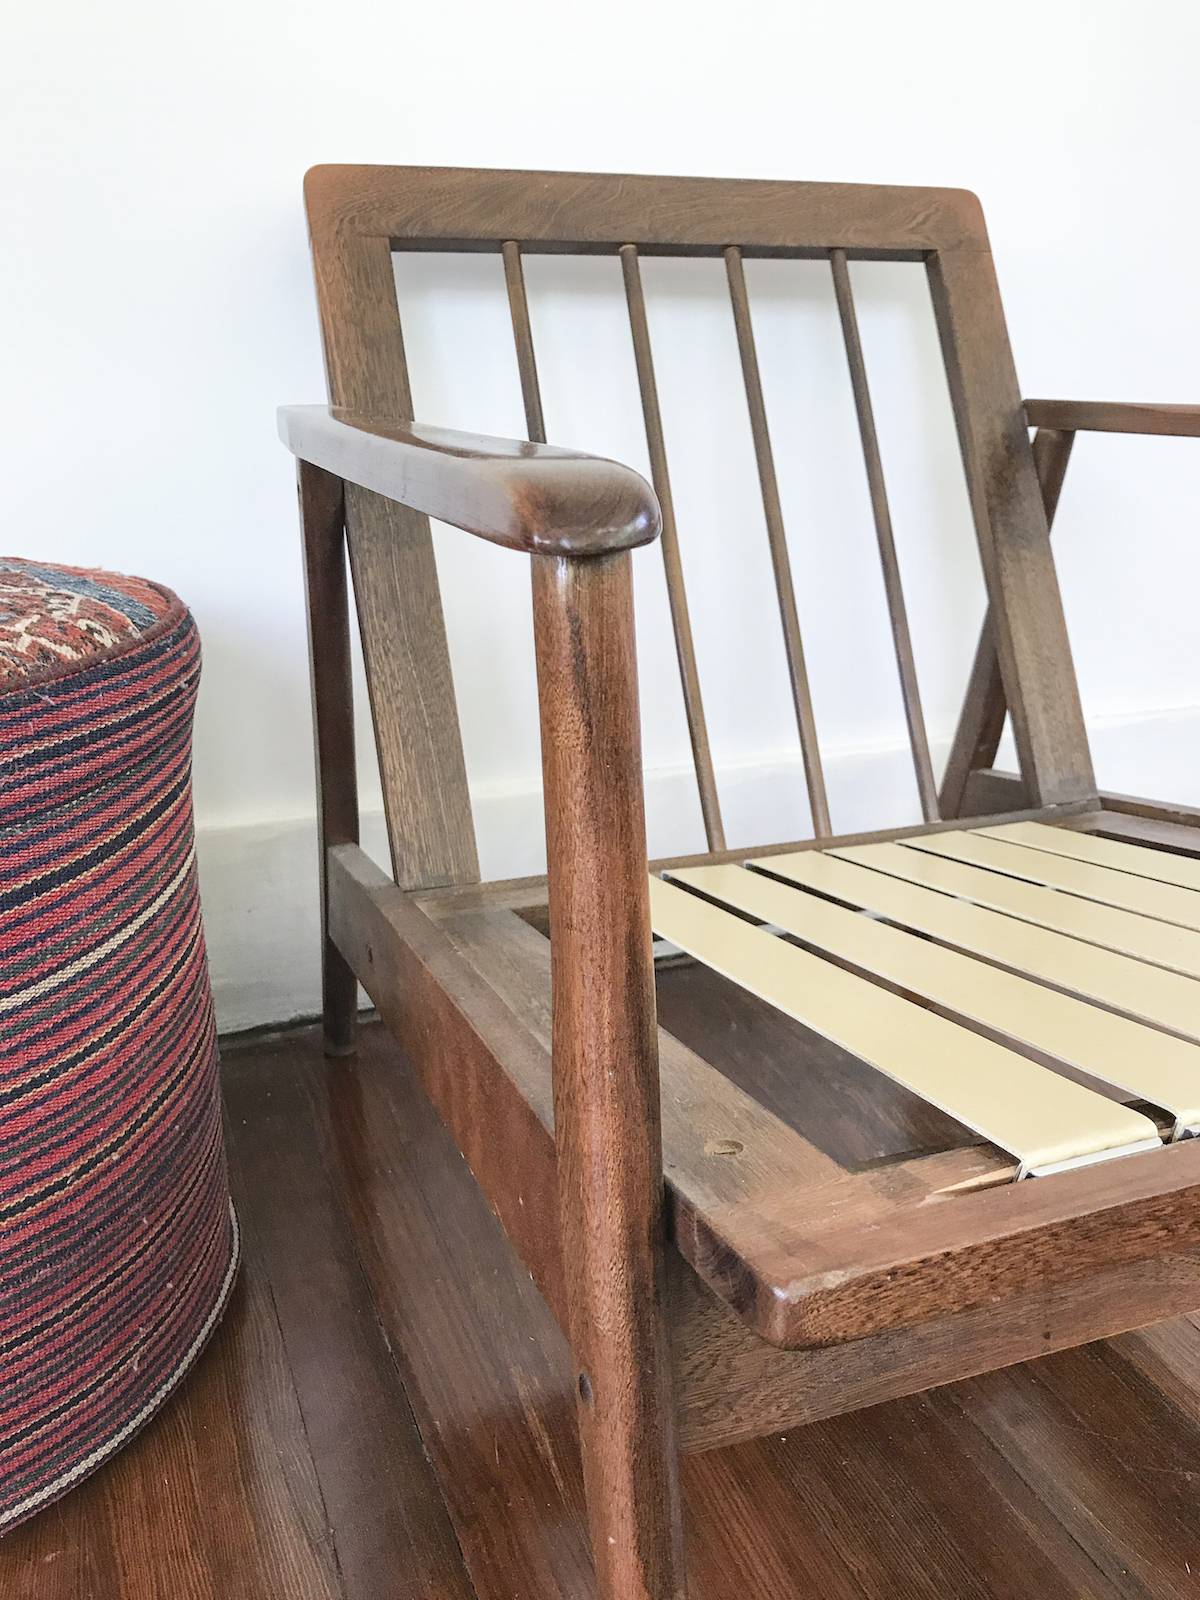
This project is super easy and takes about an hour. All that’s left is to reupholster the ugly cushions.
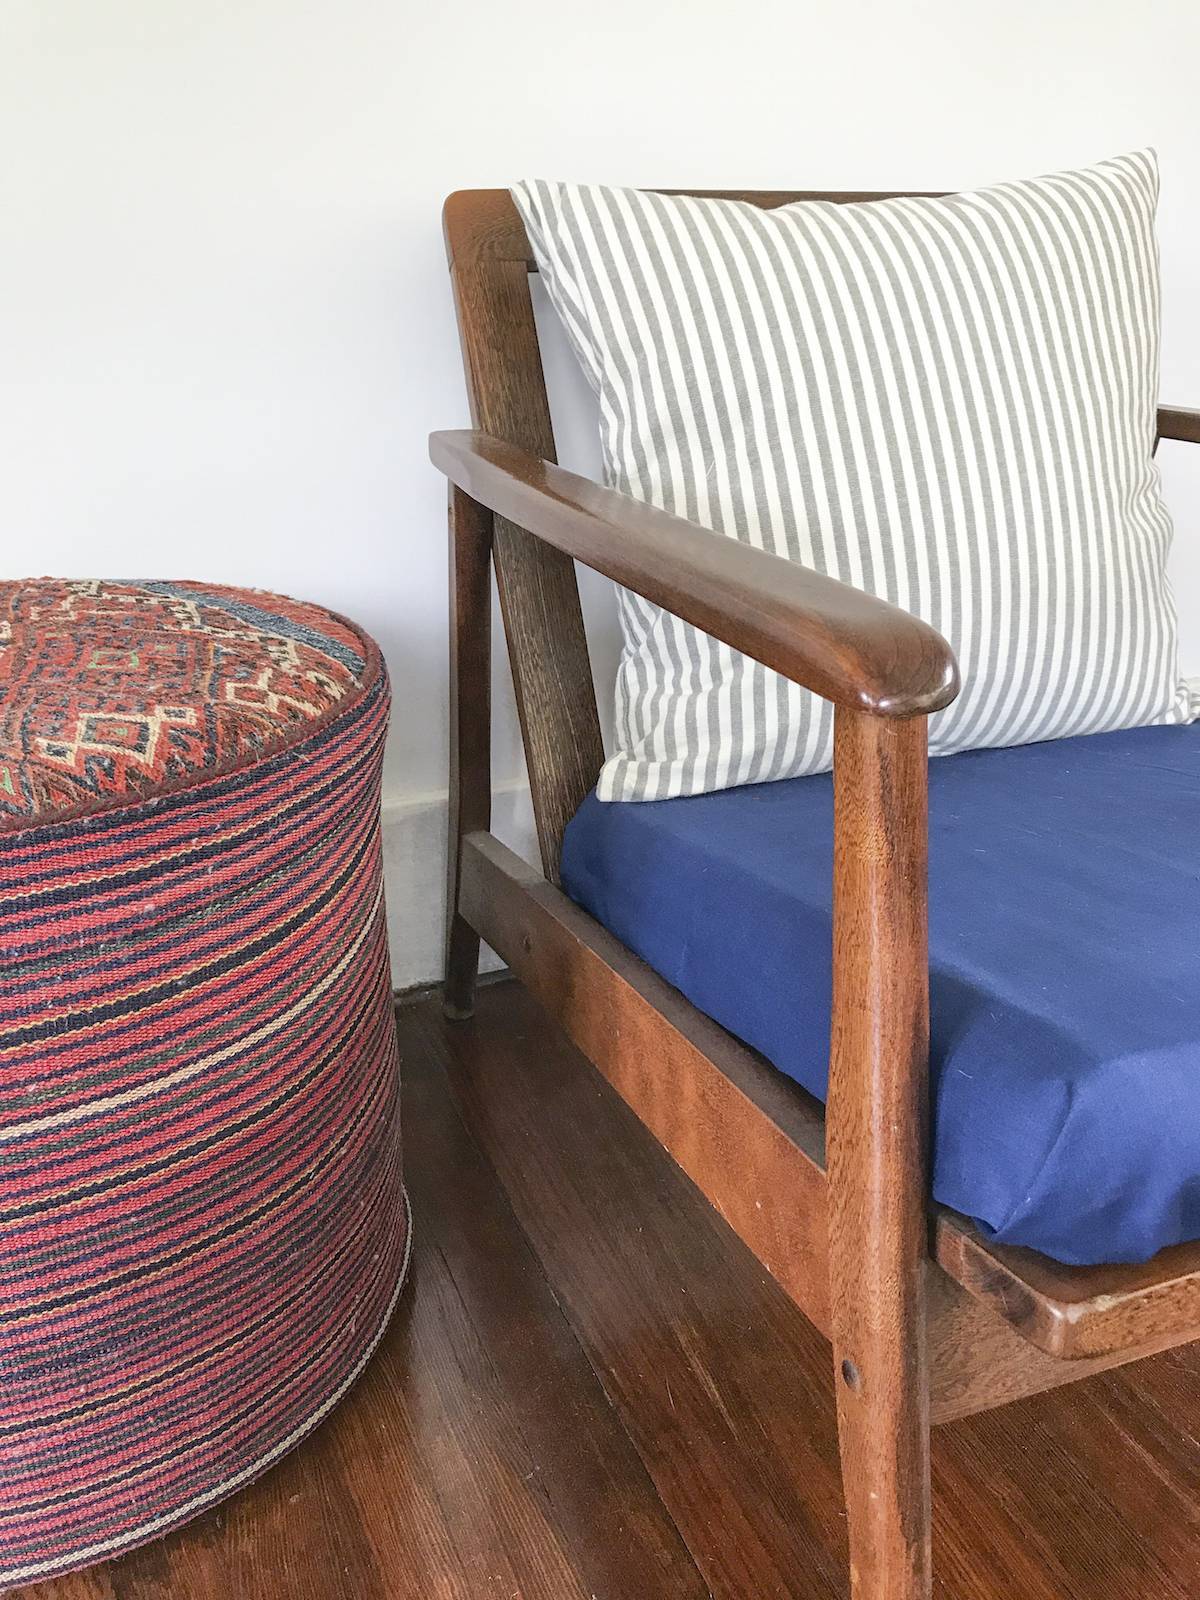
Until I get around to upholstering the cushions my trick is using a fabric scrap and a large throw pillow.
Your adds block me from reading the whole post via mobile yet let me comment. Sad.
@victoria – that’s not supposed to be happening. It might be an error with the way the ads are set up (sorry!). Can you email me at [email protected] with details of what you saw, and I can try to fix it?
Hi thanks for posting this – it’s very useful. I just wondered if you know what our chairs are called – they are from 1960s/1970s. They are very similar but are more cuboid/sharper shaped with no curves. How can I send a photo so you might be able yo see them. Thanks
Nice article. You got me well along in the process to replace the webbing in my dad’s old easy chair and hassock. I have one suggestion to pass along that made the web-to-clip attachment procedure quite a bit easier with only one set of hands. I first pre-bent the clip with a pair of pliers just enough so the webbing fit into it with some friction. In that state you can easily adjust the webbing-to-clip interface before crunching further with the pliers. Only then did I put it into the vise to compress it the remaining amount. Taking this approach eliminated the need for one pair of hands to work the vice and hold the clip, and a second pair to hold the webbing. It made the processes much easier.
Thanks again!
@RogerLockhart I am glad the post helped and I will try your trick next time!
Hello, I just purchased vintage wood arm chair from an estate sale, Hi-Back with the original vinyl cushions (orange) that are in great shape. The straps not so much. Can I use the original clips for the new strapping? The old strapping is stamped with Perelli.
The only thing I would add is that the clips are backwards. The webbing should be stretched over the “lip” portion of the metal clips so the webbing doesn’t cut into the sharp edge of the clip..
Dan, the one thing that I have noticed in doing a couple of these types of chairs is that every chair is different. All sorts of furniture makers made their version in different ways. The grooved slotting on this chair was completely different than on another pair I have where the clips do in fact go the opposite way. Thankfully the chair had its original webbing in it to show us how it needed to be done. I would always advise looking at the original webbing to help buy the right clips and to know how the clips should be installed. Happy restoring and thanks for reading!
Hello! I do believe we have the same chair! I’ve scoured the internet looking for a matching one after the original mate was lost. I had to refinish mine, the previous owner had pets and didn’t take very good care of it. Email me if you ever, Ever, consider selling it. I’m still in the process of replacing the straps on mine, and your post was extremely helpful!
Really helpful tutorial! Thanks for posting this.
I have MC lounge chairs that appear to have dowel holes (width) of the inner strapping area. Any ideas on where/how I can find replacements and install ideas?
Thanks!
E
Thanks for taking the time to post this and for the pictures. Rewebbing doesn’t seem so scary now.