This post contains affiliate links.

When I was a kid, I remember going to visit this tiny hobby store in the city where both my parents worked. I have two brothers, and when we would all visit this store, we would immediately go separate ways. My older brother was always drawn to the model cars, my little brother would beeline to the Thomas the Tank Engine toys, and I was obsessed with the paint-by-number kits. Specifically – the ones featuring… horses.
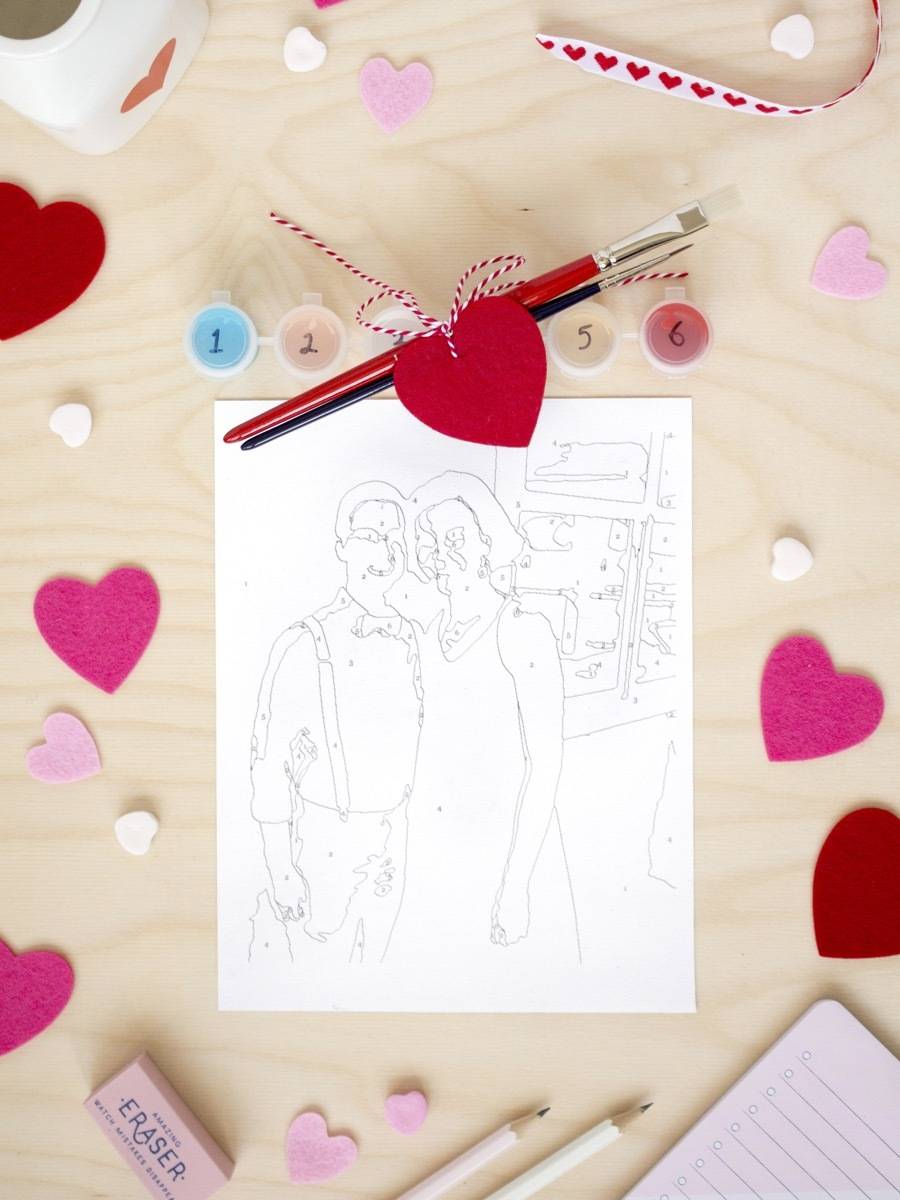
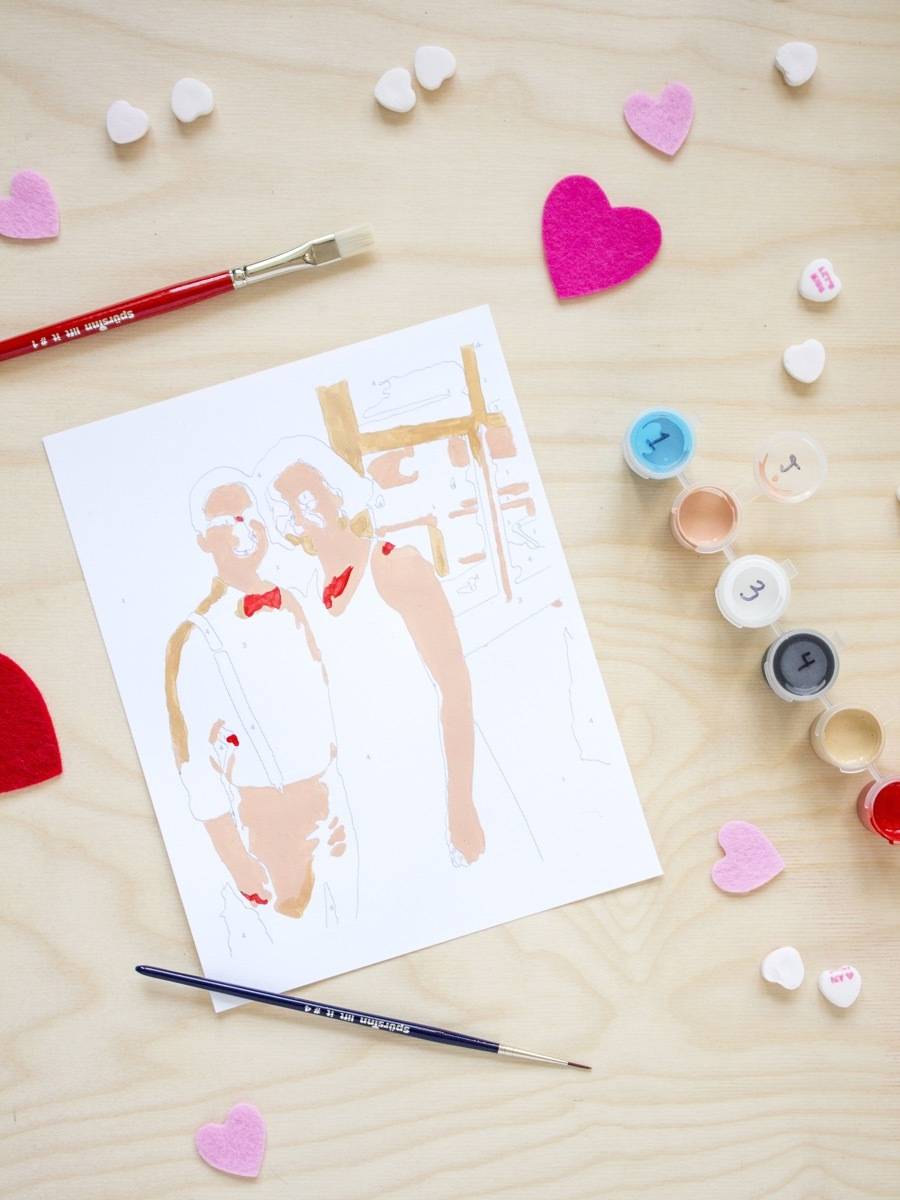
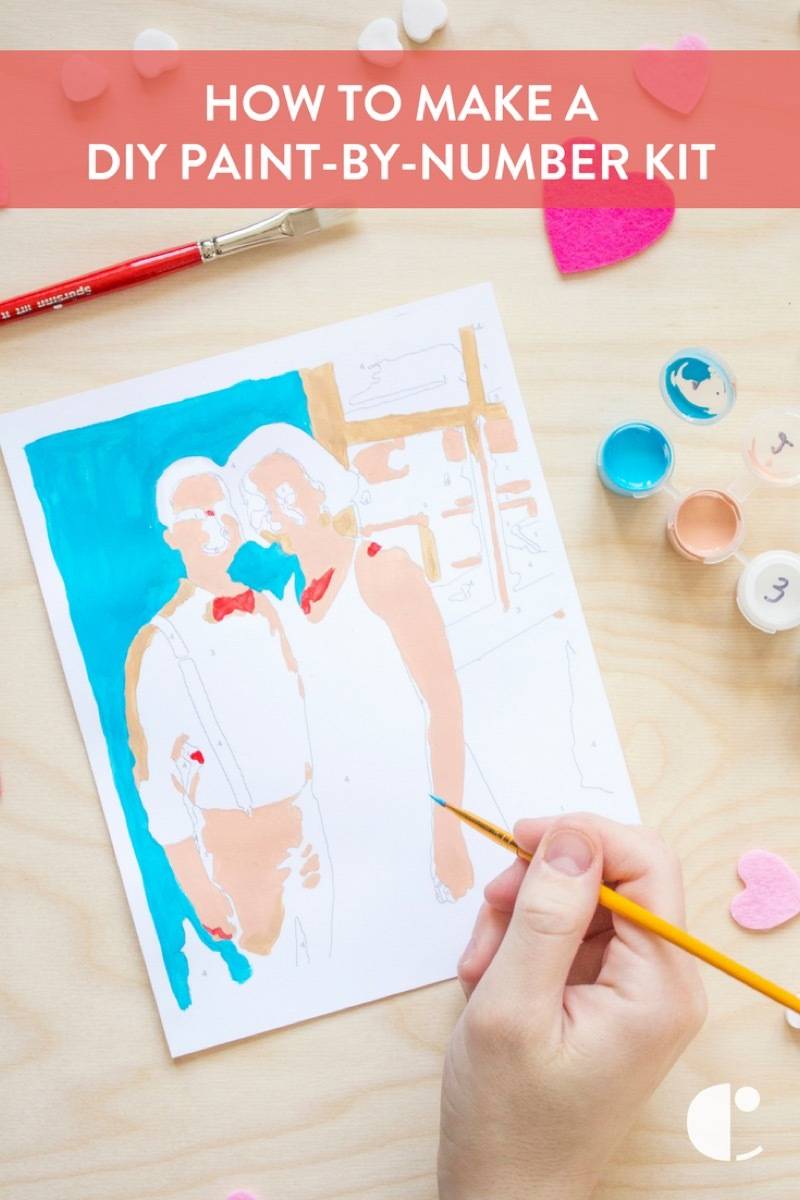
While my days of horse-loving are well over, I still think this throwback hobby is pretty nifty (and certainly nostalgic). For Valentines Day, I thought it might be sweet to make a DIY paint-by-number kit from a photo of me and my boo – keep reading to see how you can, too!
Materials
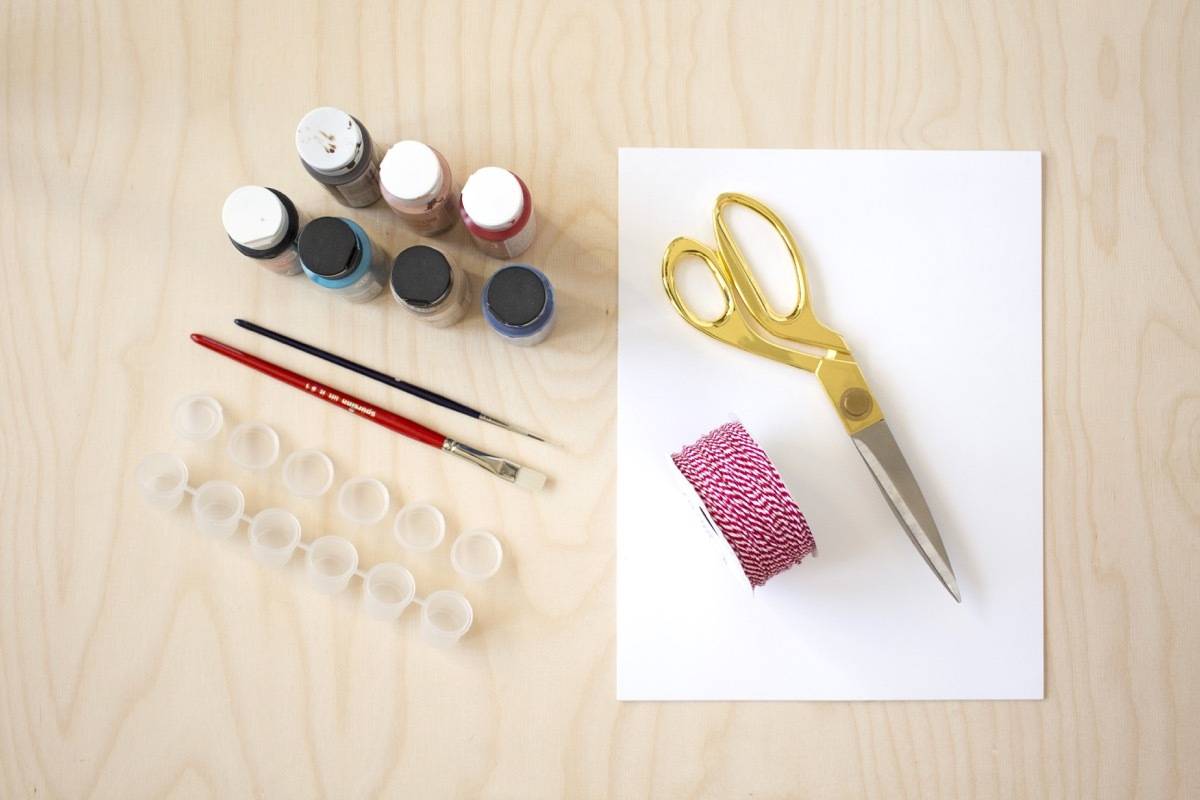
- White cardstock & printer
- Acrylic paints
- Paint pots or small air-tight containers
- Paintbrushes
- Bakers twine or ribbon
- Scissors
- A marker
- A photo of you and your sweetheart, a computer, and (optional) Photoshop
 Buy Now →
  Buy Now →
  Buy Now →
  Buy Now →
  Buy Now →
  Buy Now →
 Step 1
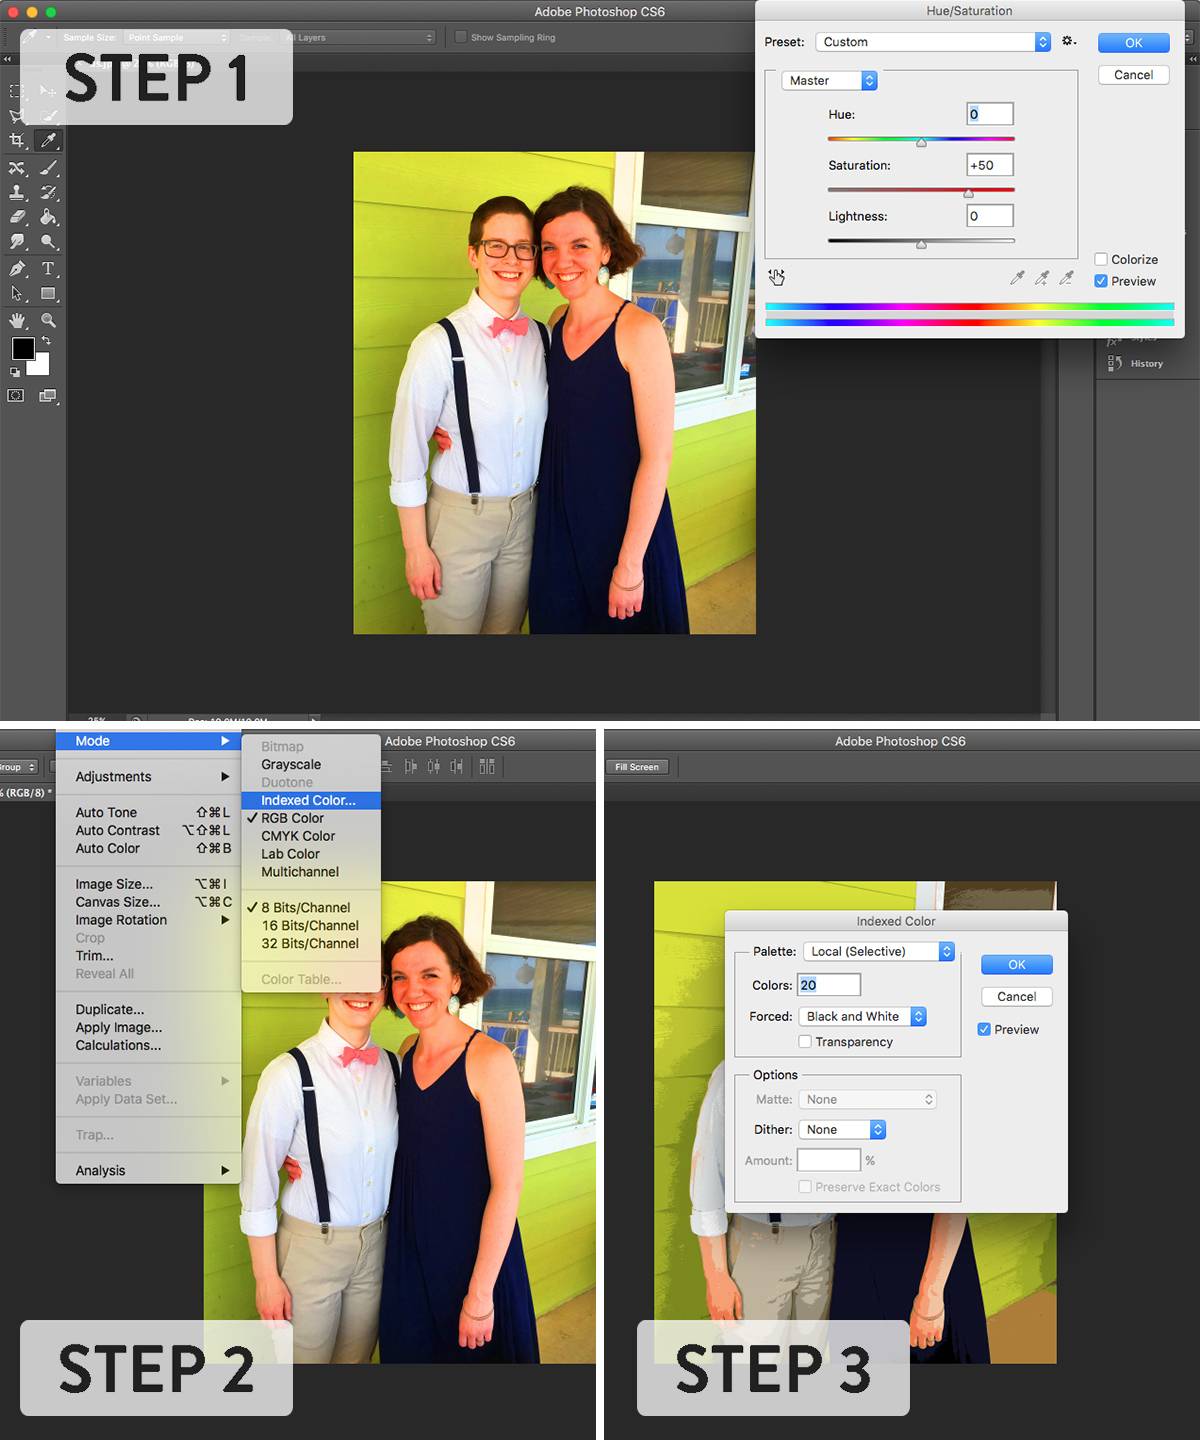
This step is optional, but helps if you are using an image with a lot of different colors in it. This will localize the colors in your photo.
1. Open the photo in Photoshop, and bump up the saturation (Image -> Adjustments -> Hue/Saturation).
2. Change the mode of the image to Indexed color (Image -> Mode -> Indexed Color)
3. A menu will pop up asking what kind of indexing should happen. Select a Local (Selective) palette, with 20 colors, forced in Black & White. Click OK.
4. Change the mode back to RGB (Image -> Mode -> RGB Color). Save the image.
Step 2
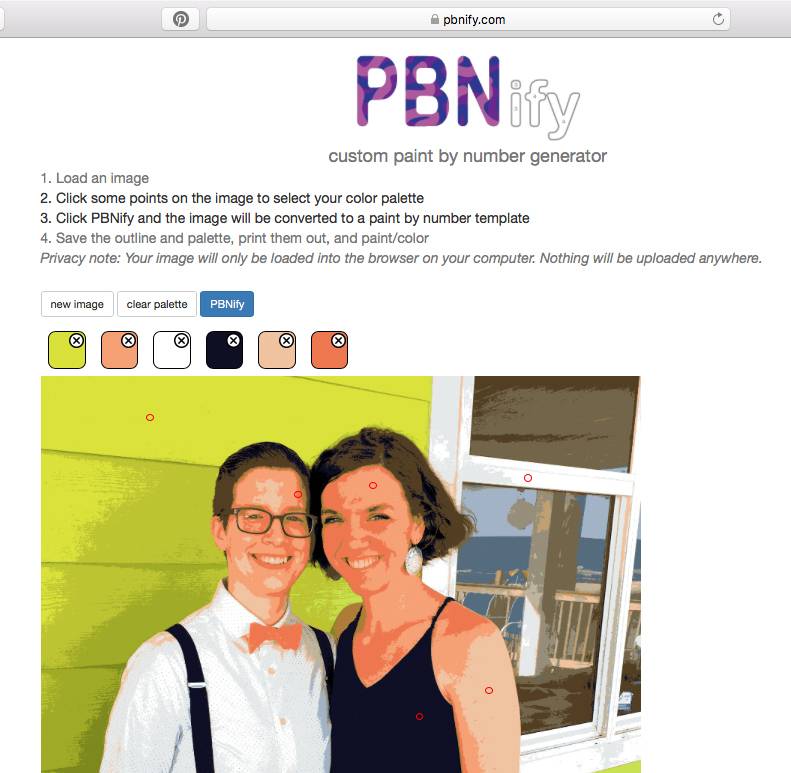
Head over to your web browser and to go PBNify.com. This online program makes it easy to transform an photo into a DIY paint-by-number image. Upload your photo to the program.
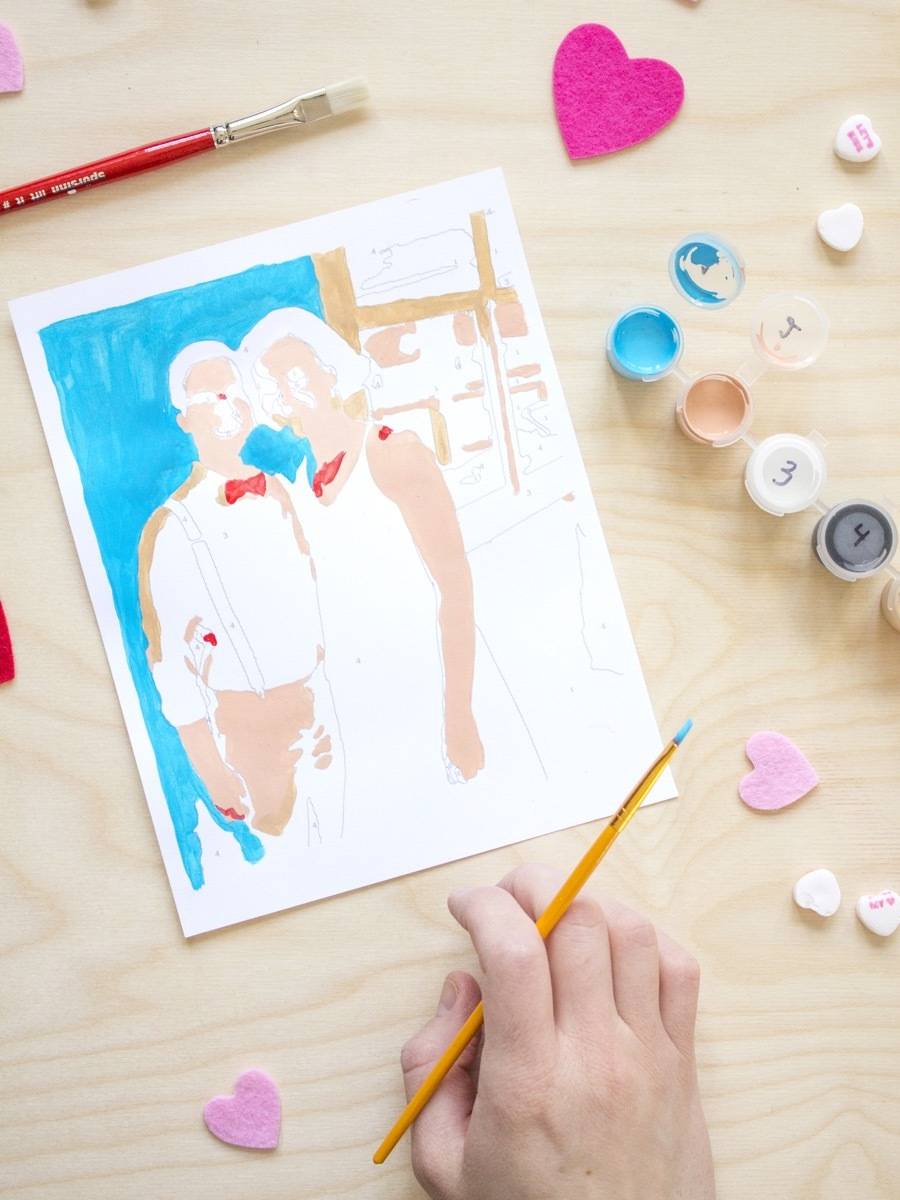
Next, you’ll be asked to select a color palette. You’ll do this by selecting points within the photo. Choose colors that appear frequently in the photo (like how I picked the green of the background, a skin tone, the the black of my dress, the white of my fiancee’s shirt, etc.). Keep in mind how many paints you have containers for. My paint pots came in strips of six containers each, so I knew I needed to keep my color palette to six or twelve colors.
Take a screenshot of your color palette! You will reference this when picking paints!
Click “PBNify,” and wait for the program to create a numbered outline (this can take a while).
Step 3
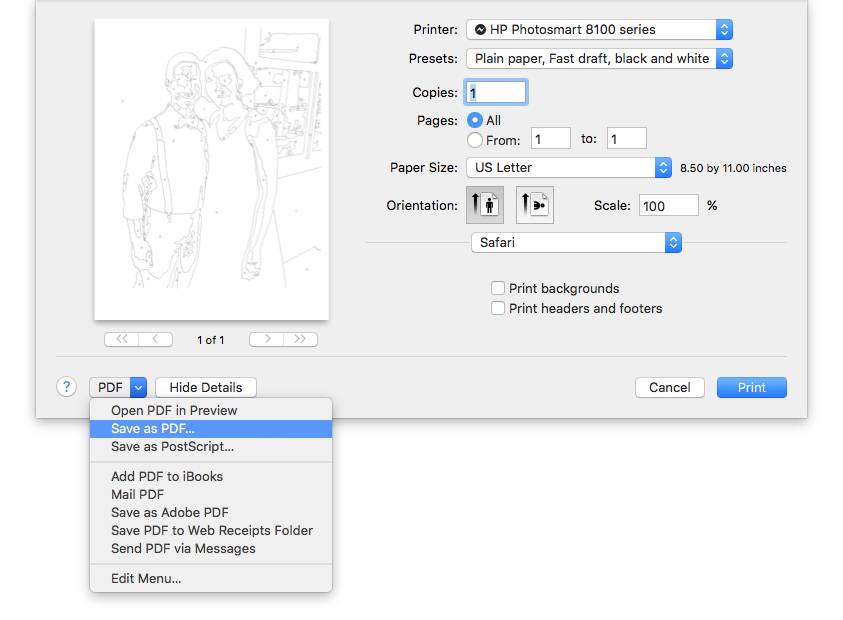
Once the photo has been converted, click “outlines.” This will open just the outline in a different window. You can print it right from here, or save the image as a PDF for resizing.
Print the outline on cardstock.
Step 4
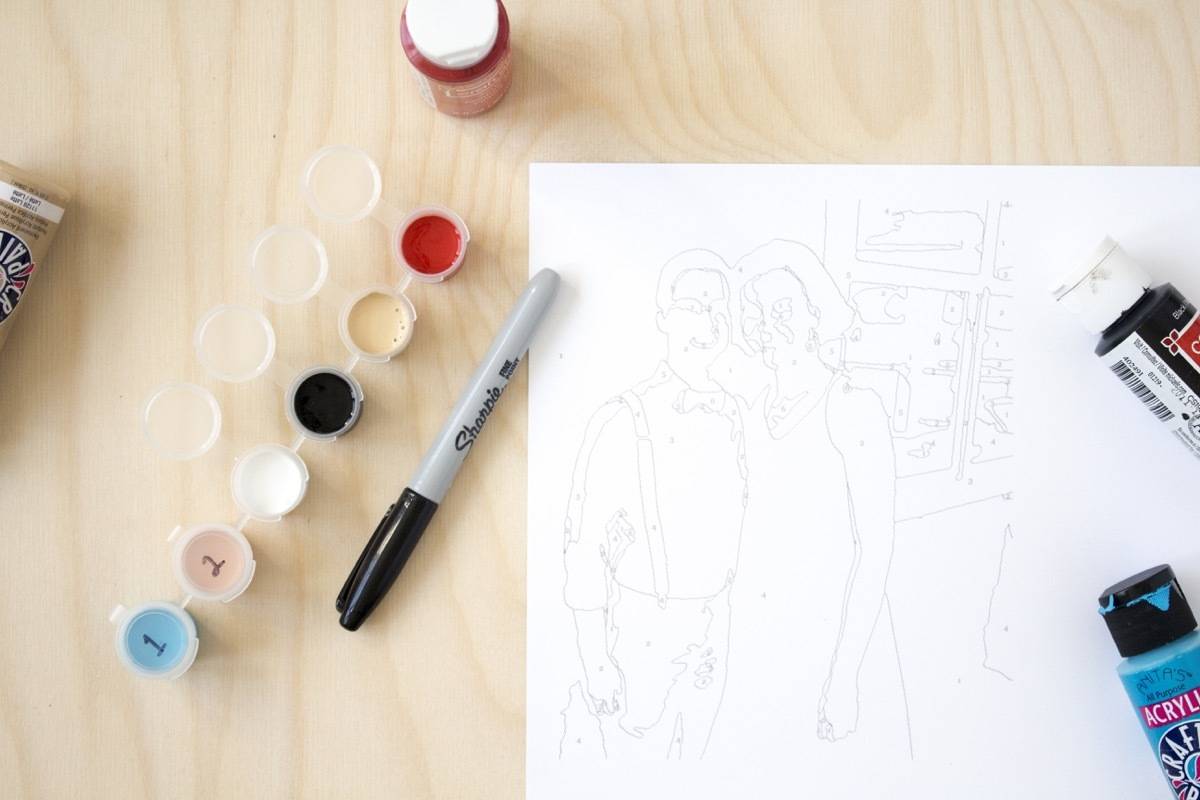
Fill your pots with paint, matching colors with the screenshot you took of the palette. If you don’t have a color that matches exactly, you might be able to get away with a similar color, or you can mix colors. Make sure to label the paint pots with their corresponding number.
Step 5
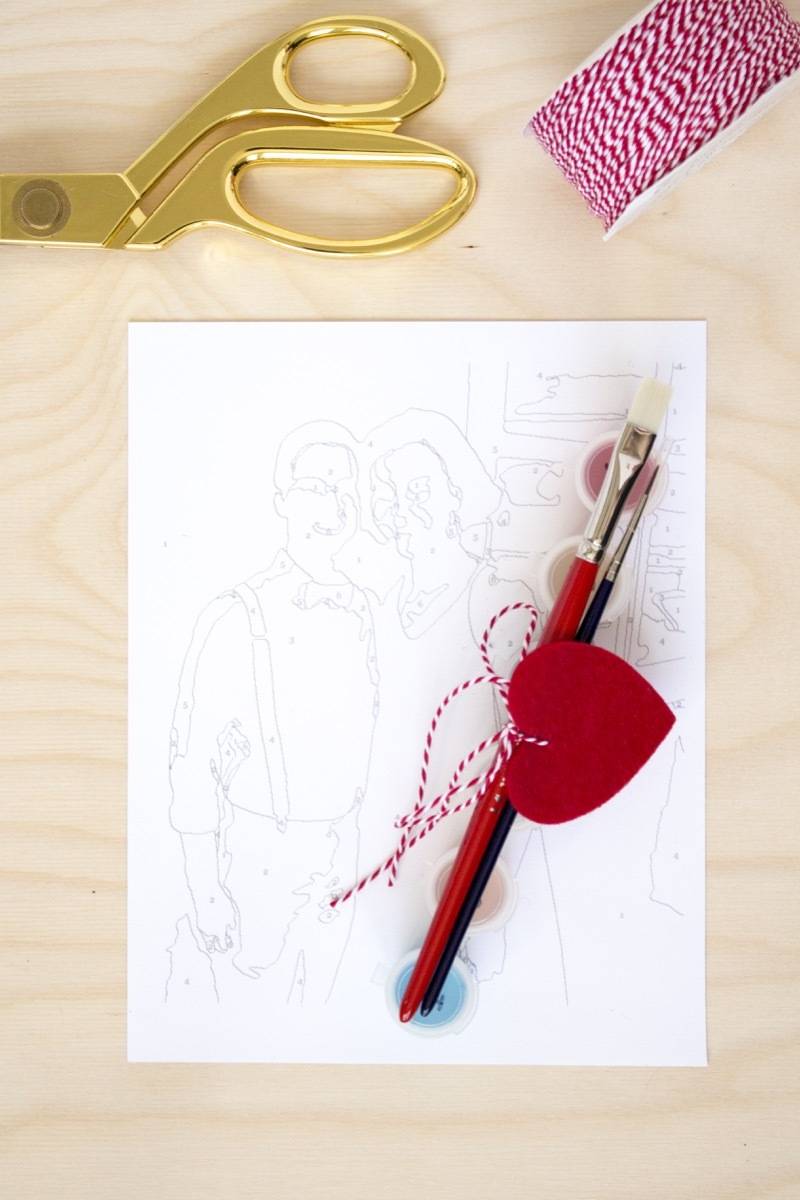
Use bakers twine to tie the paints together with a few new paintbrushes. Give this personalized DIY paint-by-number kit your sweetheart.
While getting ready for this project, I tried to find some of my old favorite horse-themed paint-by-number kits online, and it looks like they’re not as popular anymore. Which is pretty lame, in my opinion. However, there are a slew of paint-by-number kits made for adults! They all have major Thomas Kinkade vibes, and I’m kind of digging it. Who knew paint-by-numbers were still popular?
Jonesing for more DIY Valentines? Try these scratch-off cards!