
Ahh, the stocking — a staple of Christmas celebrations! Have your stockings been hung yet? If not, we’ve got a great modern idea for you today that you will love: DIY leather monogram stockings! They are simple to make and totally in keeping with a minimal holiday decor style.
If you’ve never embroidered, don’t worry — you only need to one stitch, the blanket stitch. Keep reading to see how to make your own!
Materials
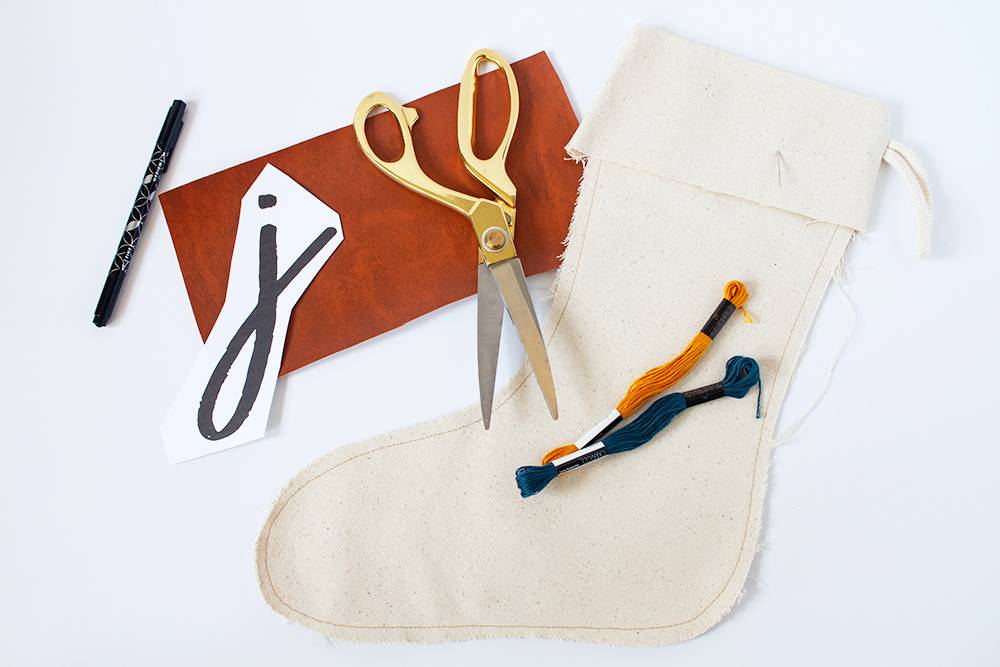
- Plain stockings, such as these canvas ones
- Fabric scissors and regular scissors
- Faux leather fabric (or cut up a worn-out leather purse for your fabric)
- Embroidery floss, at least one skein
- Embroidery needles (any needle with a large eye will do)
- Sewing pins
- A large letter printed onto cardstock
Step
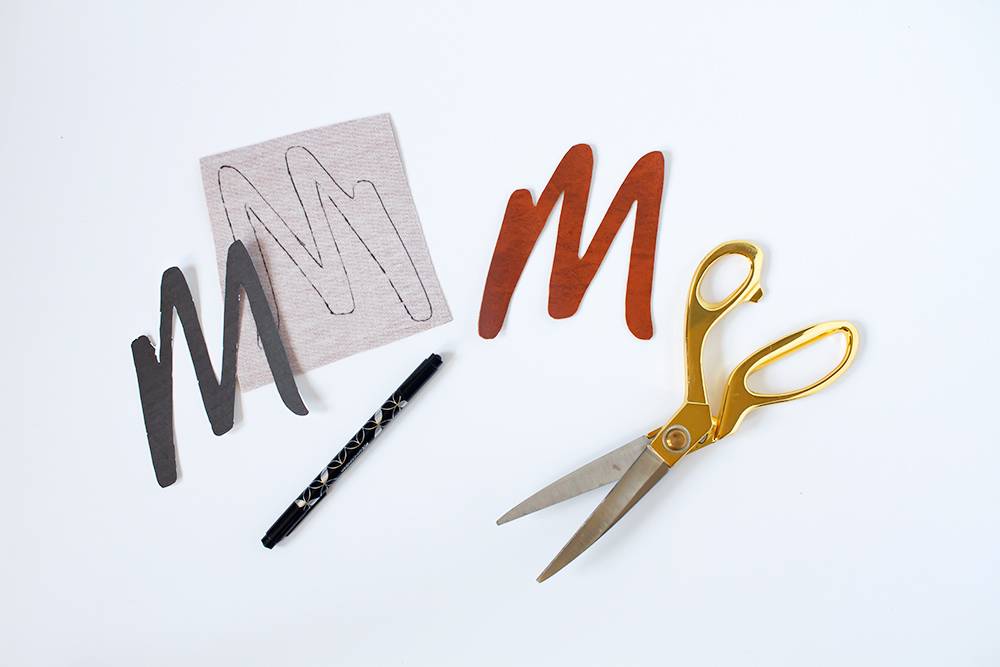
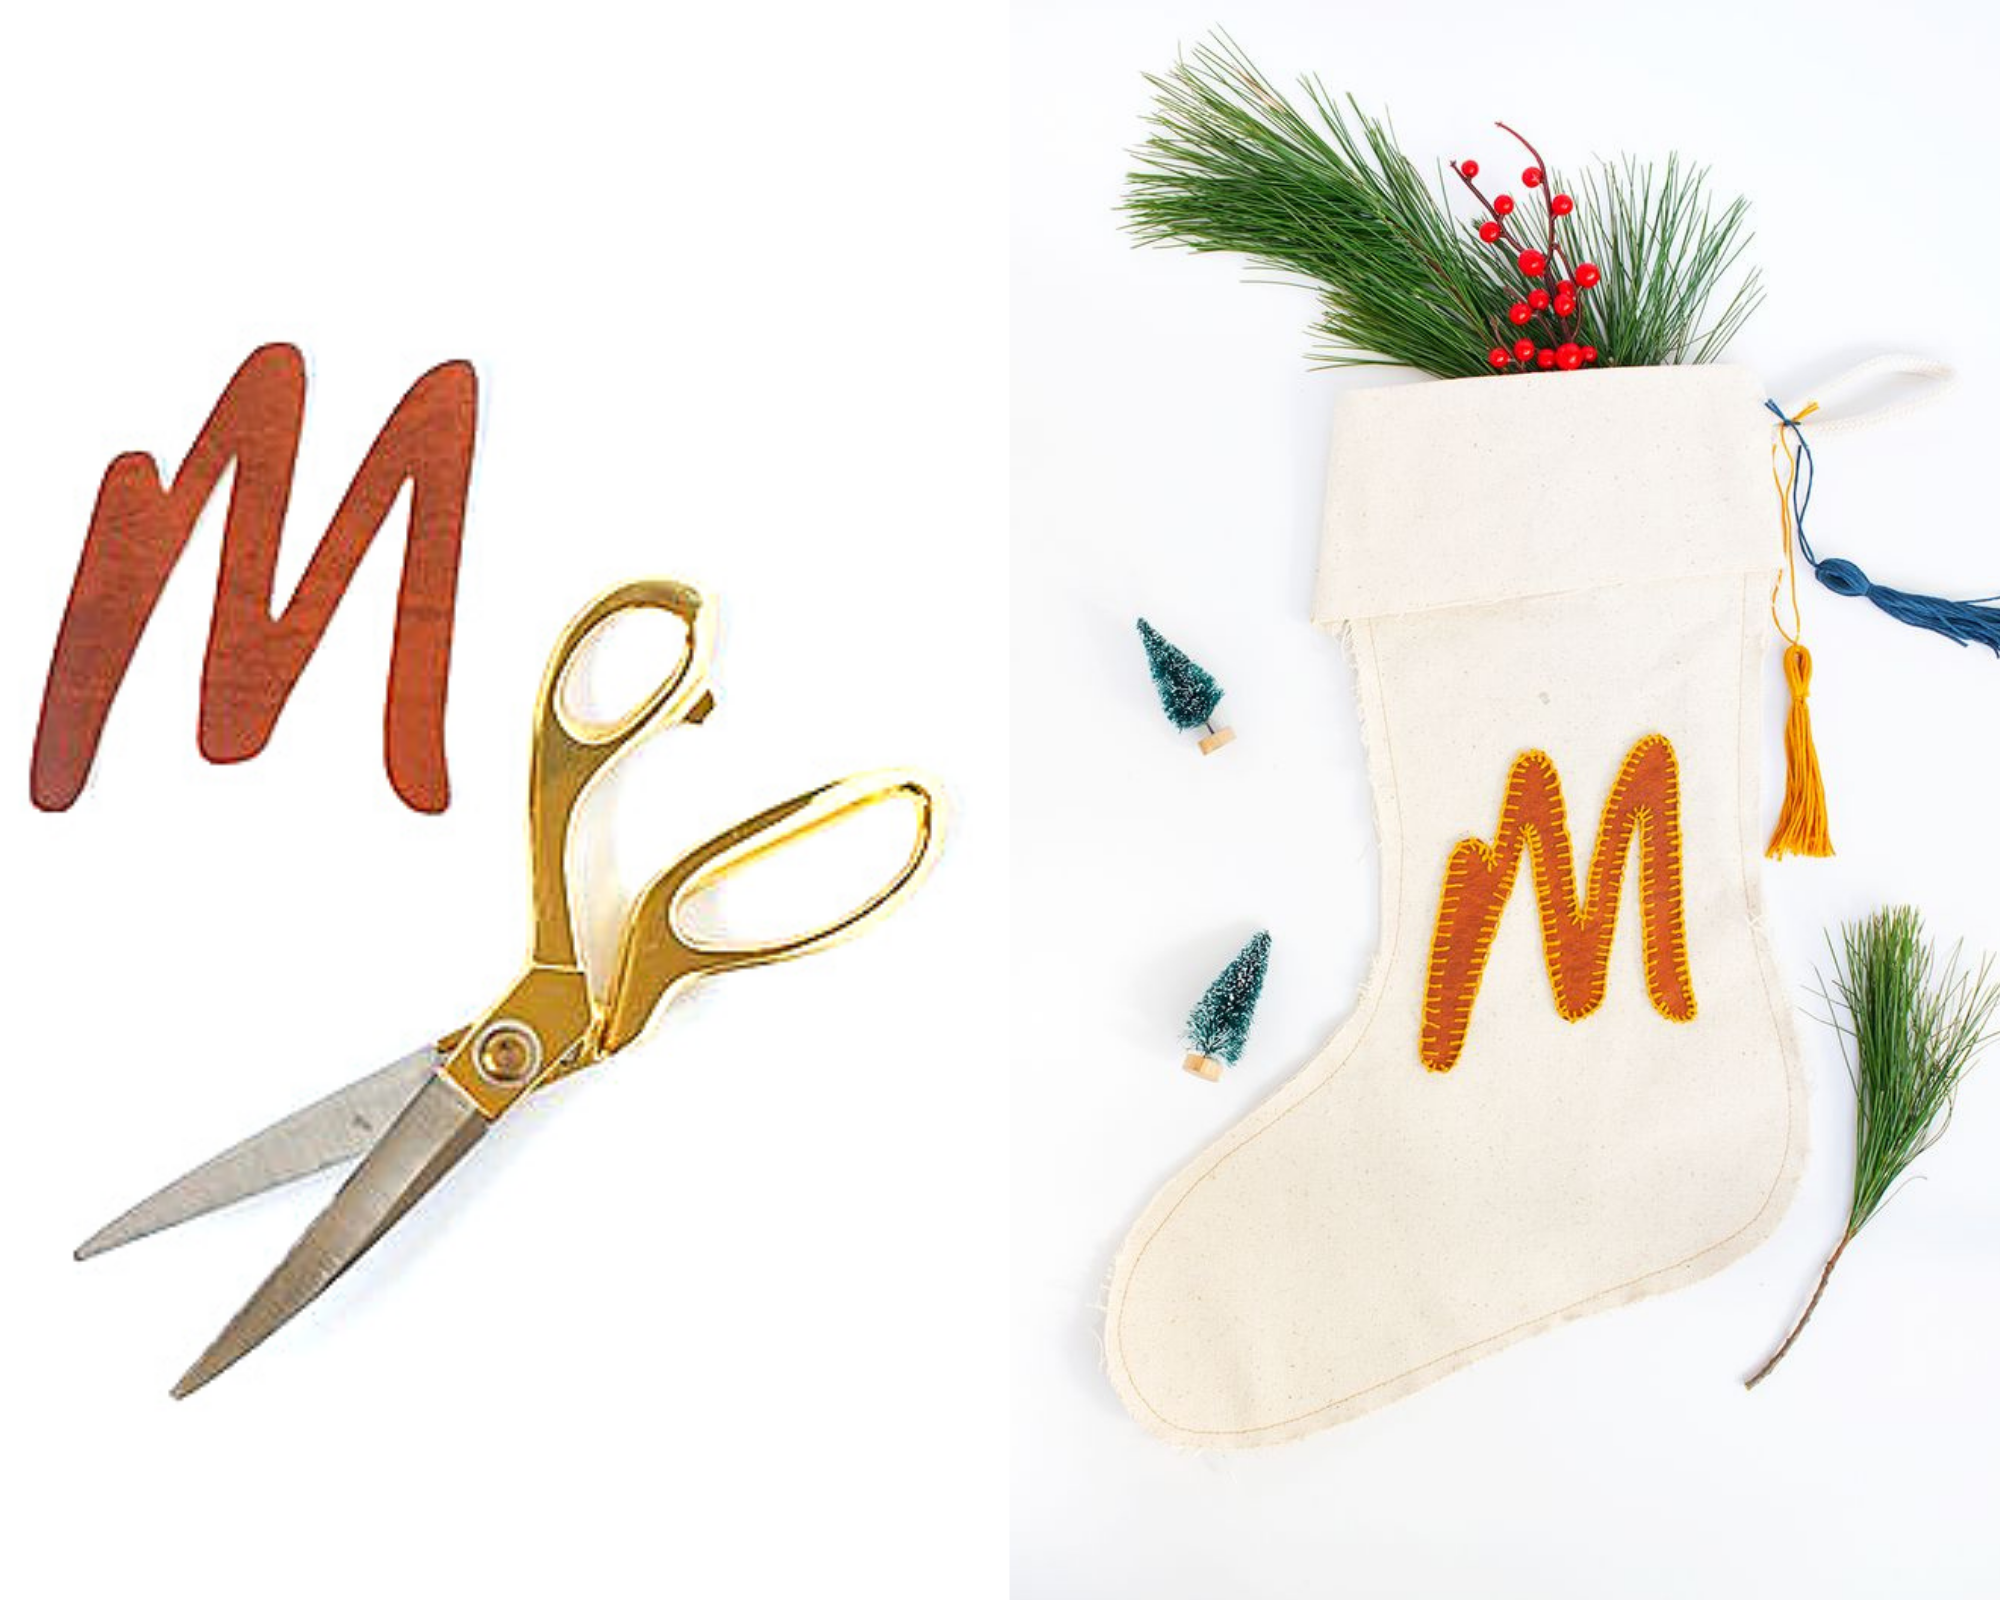
Cut out your letter, and trace it onto the back of the leather or faux leather fabric. The font I used for my “M” is trendsetter.
Make sure to trace the letter onto the fabric backwards, so it faces the right way when you cut it out!
Then, cut out the leather letter with a pair of fabric scissors.
Step
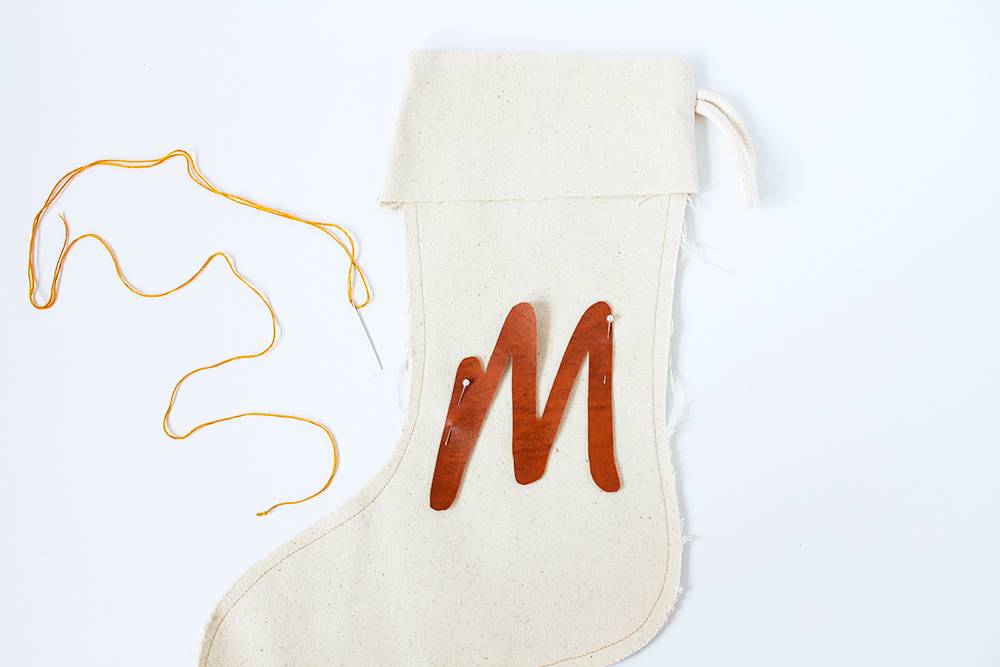
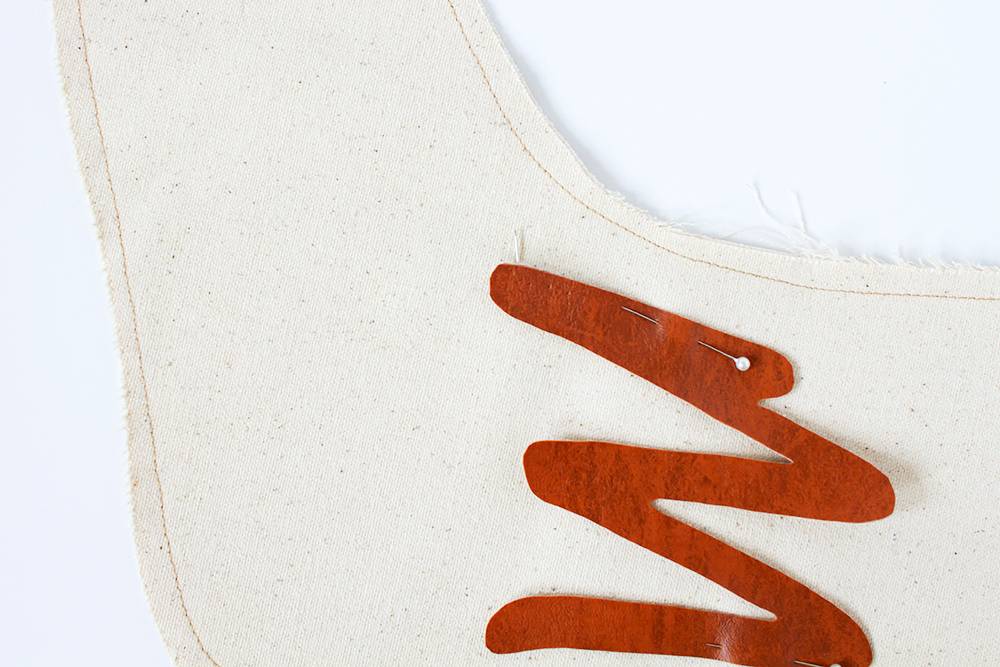
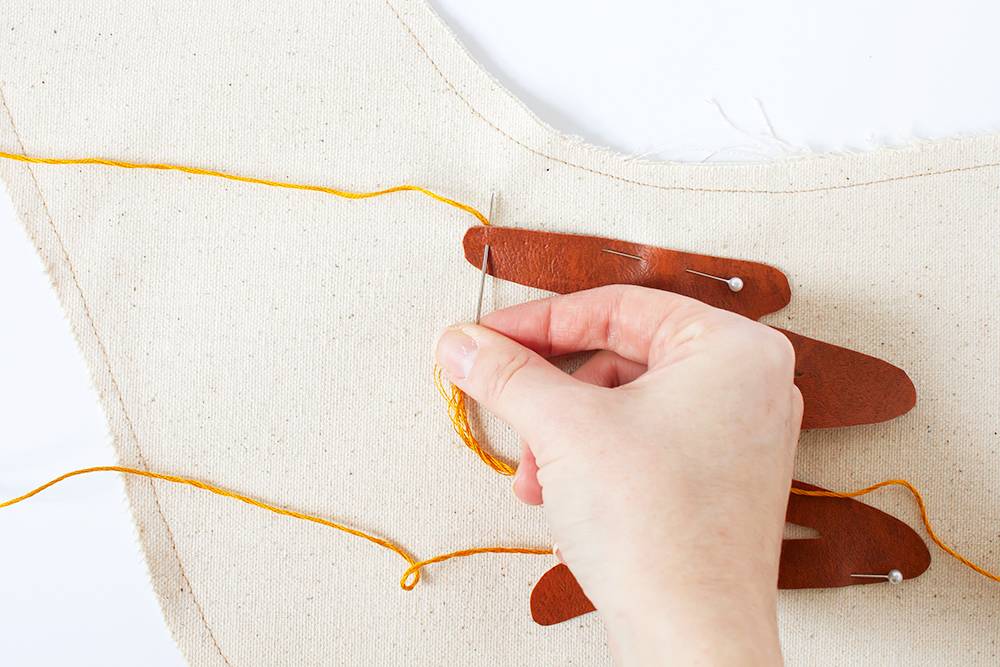
Pin the letter onto the stocking, being careful to pin it to only one side of the stocking, not all the way through (or you will end up sewing the stocking shut, sounds obvious but I had to catch myself!).
Thread the needle with embroidery floss and tie a knot at the end.
Step
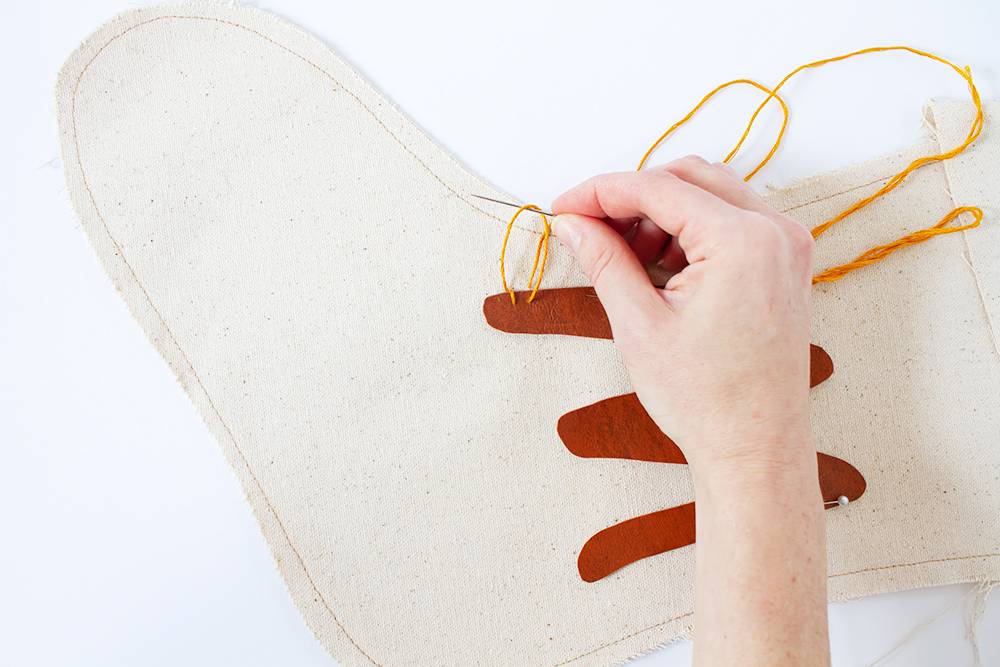
Ok the first stitch of the blanket stitch is a little weird, but after that it gets really easy, promise! From inside the stocking, push the needle through the stocking so it lines up right at the edge of the letter. Pull the thread all the way through. The knot will be on the inside of the stocking.
Now, push the needle down into the leather and the top layer of the stocking, then back up through the stocking, in the same spot as the first hole you made. Pull the thread through almost all of the way, until you are left with a small loop.
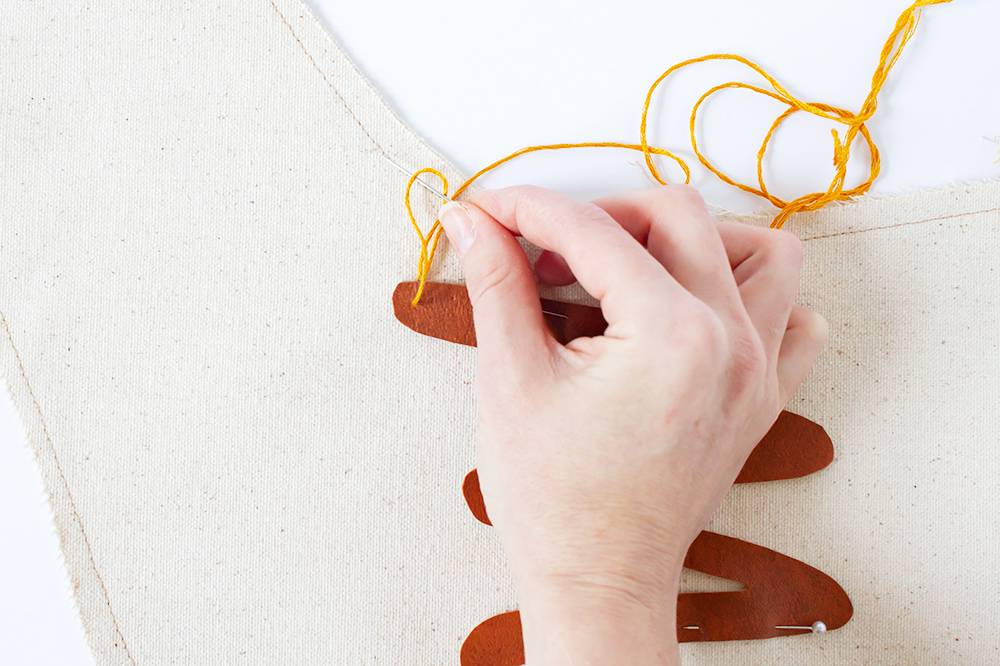
Insert the needle into the loop from front to back.
Then, pull the thread all the way through. First stitch done!
Step
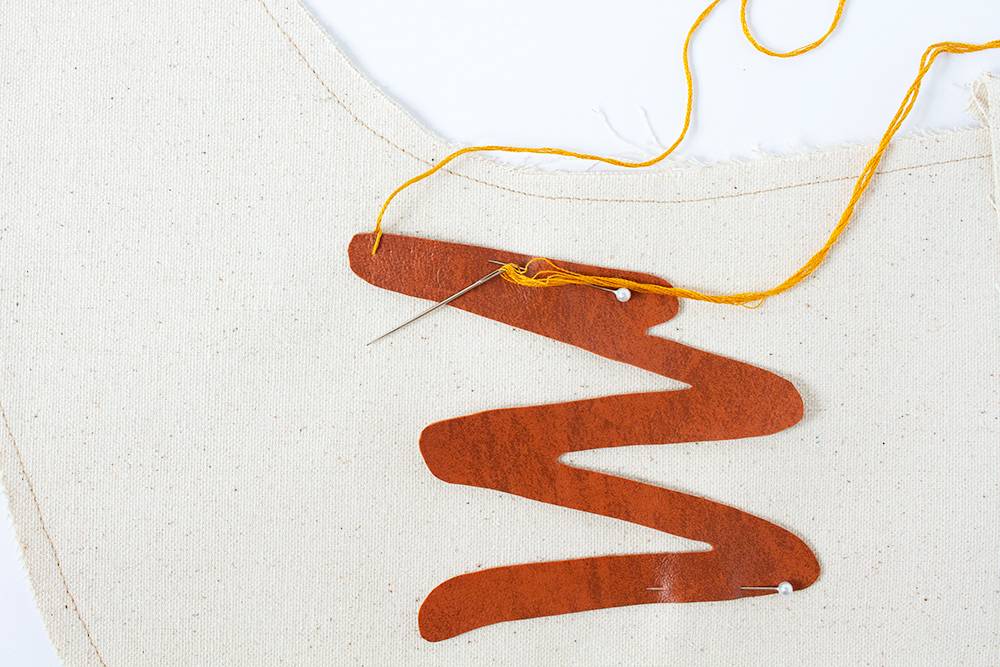
To make the second stitch, start about 1/4 of an inch to the right of the first stitch. Push the needle down through the letter and the top layer of the stocking fabric, then back up through the stocking fabric, at the edge of the letter.
Pull the thread almost all the way through, until you have that small loop again.
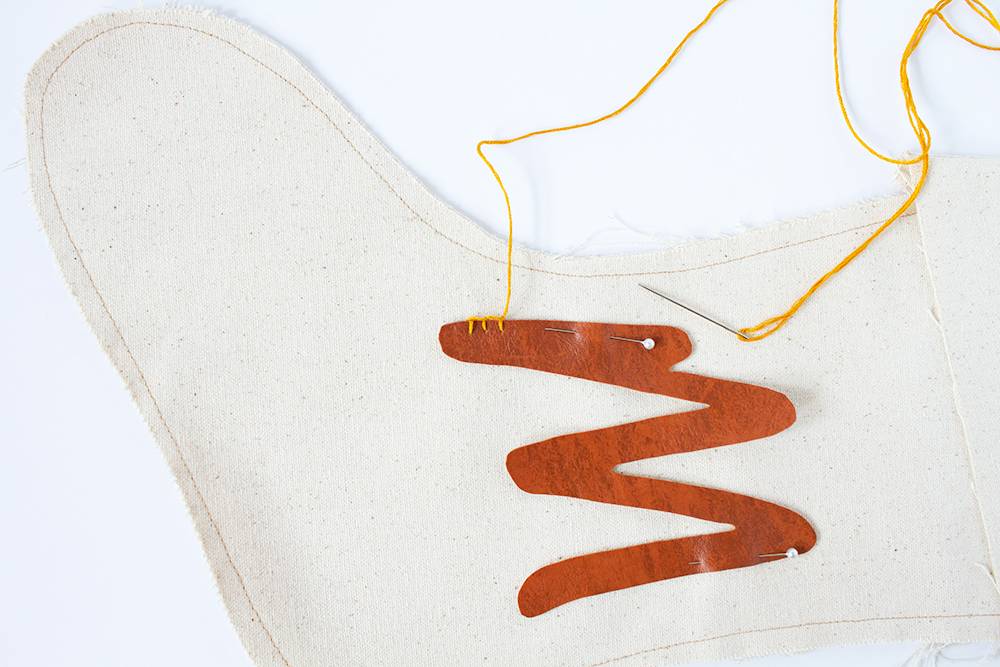
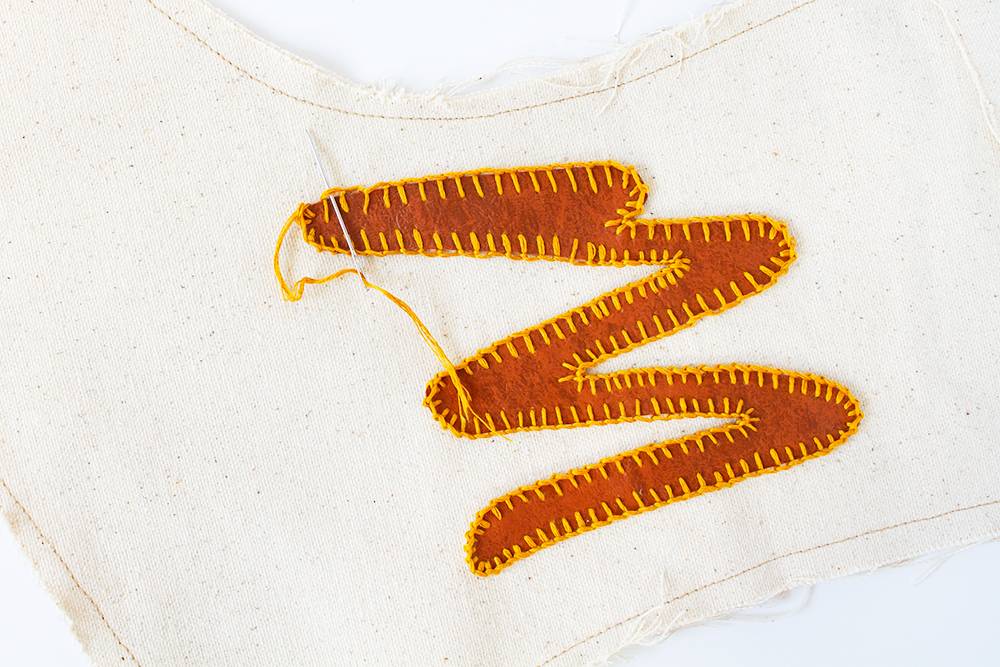
Insert the needle into the loop from front to back, and pull the thread all the way through. That’s your second stitch! (I accidentally skipped a photo, so this image shows three stitches).
Step
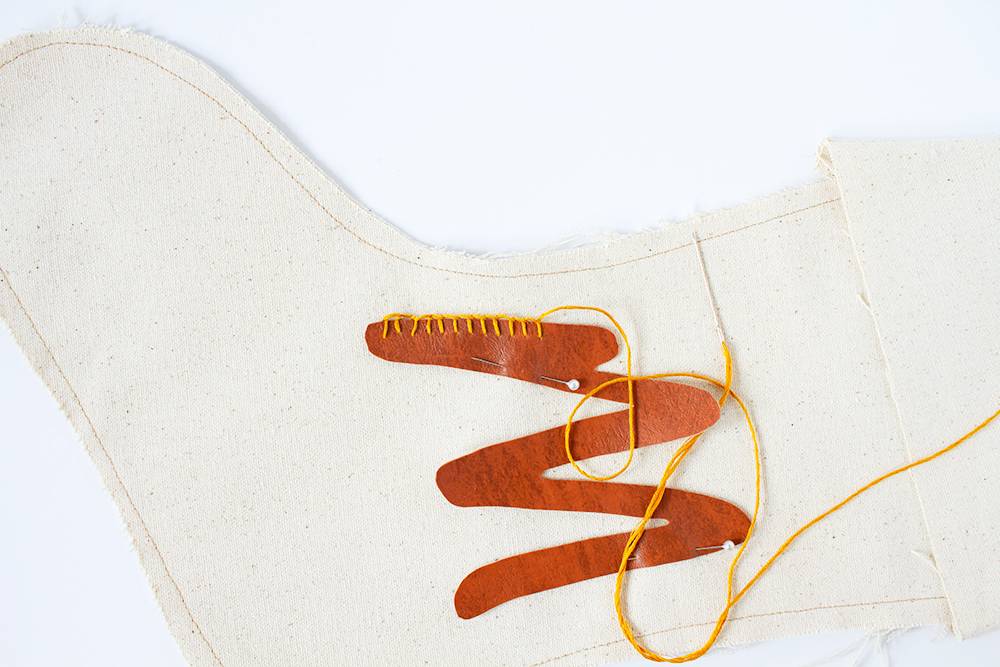
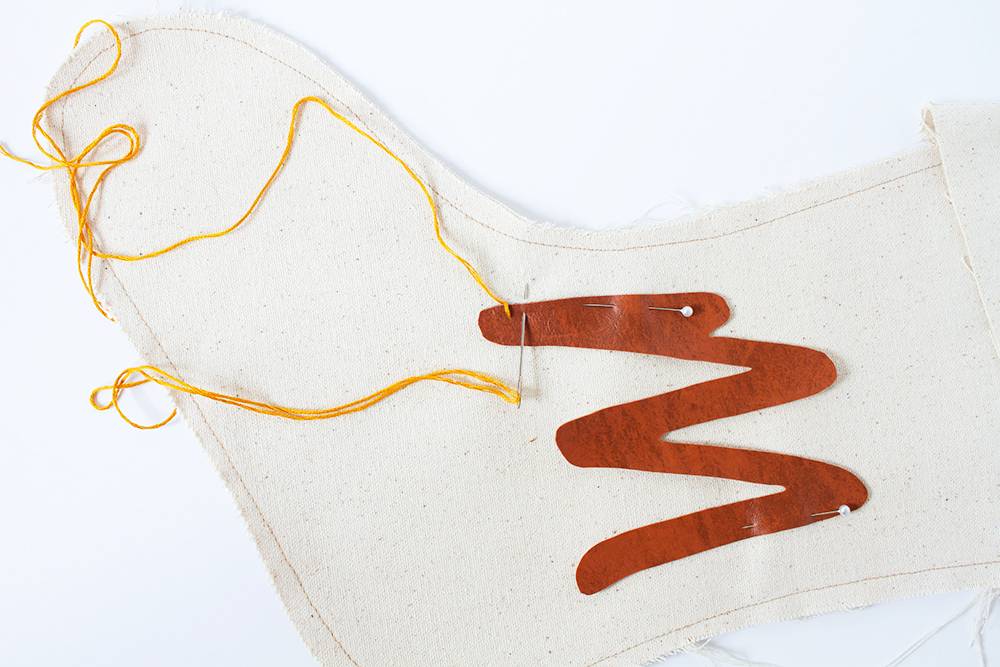
And you’re off! Keep stitching the blanket stitch all the way around the letter.
You can stitch around curves and corners by making slightly smaller stitches, a little closer together.
Step
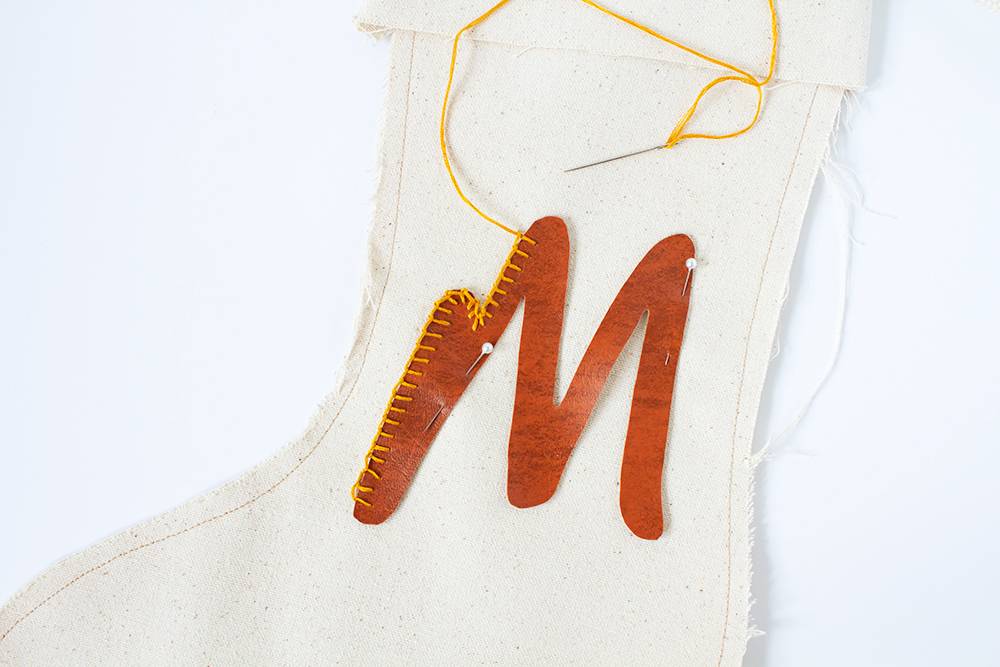
When you’ve embroidered all the way back to the first stitch, make your last stitch, and pull the needle through the loop created by the first stitch.

Pull the thread through, then insert the needle into the top layer of the stocking, and tie off with a knot inside the stocking.
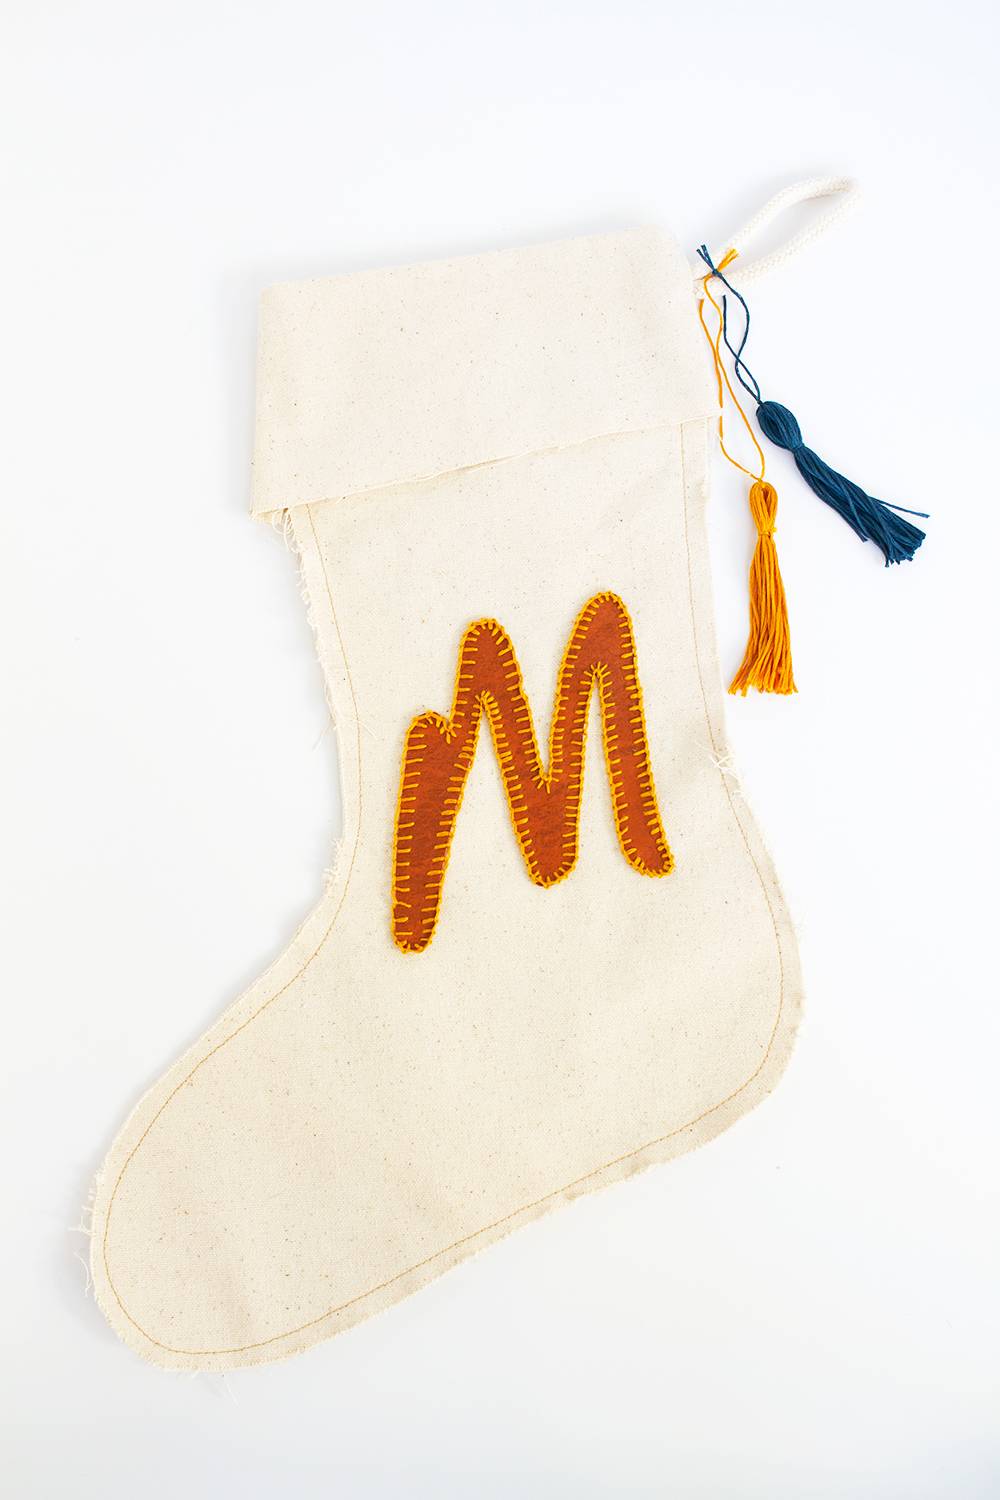
You can add a few tassels for some extra embellishment. And now your stocking is ready to hang!


What do you think of this minimal Christmas decor idea? Have you made or decorated your own stockings before?

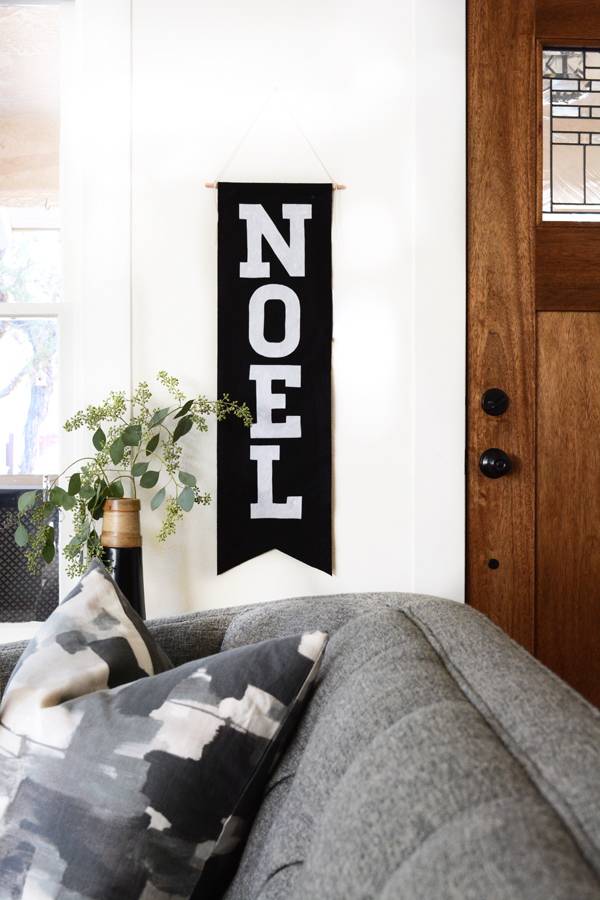
Looking for more minimal holiday ideas? Check out these DIY Scandinavian-inspired tree decorations!

Looking for more holiday DIY projects and ideas?
The Curbly team has loads of fun and easy holiday projects, from embroidered stockings to modern minimalist nativity scenes and more!


Precious…I saw a great tip for sewing a perfectly spaced blanket stitch…make two marks on your thumb (with a pen or sharpie)…the width apart you want each blanket stitches…then use those marks as a guide as you sew. Perfectly spaced stitches…OCD personalities will appreciate this…lol!
That’s such a great tip, beck, thank you for sharing!