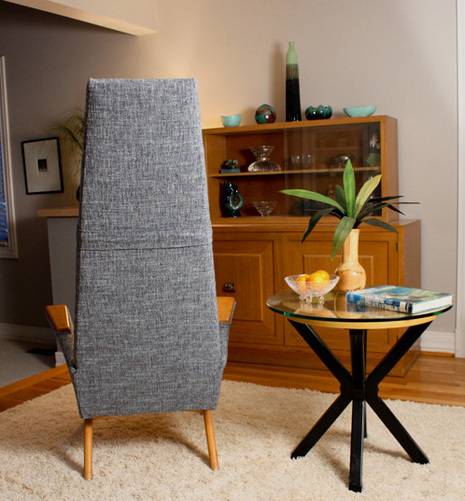
It seems like a good time to share my Mid-Century-Modern Rocket Chair Reupolstery Project. There are numerous photos that tell the story, so I’ll make the instructions brief.
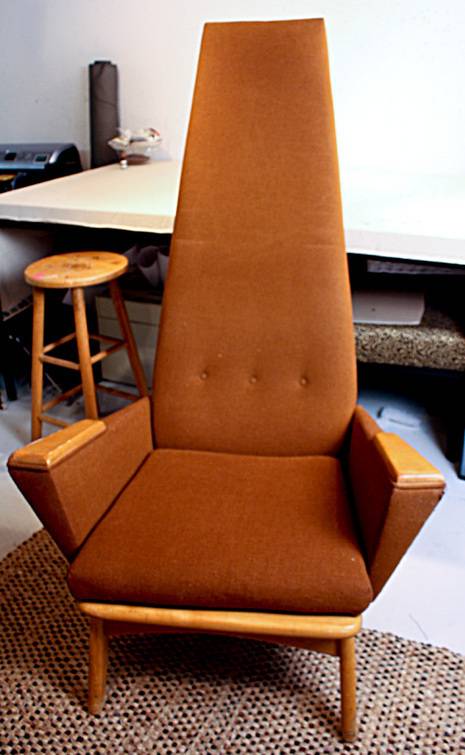
First of all, this chair conveniently comes apart. The only pieces to reupholster were the back, the two arms, adding new webbing to the seat and sewing a simple seat cushion. Many La-Z-Boys come apart in pieces. Remember:
1. Take photos or draw pictures of how it comes apart
2. Modern chairs have less fluffy cushioning than more traditional chairs
3. Once you get the fabric unhitched from the bottom, you’ll find all sorts of hidden screws that hold other pieces in place. REMEMBER how it comes apart, so you don’t close it all up before re-attaching it to the frame.
4. Be patient, every piece of this chair boils down to wrapping it like a present.
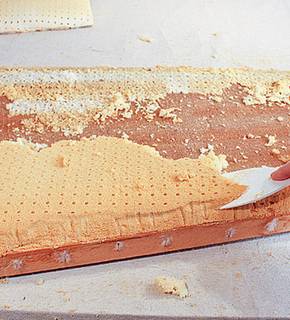
5. The horribly disentigrated foam was the most time consuming part of this chair.
Leave comments or email me with any questions you have. There are plenty of chairs out there that come apart in sections. This makes reupholstery much easier.
You’ll need:
Flat head screwdriver or staple puller
Staple gun
Scissors
Fabric
Dacron or cotton batting
Foam
Electric knife
Spray adhesive
Twine or heavy thread
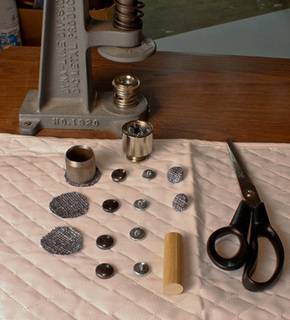
Covered button kit
Long needle and curved needle
Sewing Machine for cushion
(It sounds daunting, but it’s really not, just one step at a time)
Begin by undoing the bottom staples on the back.
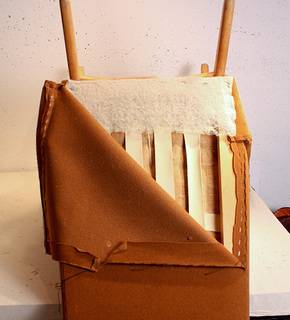
Take off the entire back panel.
Find the screws that hold the sides in place and remove them.
Uncrew the wood cap from the top of the arms.

Tear down (upholstery term) the arms

Scrape off the old foam
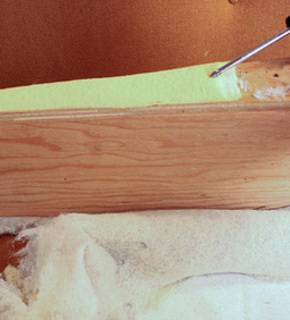
Scrape off the old foam from the inside seat back
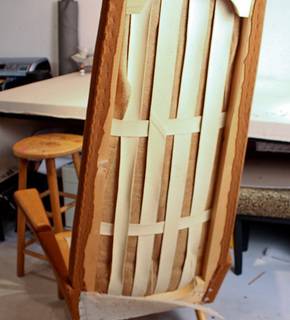
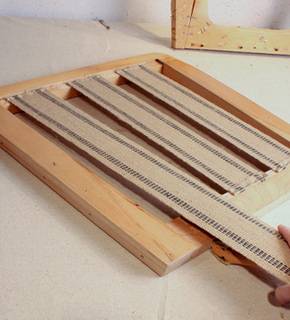
Tear off old, saggy webbing
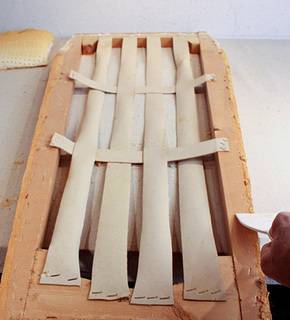
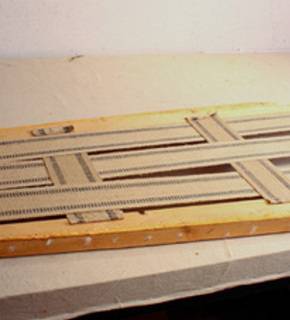
Replace webbing on the back and staple on a scrap piece of fabric on top of that for stability.
Place the back frame on a piece of 2″ firm foam, trace around it, leaving 1/2″ extra and cut out the foam with an electric knife or a hack saw.
*I added a little extra piece of foam underneath the large piece right in the lumbar region for nice design detail but also for back support. I glued it on to the fabric before I added the large piece of foam
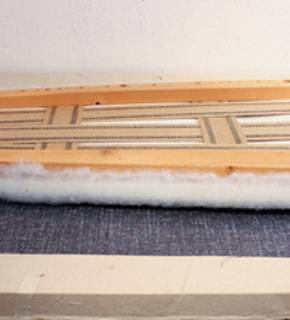
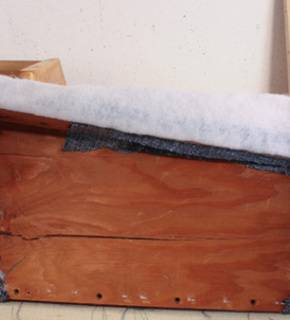
Add a layer of dacron or cotton padding on top of the foam, wrapping around the sides but not
rolling underneath the frame. Staple it right at the edge of the frame.
Just wrap that corner like a package and secure in place with staples
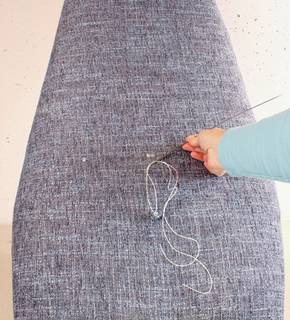
Mark the button placement with chalk and pull through covered buttons with a large needle and thick thread or upholstery twine
Add a fresh, thin layer of dacron to the arm pieces
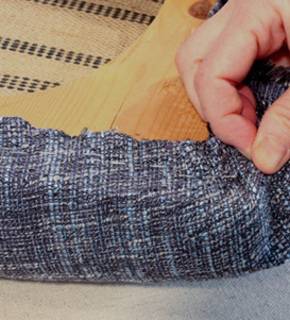
Handstitch the fabric closed on the upper arms (again, remember how it came apart)
Re-web the seat frame and add canvas or vinyl
Screw the arms on before attaching the outside arm fabric under the frame. Make a 2″ seat cushion without a zipper and without welt cord. Handstitch it closed.
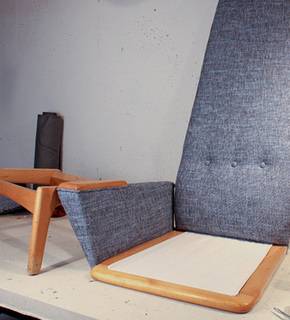
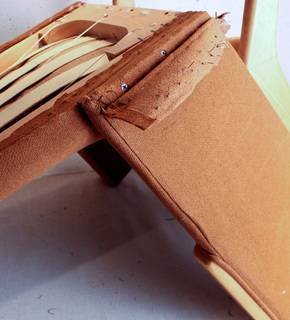
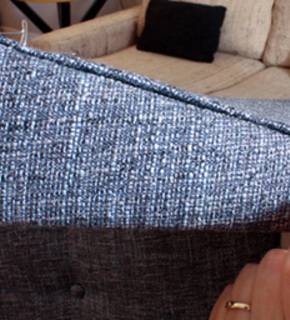
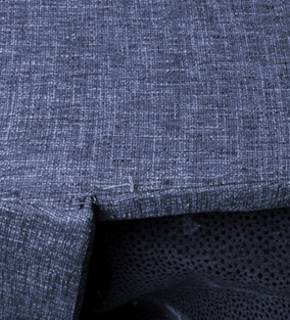
Attach the back panel at the top and handstitch all the way down the sides.
You can always have an upholstery shop make covered buttons for you but don’t be tempted to have them do your whole chair.