I saw these a few weeks ago on Cribcandy: clever, and tongue-in-cheek without being kitschy. At $9 a piece, they’re not ridiculously overpriced, but a purchase is never as fun as a DIY attempt.

Materials
Test tubes
Scrap hardwood and power saw
Or
Wooden craft blocks
Spade bit, matching the size of the test tube
Electric drill or drill press
Sandpaper
Wood stain, or finishing oil, paste wax, etc
1. Obtain the test tubes. Ask friends or family that may have access to some in their workplace (my dad happens to be a chemistry teacher), or check garage sales, flea markets, supply shops, etc. Of course, they’re easily available on the internet, from websites such as hobbylinc.com.
2. Determine the outside diameter of the test tubes. You can use calipers, a ruler (try tracing the outside), or test several spade bits in some scrap wood and see which fits. If you happen to have the same test tubes as me – Pyrex No. 9800 – an 11/16” is perfect.
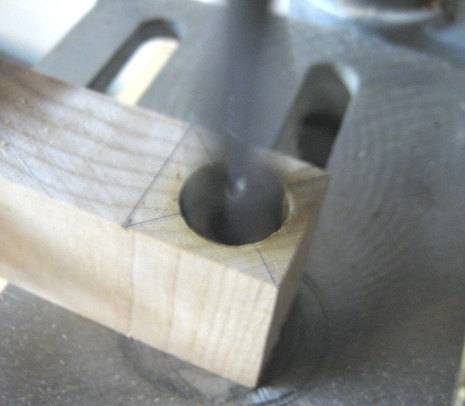
3. Cut your wood to a 1 wide x 1 1/2” deep strip (this will make drilling easier), or find some wooden blocks at the craft store, such as these. Mark a square 1” x 1”, and then make an X to find the center.

4. Drill a hole into the square, approximately 1” deep, or about 3/4 of the height of your store-bought block. Use a piece of tape to mark the depth on the drill bit, and be sure to drill at a 90° angle.
5. Cut the 1”x1” square from the strip, then sand all sides.
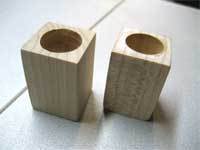
6. Finish as desired. I used a Danish oil and wax, but you could stain, or even use silver spray paint to mimic the original.If you like the vase with the round base, simply start with a 1” dowel rod, and proceed as above.
7. Insert the test tube, fill with water and your bloom of choice, and enjoy!