
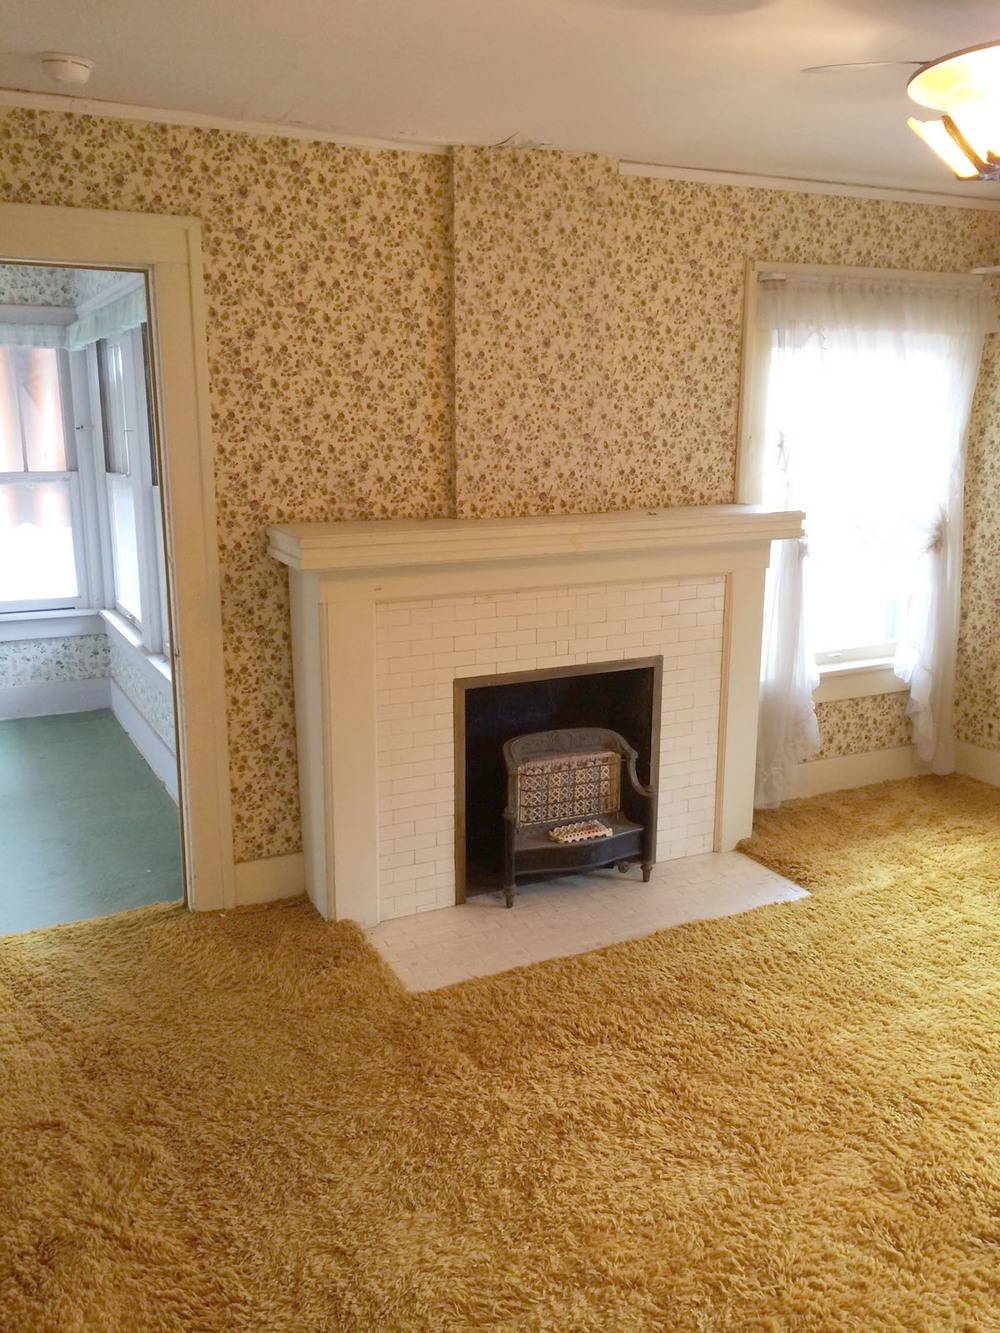
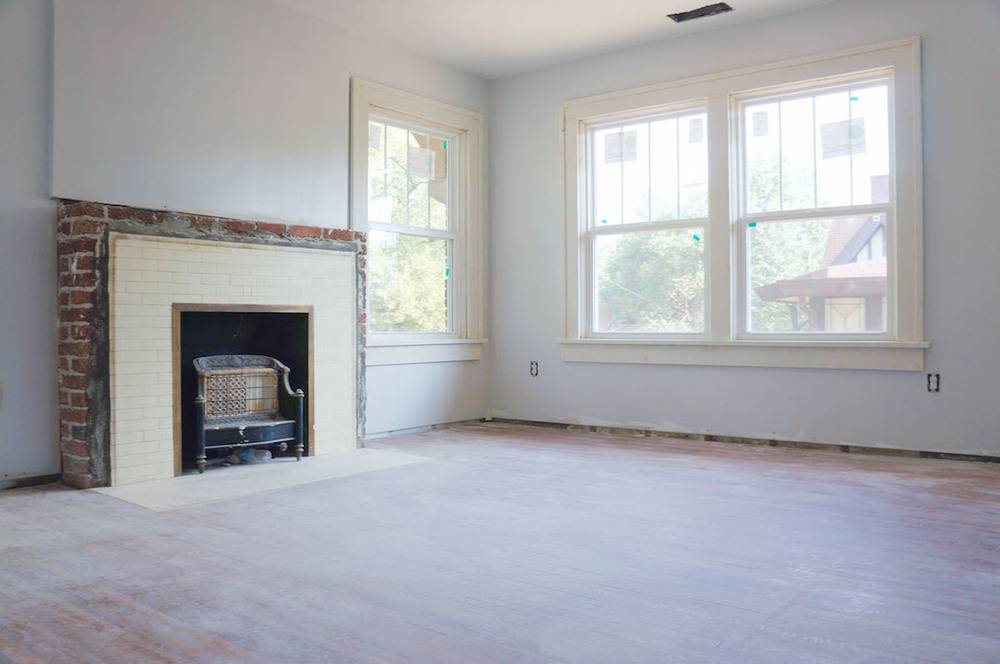
This is my master bedroom the day we moved into my house. I’m sure you’re wondering why we changed anything. The matted down shag carpet was a real stunner, and the house also came with a carpet rake. I am serious…it really did. Anyway, this room along with three other bedrooms got a complete overhaul. Today I want to focus in on the fireplace makeover. There were many great elements of this fireplace but so much of what was wrong was proportion…. then of course, everything surrounding it needed to be changed. Here’s the transformation.
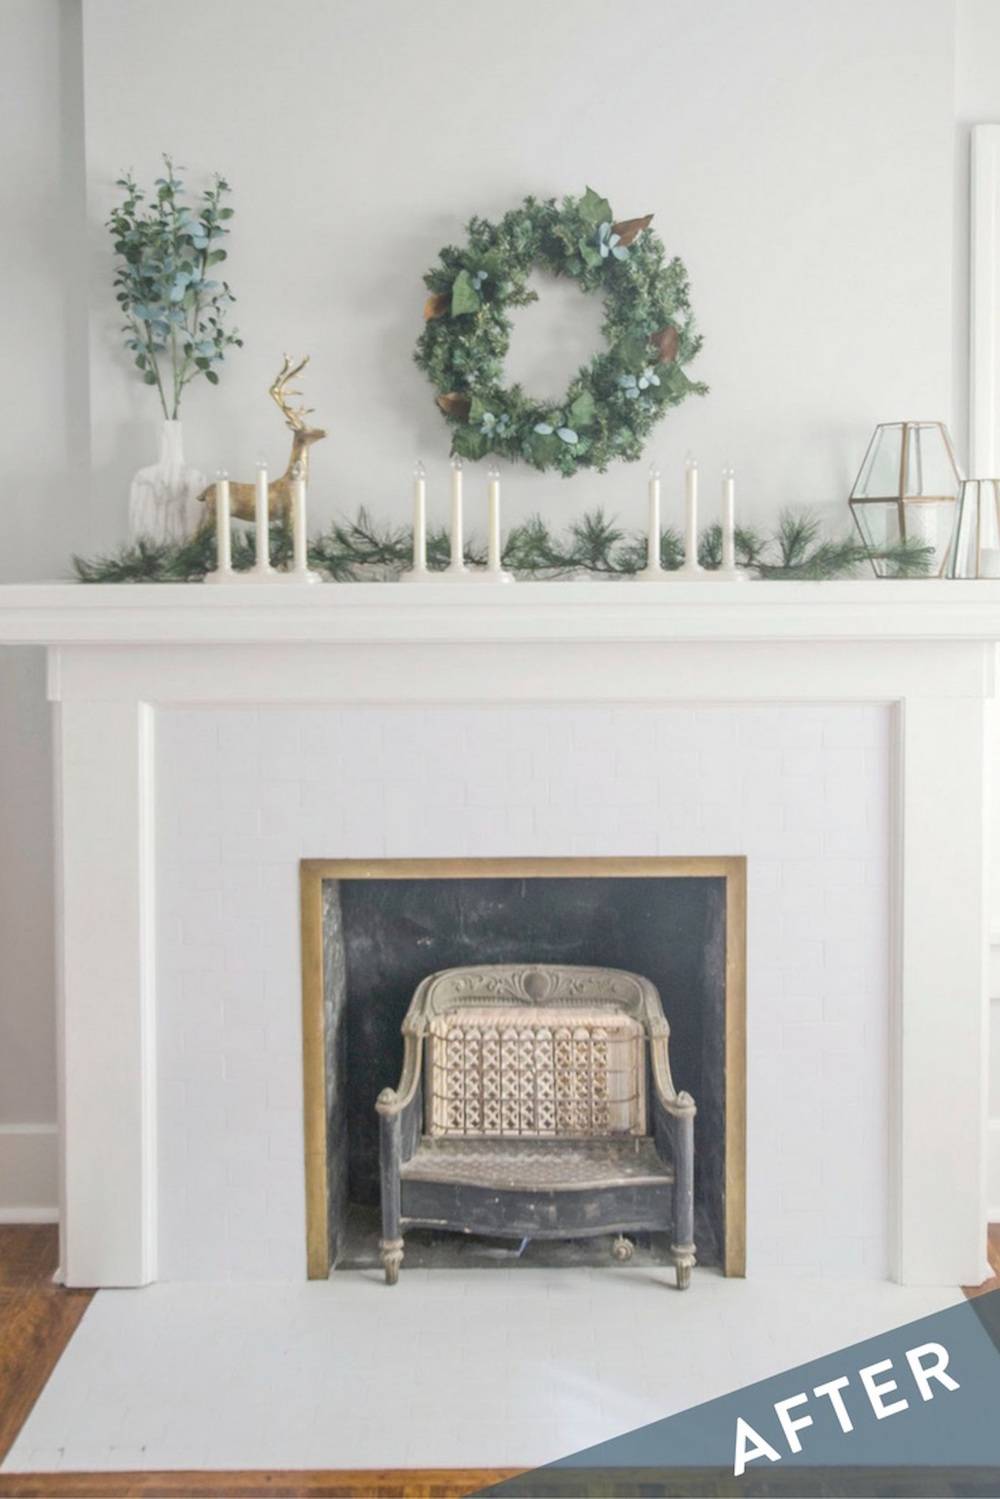
Much better right?
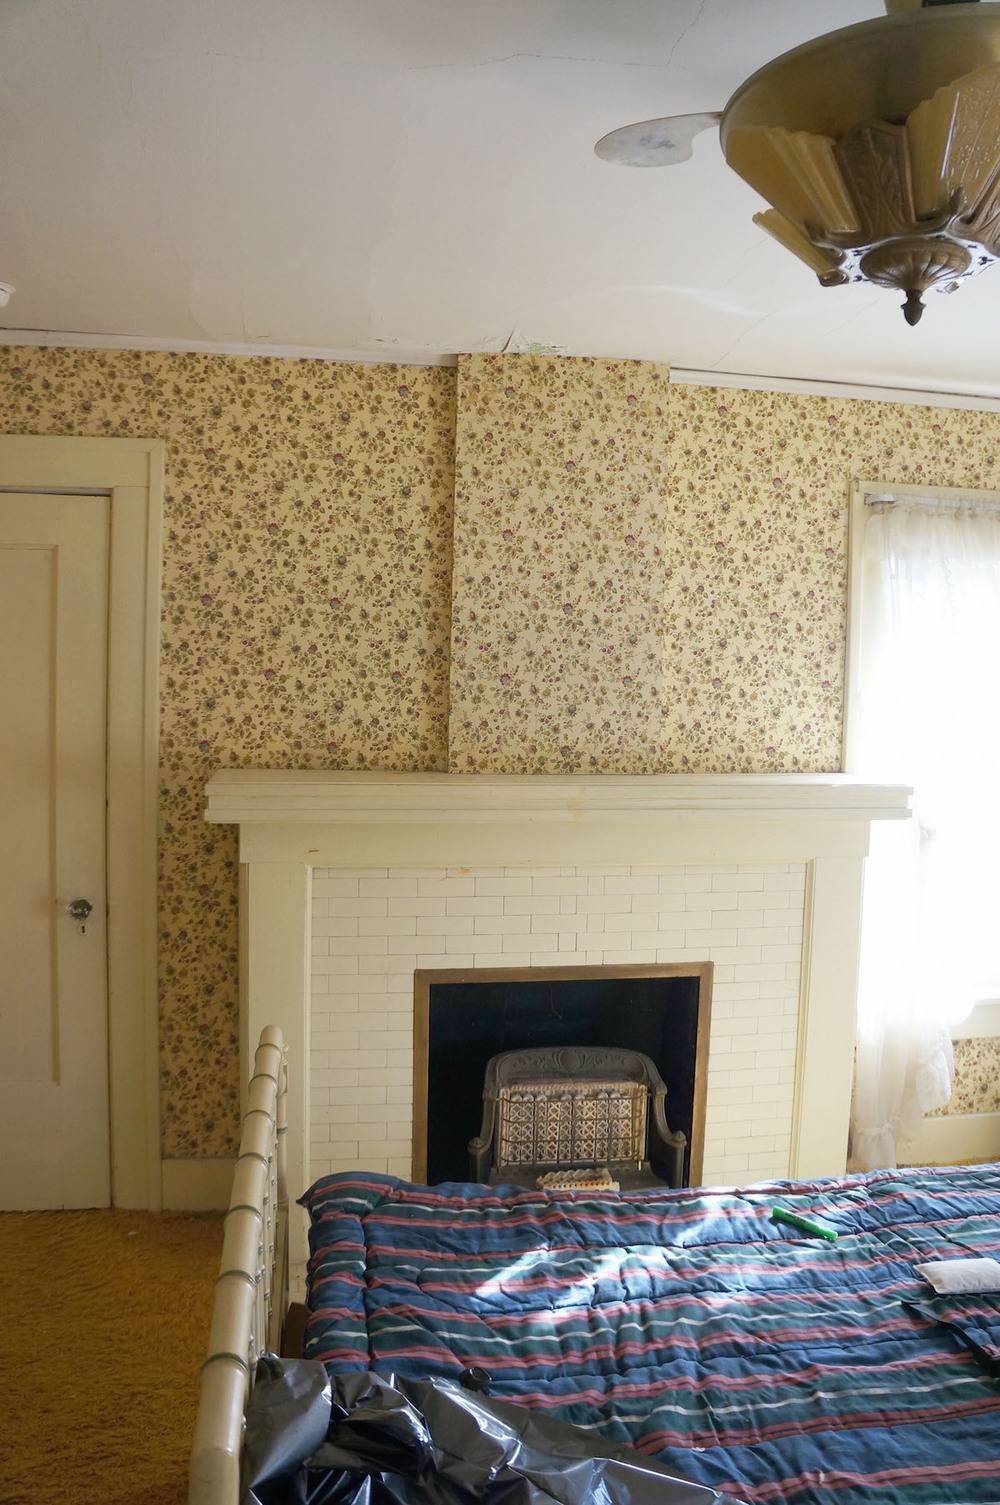
We bought our house at an estate sale. This picture was taken while I was walking through the home during the estate sale.
Here were the problems with the fireplace:
- The brick chase of the fireplace above the mantel looked a little odd and was not proportional.
- The tile was not original but it was old, and it had seriously yellowed. The tile was sadly not marble but ceramic. You can actually buff and refinish old yellowed marble so I was hoping for marble. Since the mantel and trim would be white, the yellowed tile had to change. At this point we were not sure if we would re-tile or try to bleach and clean the tile.
- The mantel was great, loved it, but the paint was a cream color. The plan was to refinish all window and base trim and give them fresh coat of Benjamin Moore’s Simply White. The mantel needed to match the trim so it also needed a paint refresh.
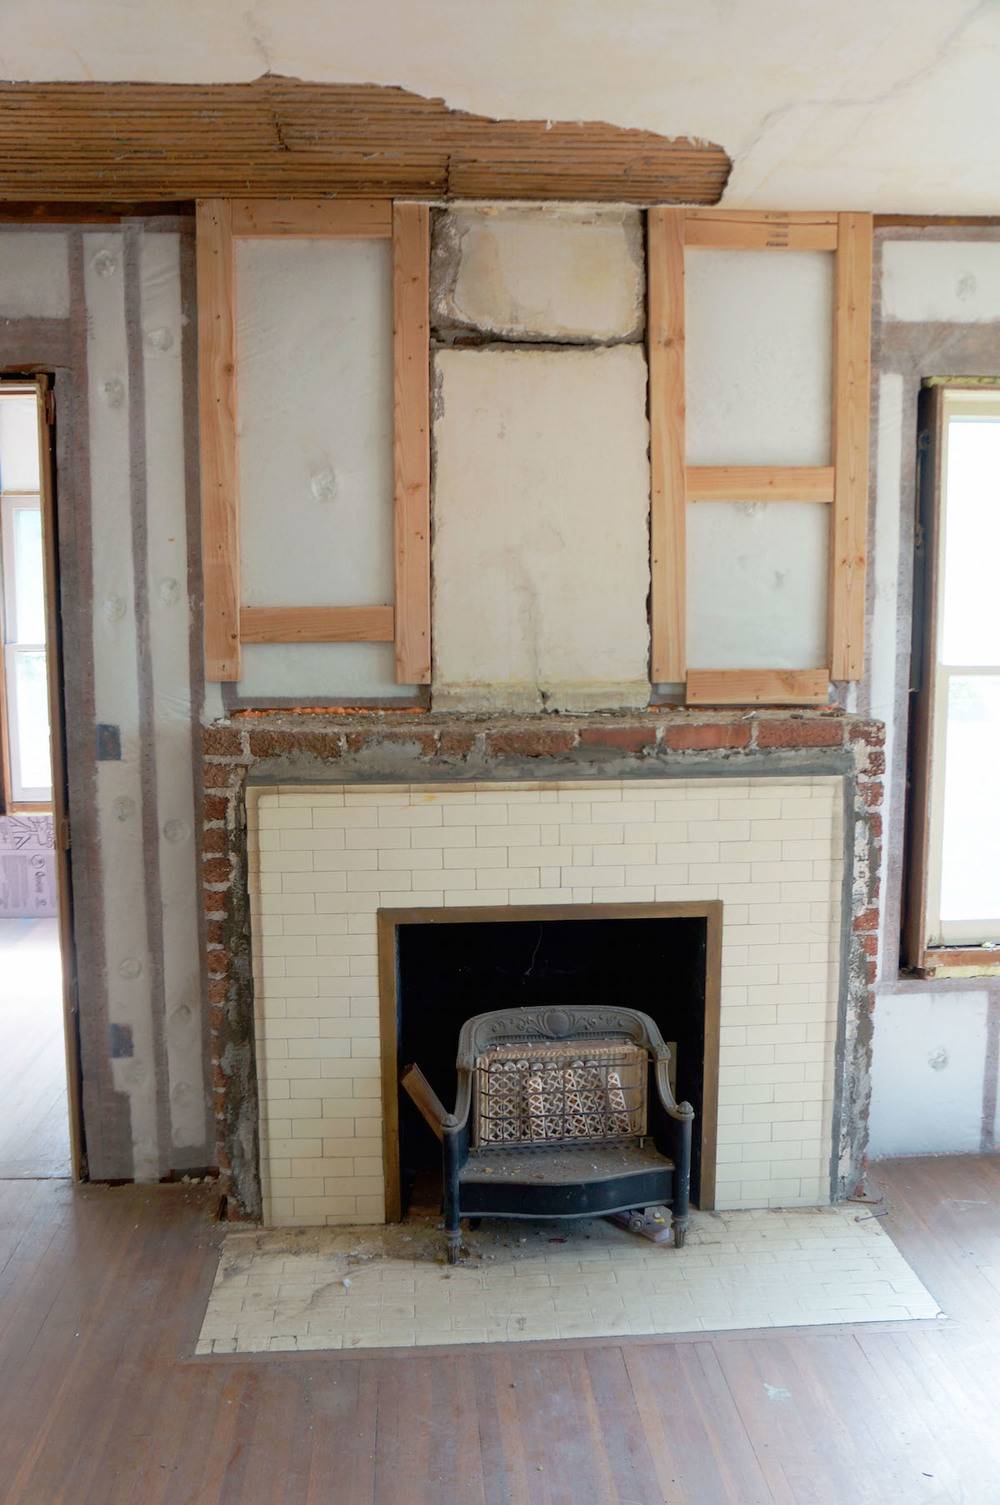
We took the plaster down in the room and insulated. To do this we had to take the mantel off. While the mantel was off, my husband framed out around the fireplace chase so the installed drywall could hide the small chase. He simply lined up the framing with the original brick fireplace.
It was also at this point in time that we had fireplace company come and check our flue, gas line, and old gas unit. After cleaning the flue, it was good to go.
This is what the fireplace looked like after drywall. This is the room before we repainted the trim and refinished the floors.
Lets talk tile. I wanted white or marble subway tile but I also liked the size of the existing tile. It was not too small but not too big. I couldn’t find anything similar that was budget friendly. The tile was literally cemented to the brick. Chiseling the tile and the cement would have been needed to install backer board and new tile. We also knew this could be an area where we could save a little money. I have a fireplace downstairs that I want to be a show stopper. Doing less here would allow me to do more there. So…
I tried to bleach the tiles and nothing worked to clean the yellow. So my husband suggested spray painting the tiles with high heat spray paint made for fireplaces.

If we hated it, then we could re-tile. We would only be “out” less than $20. If it didn’t last but a few years, the mantel would be easy to take off to re-tile. We decided to go for it. I love how easy it was to do, and how great it turned out.
Unfortunately, I don’t have pictures of this step, but we simply taped off the floor and walls enough to cover the over-spray, then followed the instructions for prep and dry time.
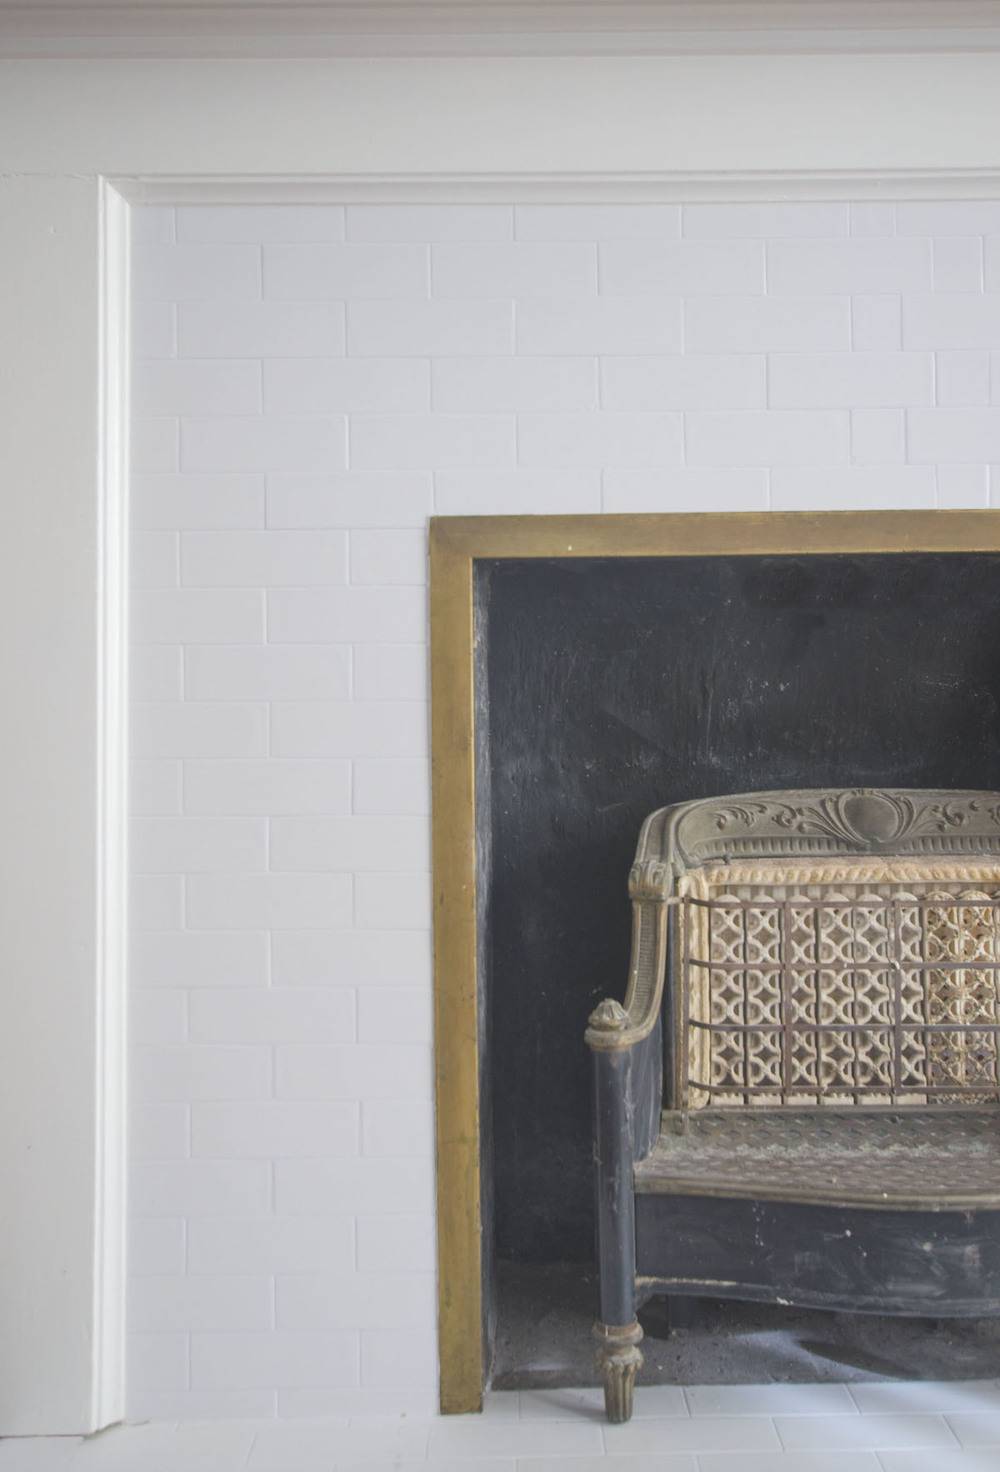
This is how it turned out. The only thing tricky was the gas coil heater. Do you notice how it sits a little on top of the tile? There was enough room inside the fireplace box to push it back the five inches it needed to be pushed back. We actually did that while the plumber was there just in case it would cause a leak. Since the connection was a flexible pipe, he told us it would be safe for us to move it back on our own. After painting and drying we moved it five inches forward on top of the tile.

To fit neatly along the new framed wall we had to cut the back of the mantel a little. We painted the mantel and re-installed it.
One day we might replace the gas heater to a modern gas fireplace. We honestly don’t use it that much. Some of the coils were broken but I was able to find replacements for all but one at an architectural salvage store. It is really beautiful and original so if we do replace it, I would like to replace it with a reproduction that has modern function.
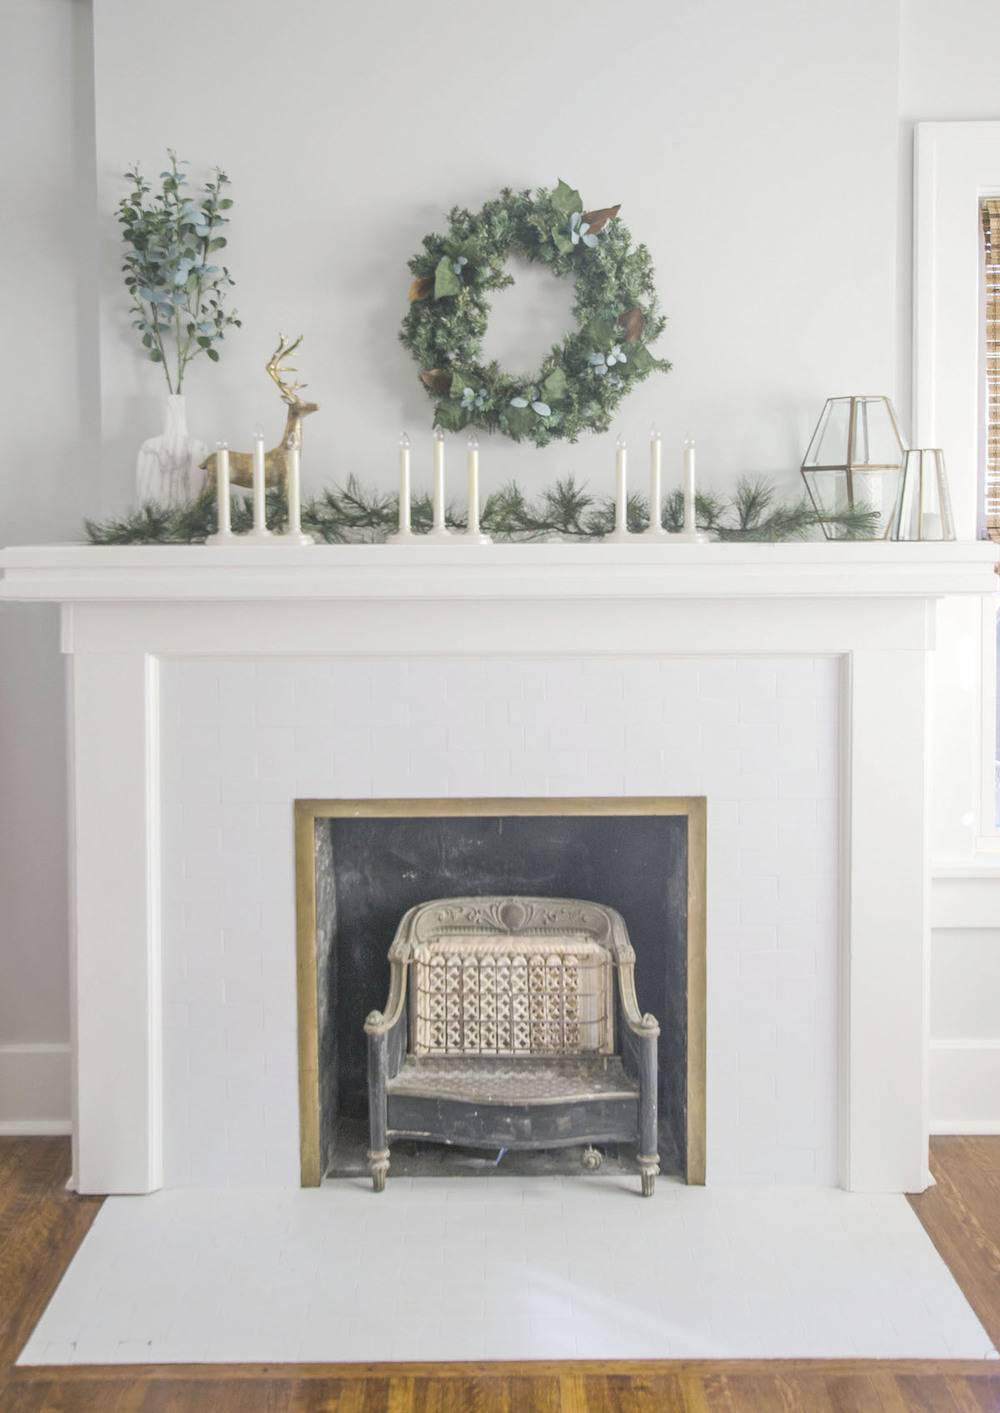
Of course my mantel had to be finished off with a little Christmas flair.
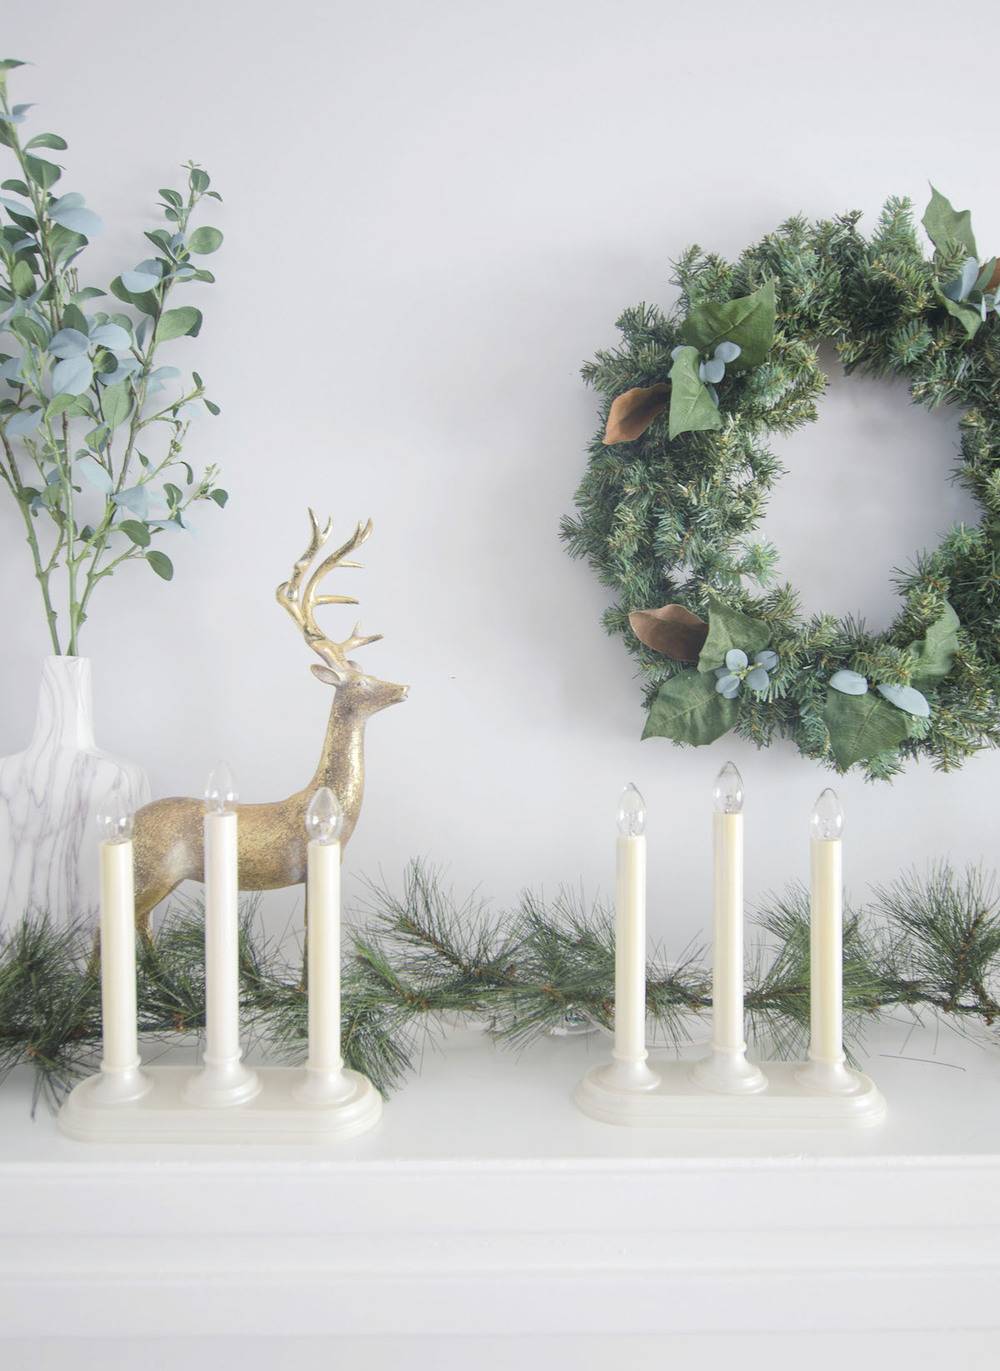
The candles are vintage Christmas decor passed down from my husband’s family.
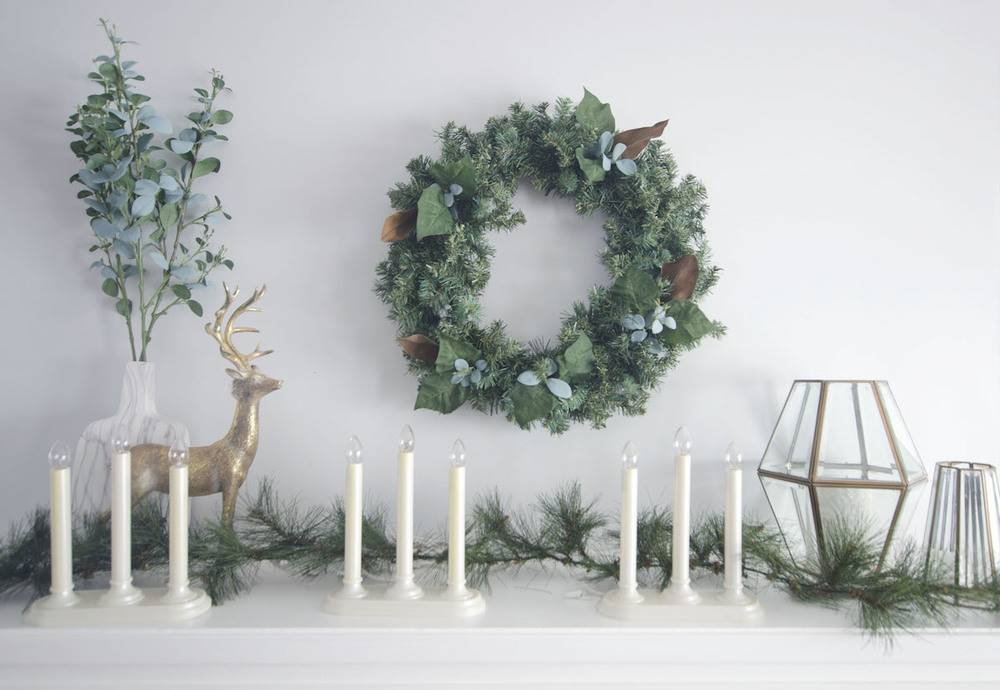
I love the mix of eucalyptus and magnolia leaves. I did the same thing in this DIY garland on my downstairs mantel.
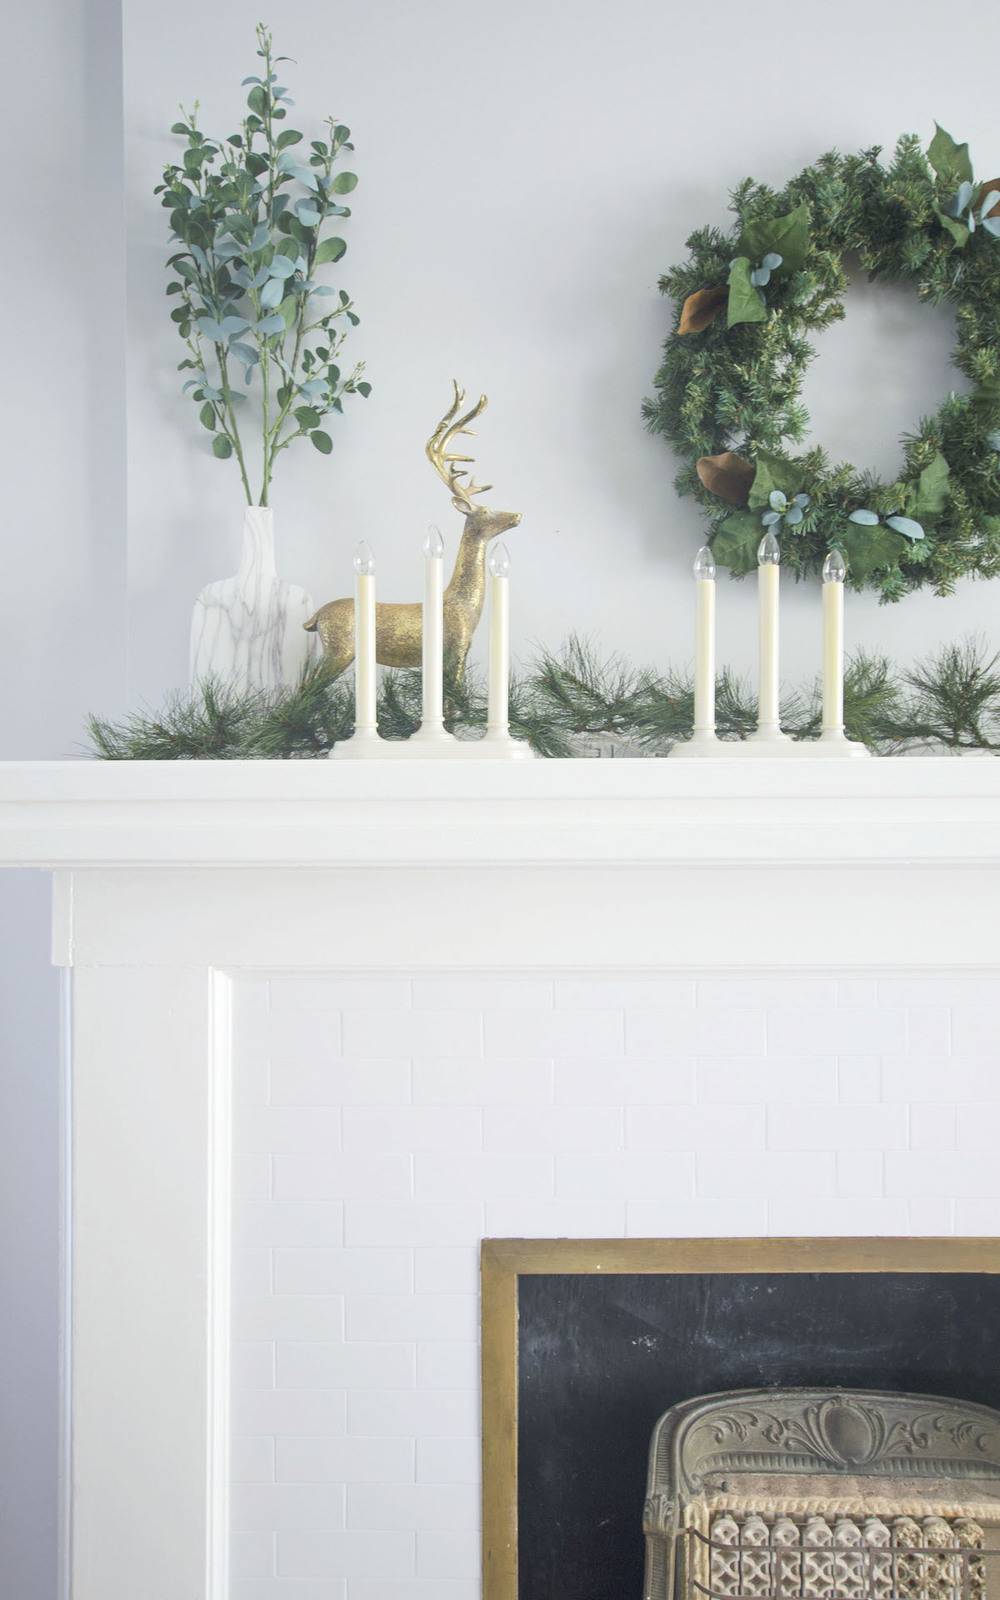
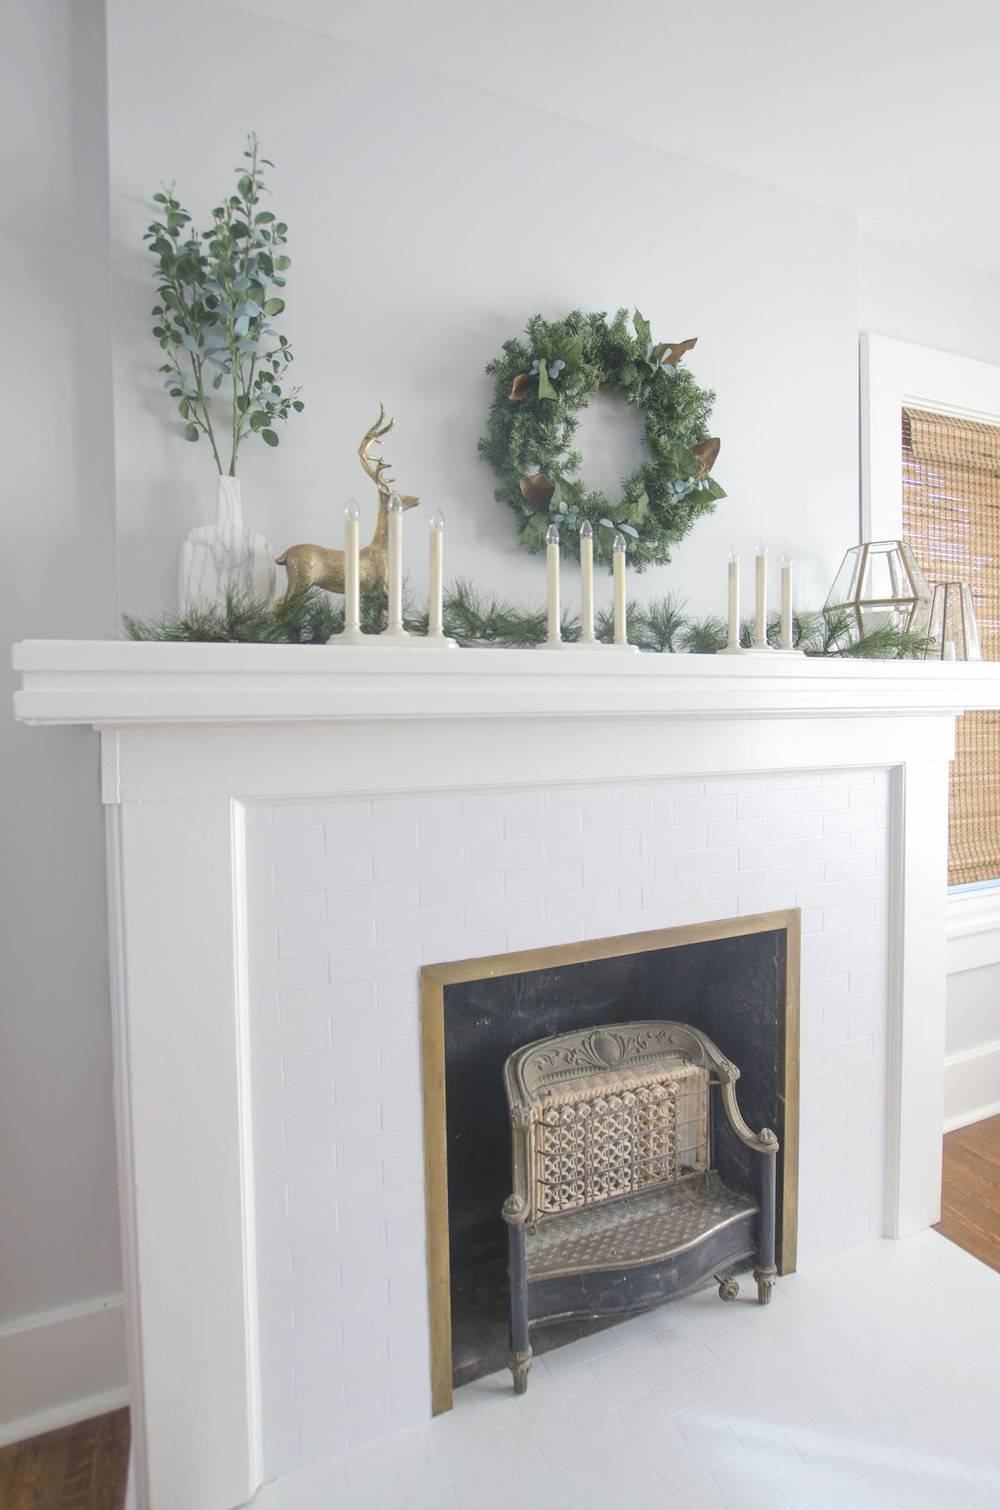
Its been two years since we have refinished the tile and it has held up beautifully.

We love the original feel of this fireplace. It makes the room feel cozy. Since we refinished the tile were able to save a little money to use in other places in our home!
I couldn’t figure out a way to say ‘I like this’ other than leaving a comment but a well-written article deserves the credit! Stunning end result.