
The Marius Stool from IKEA is a functional, affordable piece – but it’s not all that pretty. Utilitarian might be the word that comes to mind. Which means that it is perfect for a hack. Keep reading to find out how to transform your Marius into a plant stand with a bit of rustic flair.
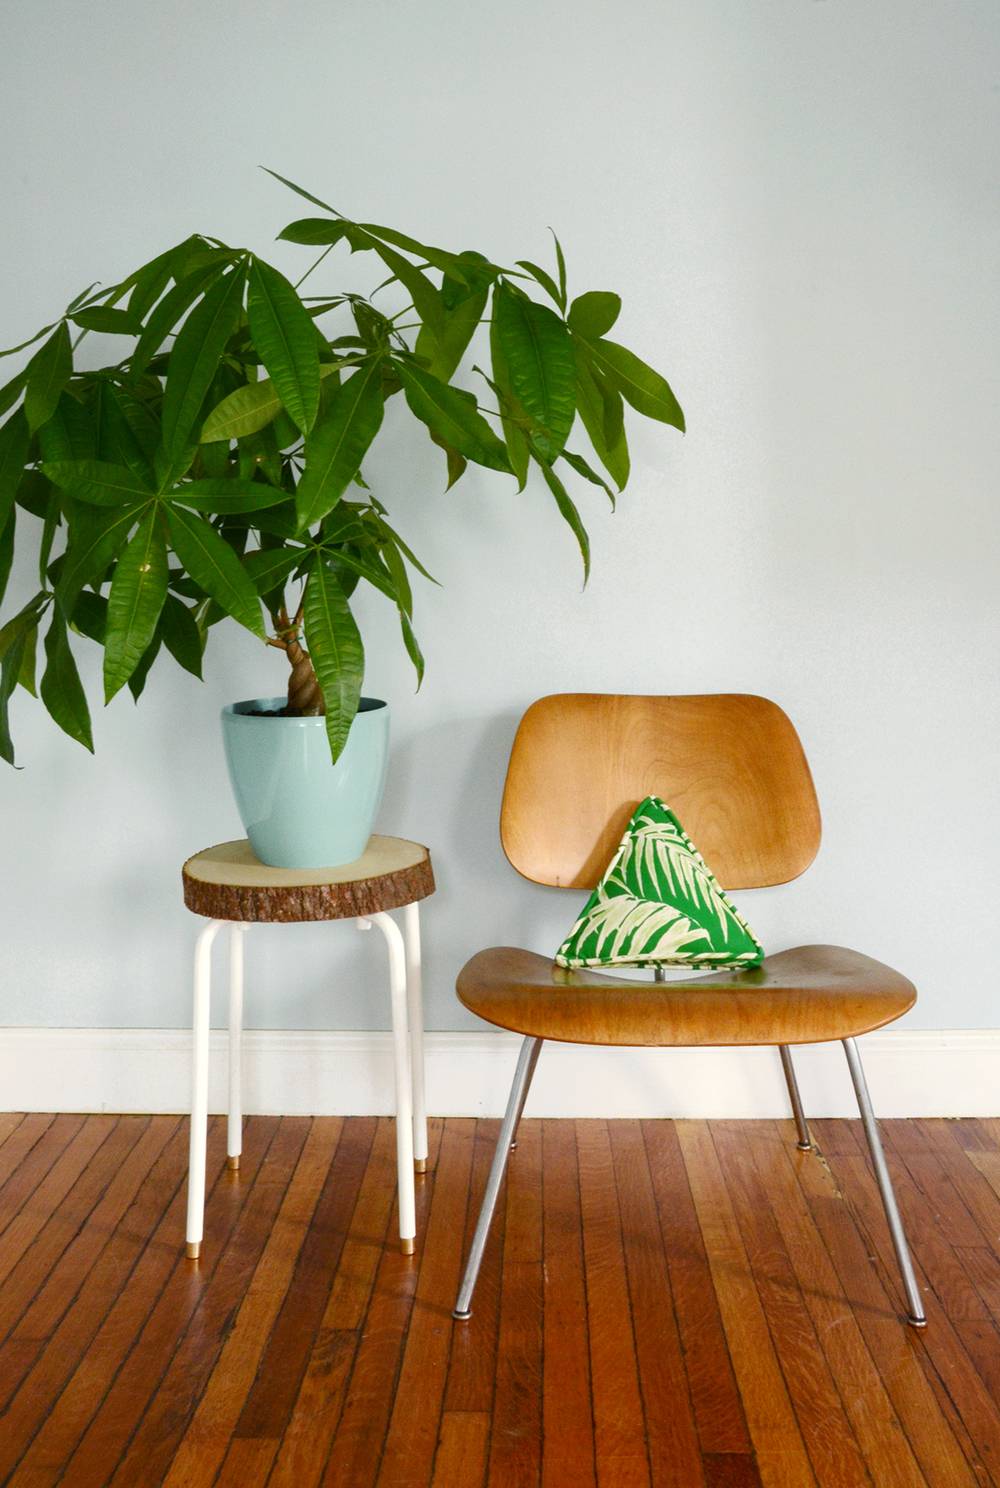
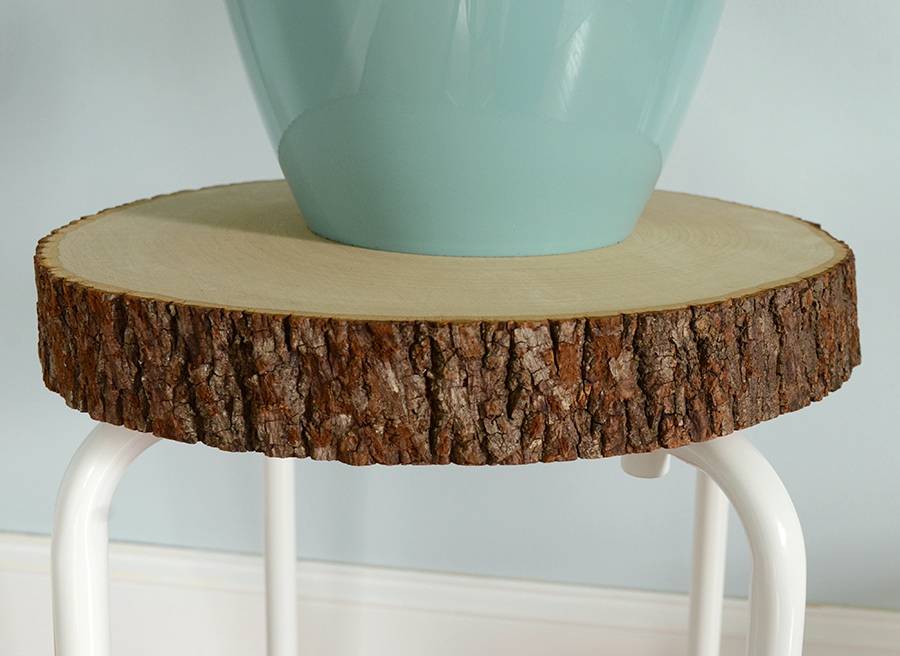
Much better, right? The key is a large slab of wood which is screwed onto the Marius legs. And it doesn’t take much longer than it would to assemble the Marius normally.
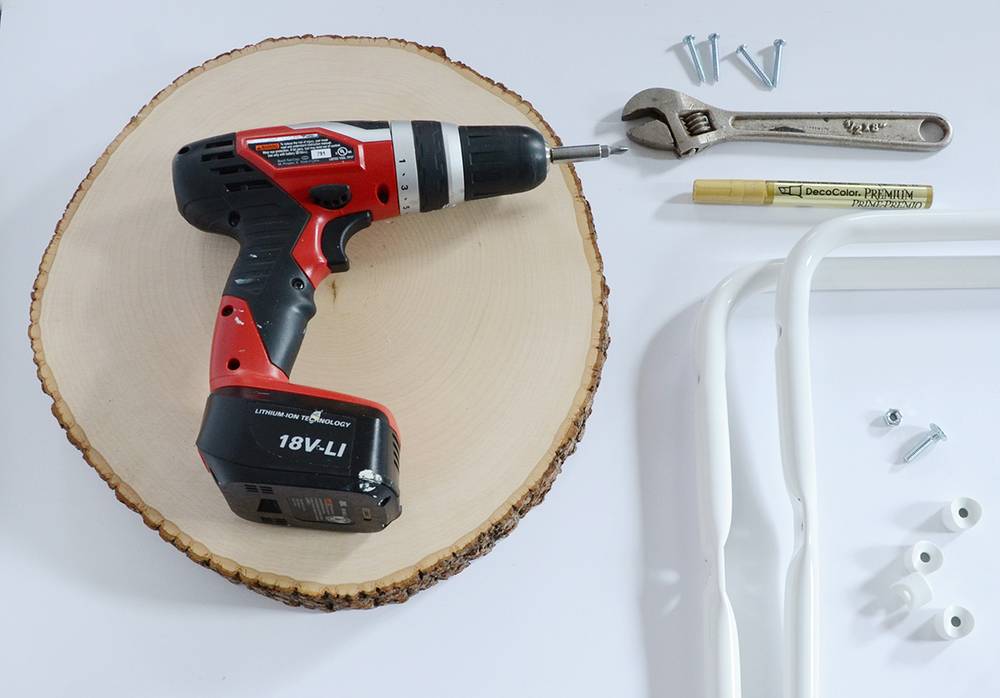
Here’s what you’ll need for your wooden plant stand hack:
- IKEA Marius Stool
- Slab of wood with approximately 14″ diameter ($10 on Amazon)
- Gold paint pen ($8 on Amazon)
- 1 1/2″ – 2″ long wood screws
- Electric drill with philips head screwdriver bit
- Wrench
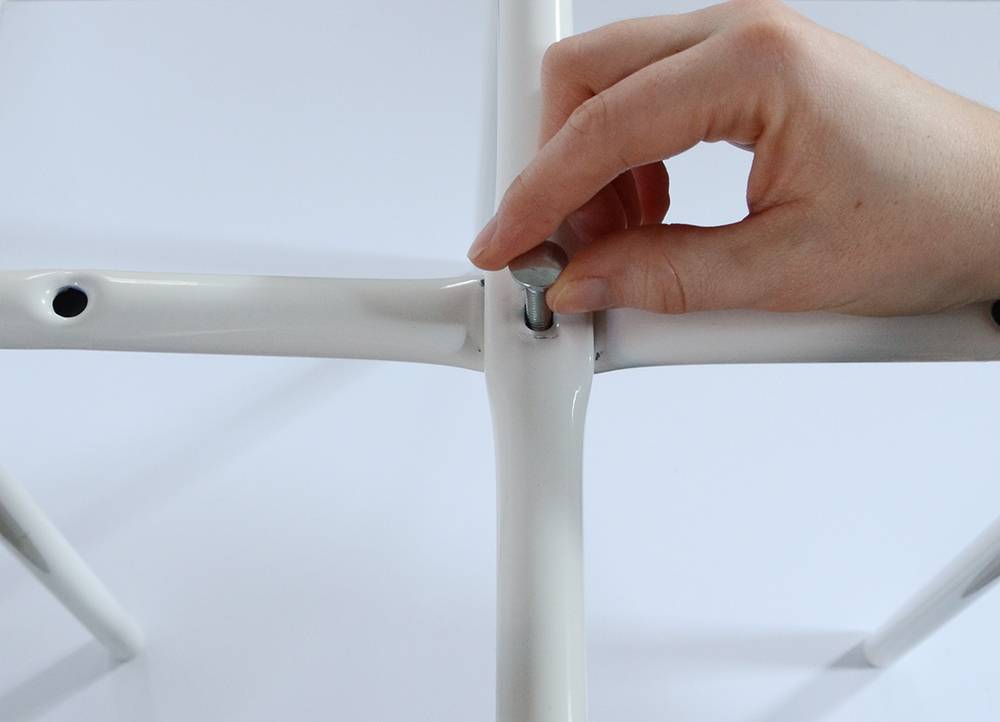
Begin by assembling the legs of the Marius according to the directions included with the package (this is where you’ll need the wrench).
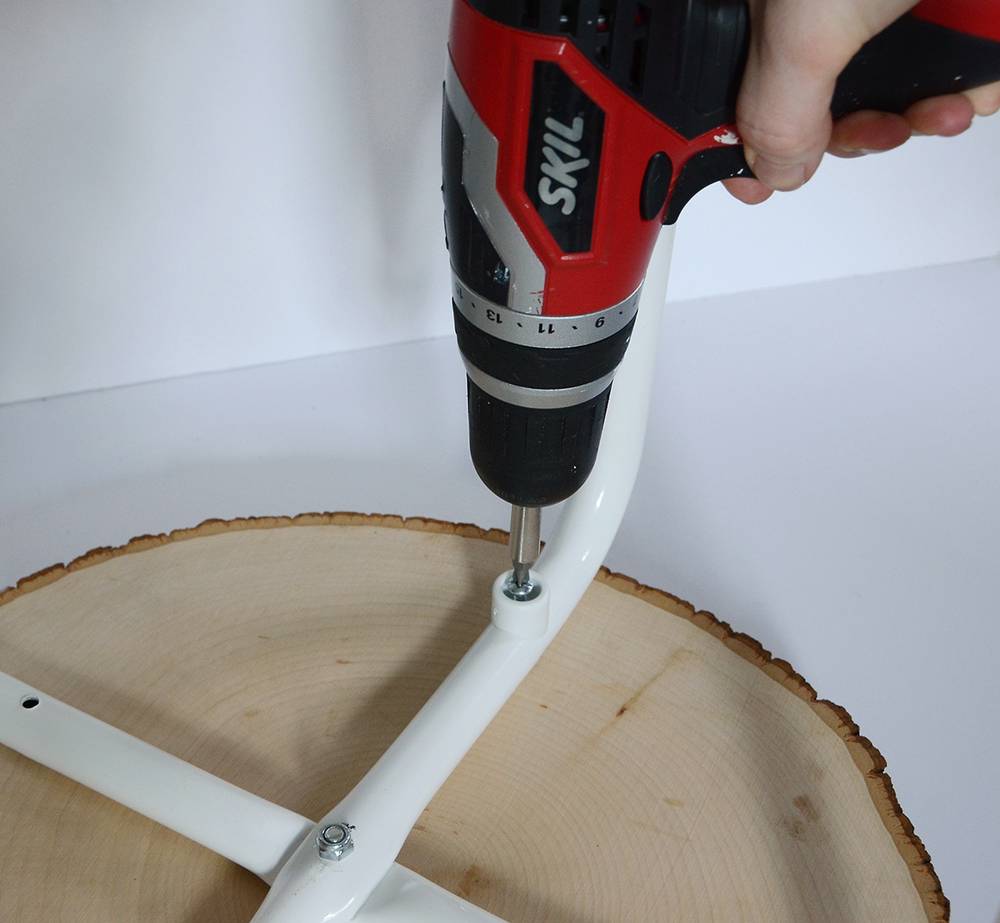
The Marius comes with screws to attach the legs to the top, but they are not long enough to reach through to the wood slab. Save those for something else, and use your 1 1/2″ – 2″ screws instead. Center the legs within the wooden slab, and be sure to include the small white plastic pieces as shown in the photo above. Do this for all four sides.
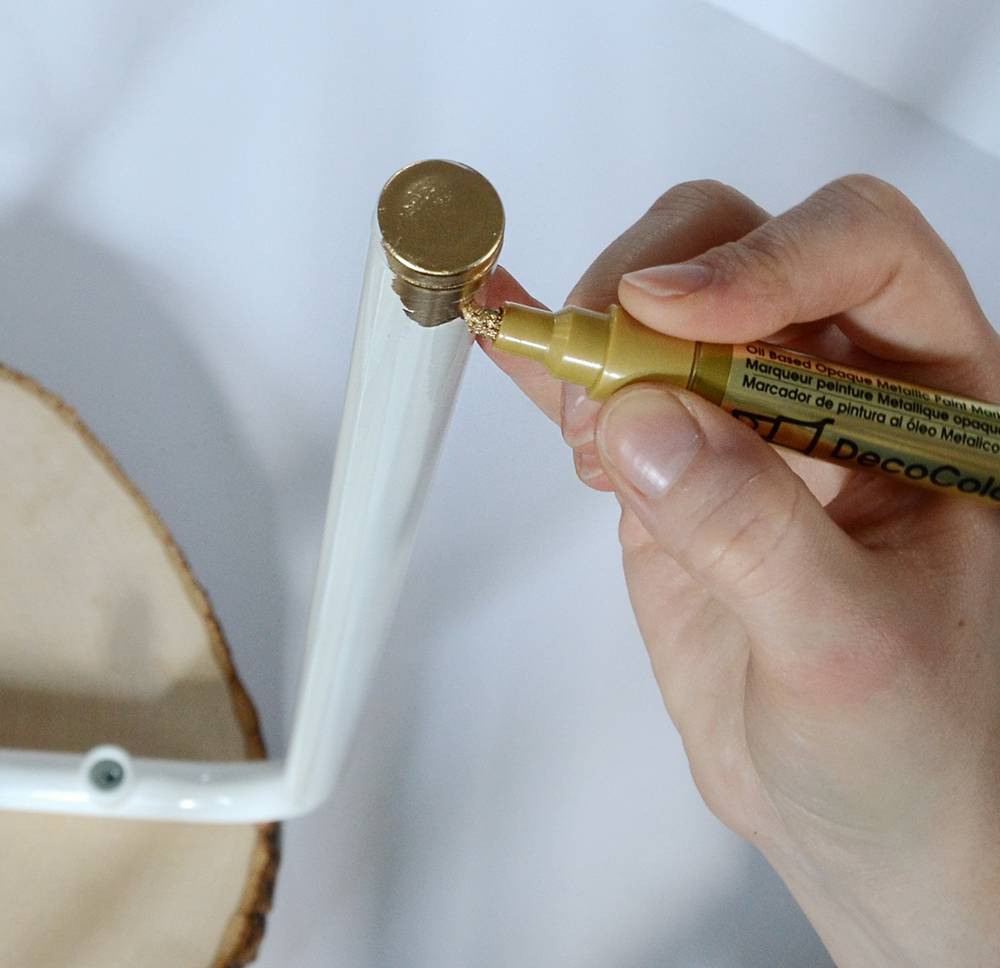
Lastly, add a bit of gold paint to the bottom of each leg, to give it a glamorous finishing touch. You may need two coats… let it dry thoroughly in between. Let the final coat of paint dry – and you’re finished!
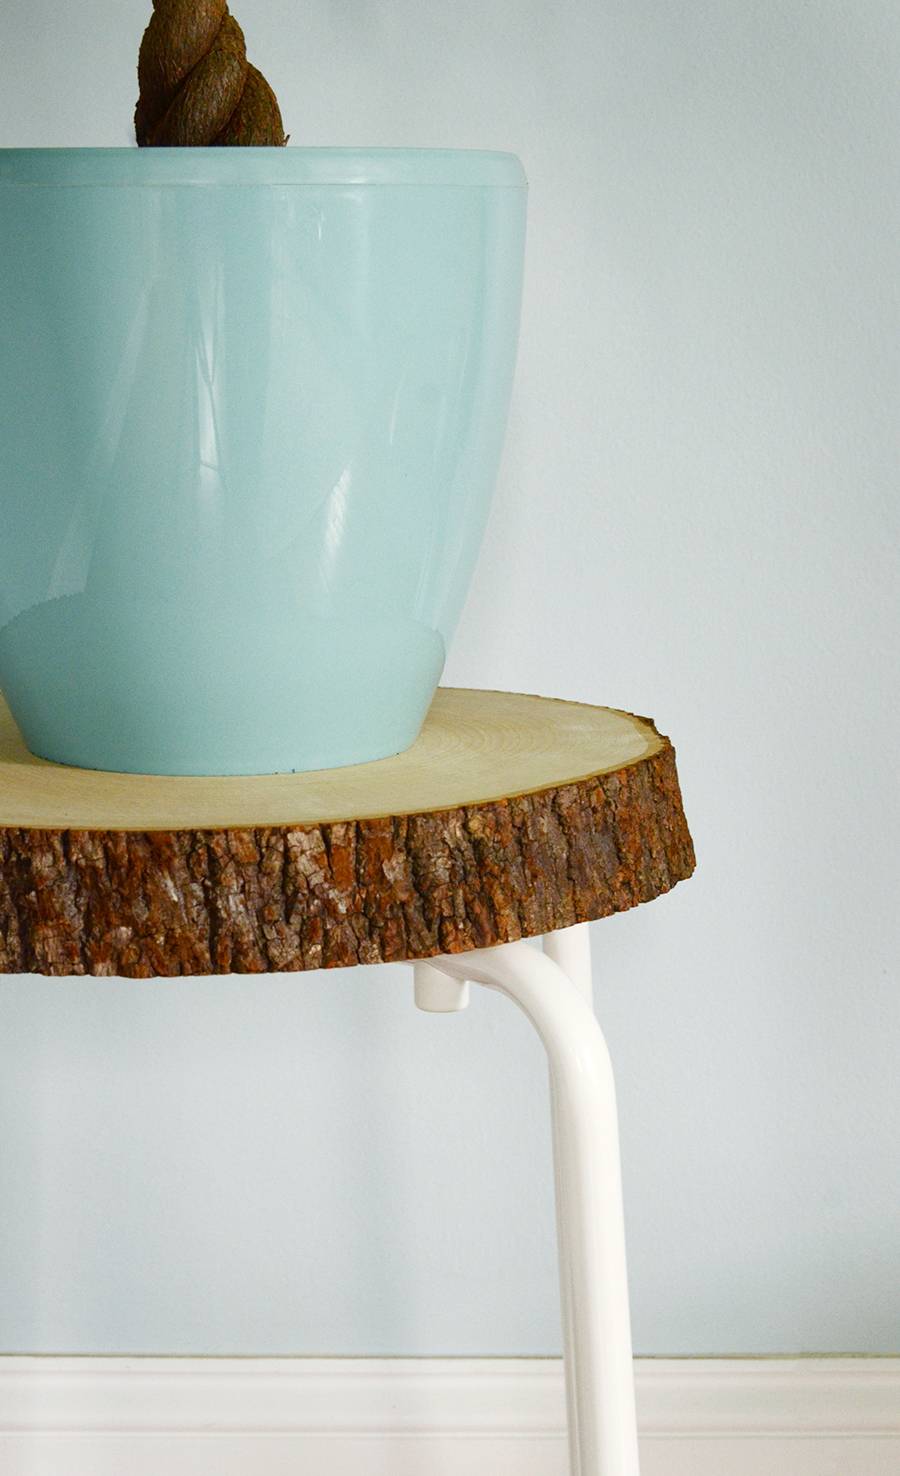
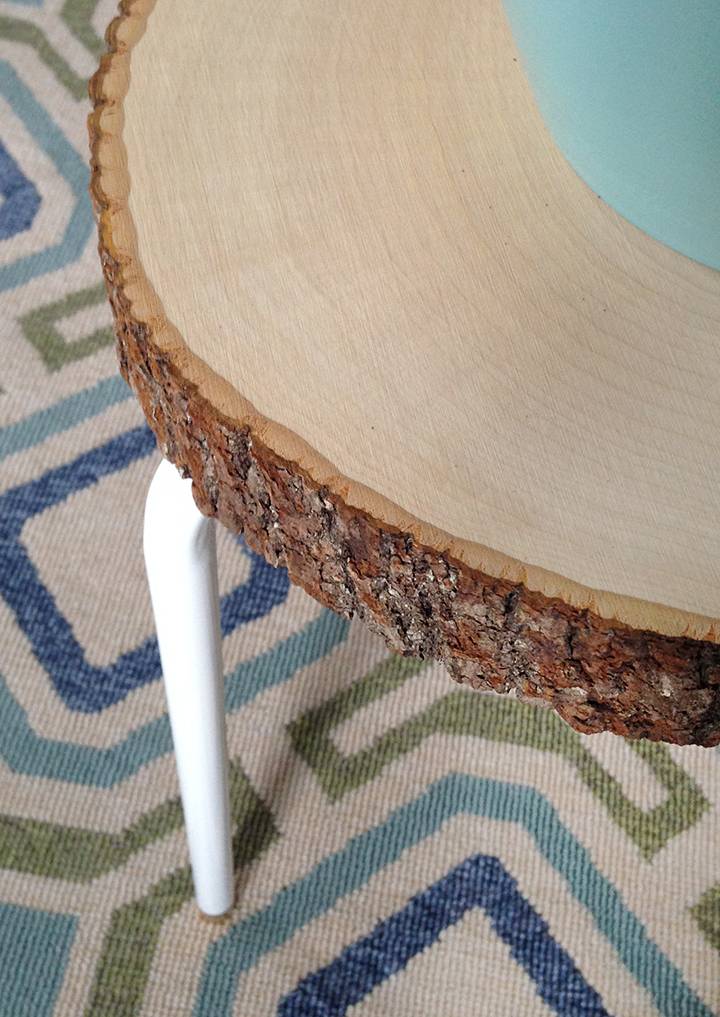
That was easy, wasn’t it?! The natural wood eliminates that mass produced sort of feel that the stool has otherwise, and makes it the perfect spot for your plants to sit. You could also sit on it – but I have more of a need for plant stands than I do for seating so I thought it would be a great alternative use.
This is another project that is completely customizable – you might want to paint the top of the wooden slab a bright color, or try something other than gold for the legs. Go crazy!
Very cute! I will steal this idea!
Psst…the link for the gold paint is incorrect!
Thanks for letting us know Stella… just fixed it!