
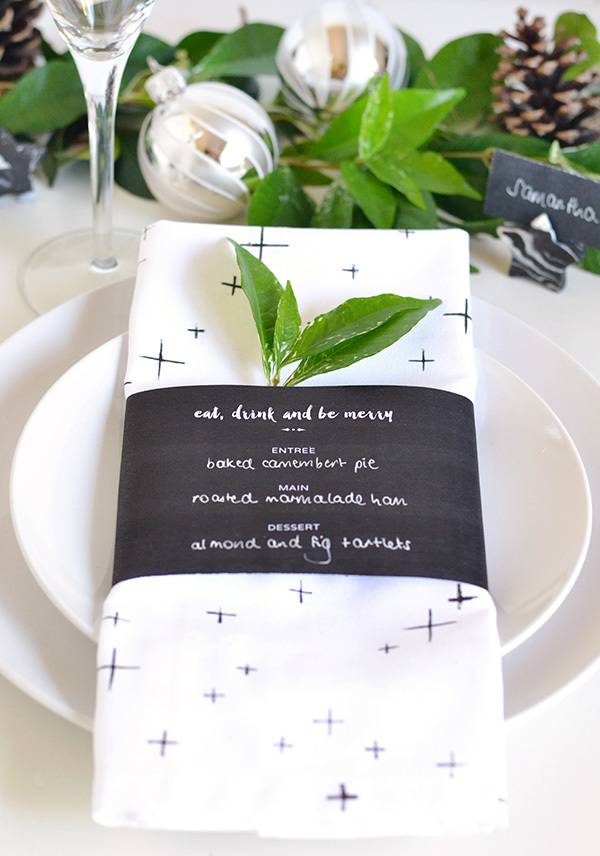
With all the parties that take place during the festive season, the holidays are the perfect time to have a little fun with your table settings. After all, there are so many elements that you can DIY, and by doing so you can really tailor each piece to suit your personal taste or existing Christmas decor (or both!). Read on to see how easy it was to set up this simple place setting with just a bit of fabric paint, paper and some clay.
Materials for the star print napkin
- Plain white napkin
- Black fabric paint $5 on Amazon
- Cardboard
- Scissors
Materials for the marbled star place card holder
- Black polymer clay ~$5 on Amazon
- White polymer clay ~$3 on Amazon
- Rolling pin or glass jar
- Star cookie cutter $5.33 on Amazon
- Scalpel
Materials for the printable menu
- Menu printable
- White paper
- Scissors
- White gel pen
- Washi tape (or double-sided tape/glue)
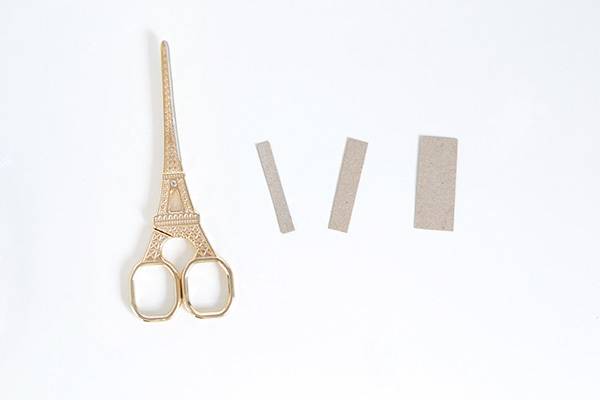
Napkins Step 1
To make the stamp for your napkin, get a small piece of cardboard and cut it into three pieces – one narrow piece (around 0.2 inches/0.5cm) , one slightly wider piece (around 0.5 inches/1.25cm) and lastly a piece that measures around 1 inch/2cm wide.
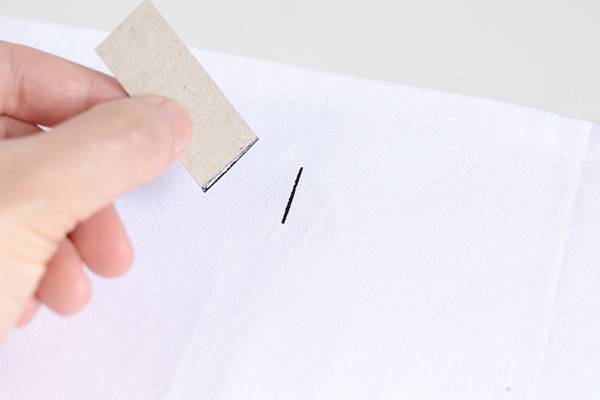
Napkins Step 2
Give your napkin a good iron to remove any creases, then dip the widest of your cardboard pieces in fabric paint and stamp a vertical line. Reload the cardboard with paint and then stamp a horizontal line straight through the vertical line so that you create a cross.
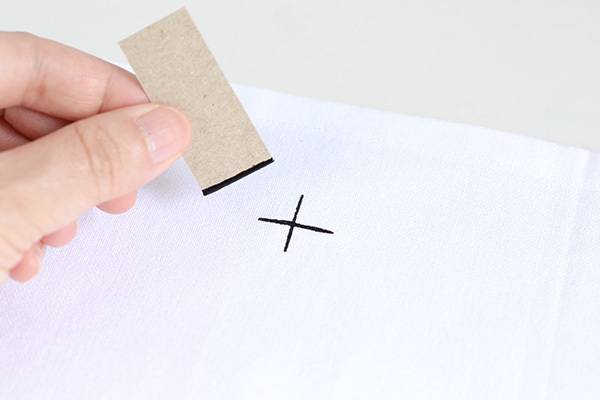
Continue stamping crosses in random places over your napkin.
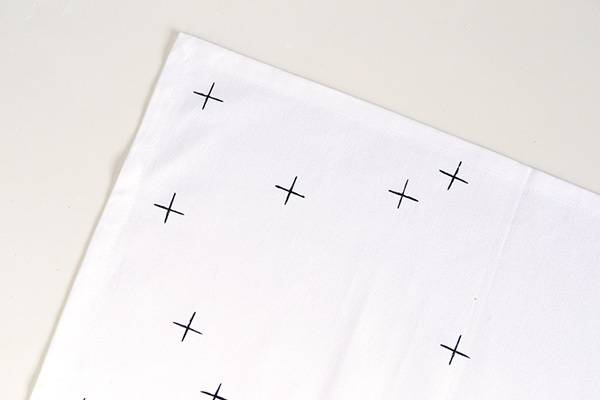
After you’ve stamped a number of crosses using your widest piece of cardboard, switch to the medium-width cardboard piece and stamp more crosses.
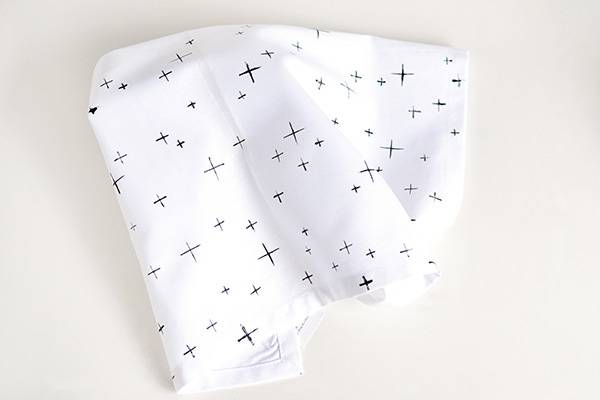
Repeat this process with the third (narrowest) cardboard piece until the napkin is covered in crosses (at this point, they’ll look like stars!). Set your napkin aside to dry.
Place Card Holder Step 1
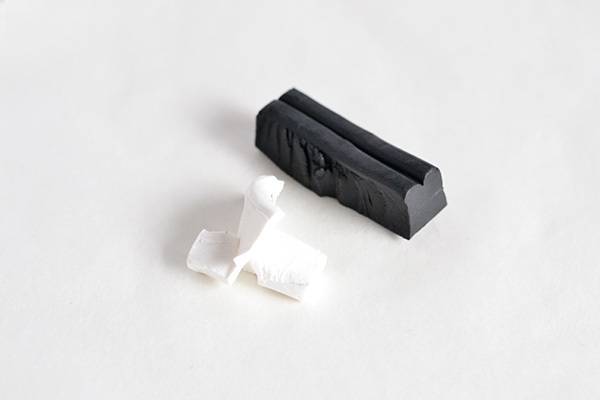
Get out some black and white polymer clay. Break off a segment of the black clay and add small bits of white clay to it.
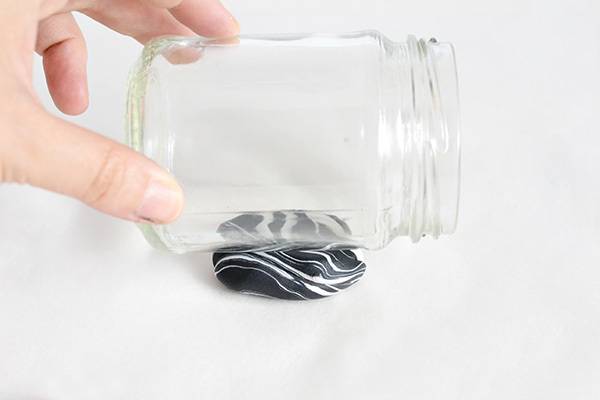
Place Card Holder Step 2
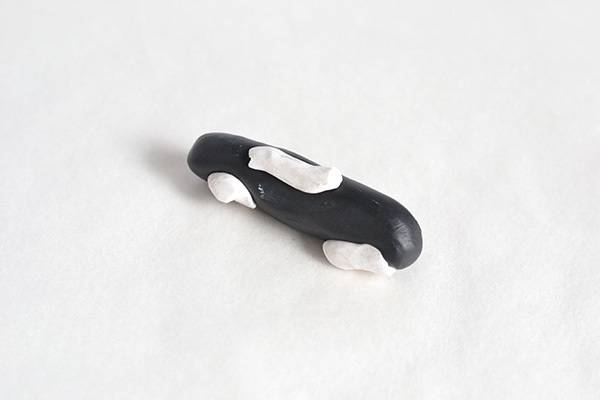
Roll the black and white clay together into a log and then twist it so the two colours start to create a marbled look.

Work at kneading the clay until you’re happy with how the marbling looks, then roll it flat with a jar or rolling pin until it’s around 0.2 inches (0.5cm) thick.
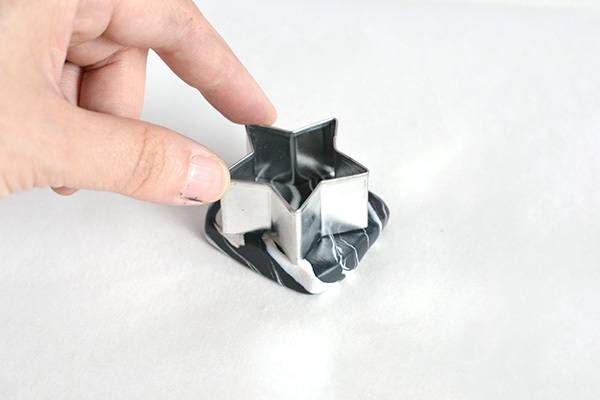
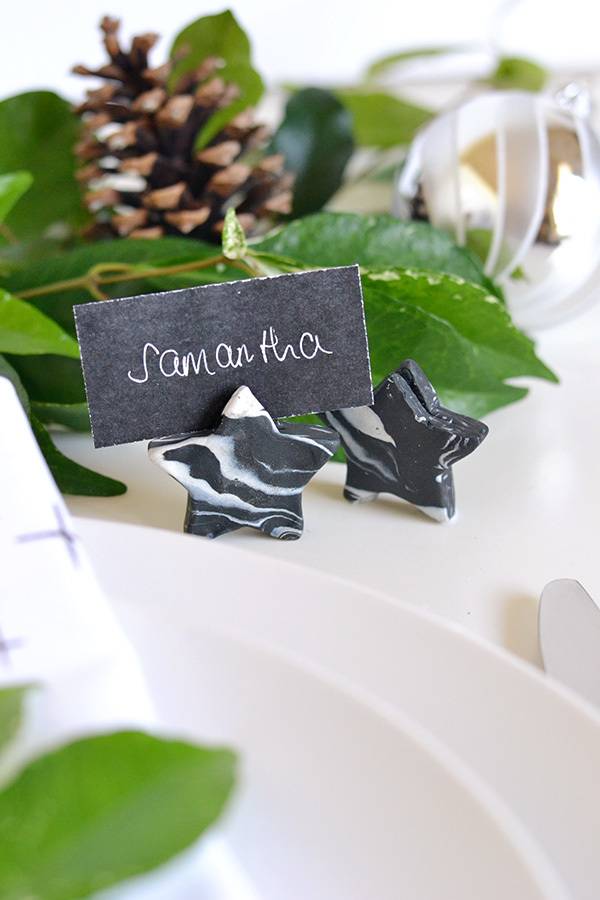
Place Card Holder Step 3
Use your cookie cutter to cut out a star shape.
Place Card Holder Step 4
Using a scalpel, create a slit in the top point of the star. This will be where you’ll later insert your place card.
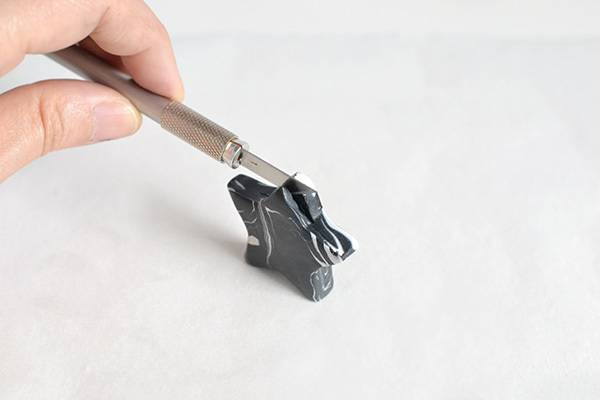
Stand your stars upright to flatten the bottoms a little so they can stand on their own once baked. Then bake them in an oven to set the clay (make sure you refer to the manufacturer’s instructions for baking your brand of clay).
Menu Step 1
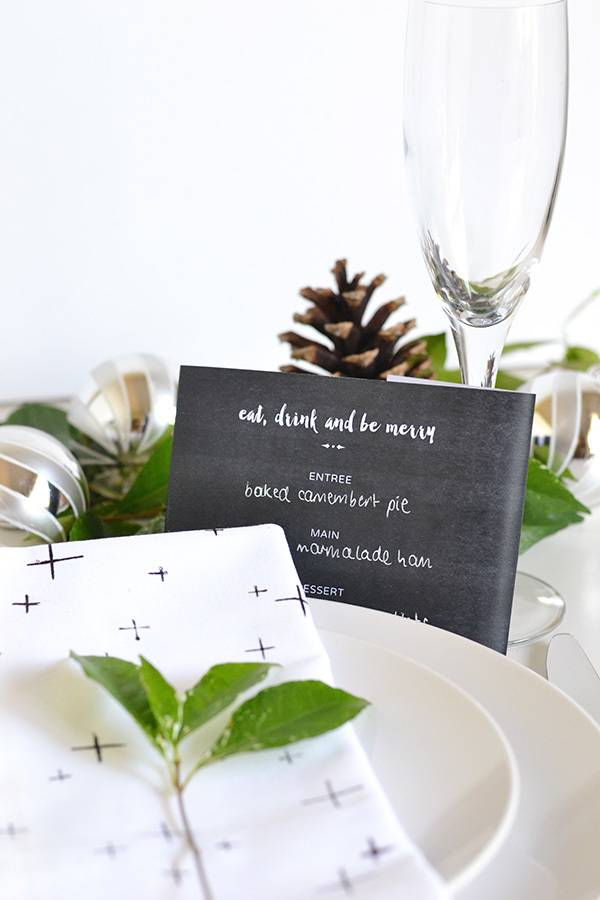
While your stars are baking, download and print the menu printable onto white letter-sized paper.
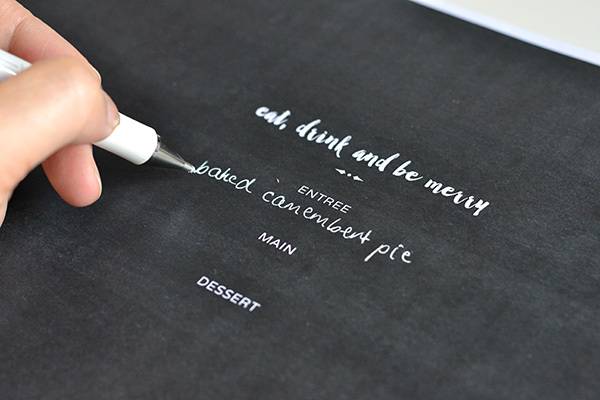
Menu Step 2
Using a white gel pen, write in the names of all the tasty morsels you’ll be serving at your party.
There are several pages in the printable file – half have small headings to section off entrees, mains and dessert; the rest are left blank so you can write in the courses in whatever format you choose (this might come in handy if you have more than one entree, main or dessert!).
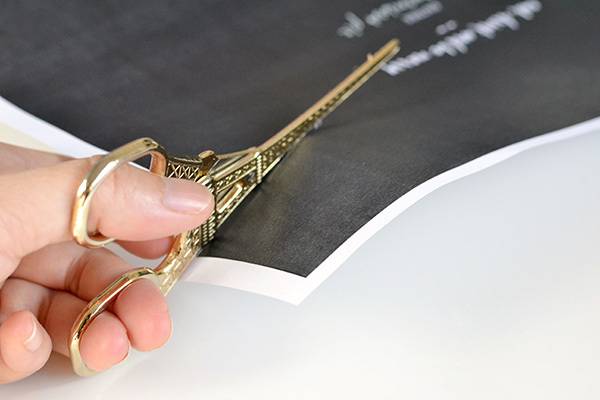
Menu Step 3
Trim the menu to size with a pair of scissors.
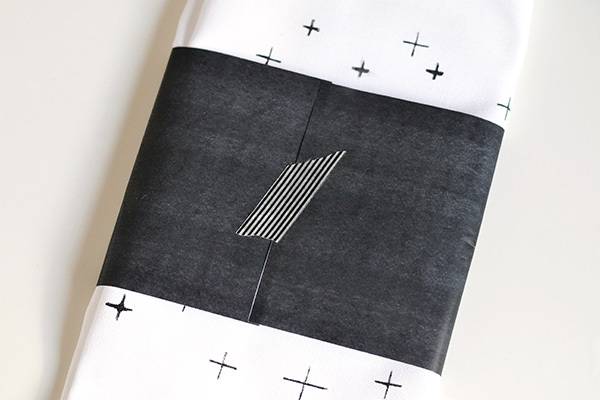
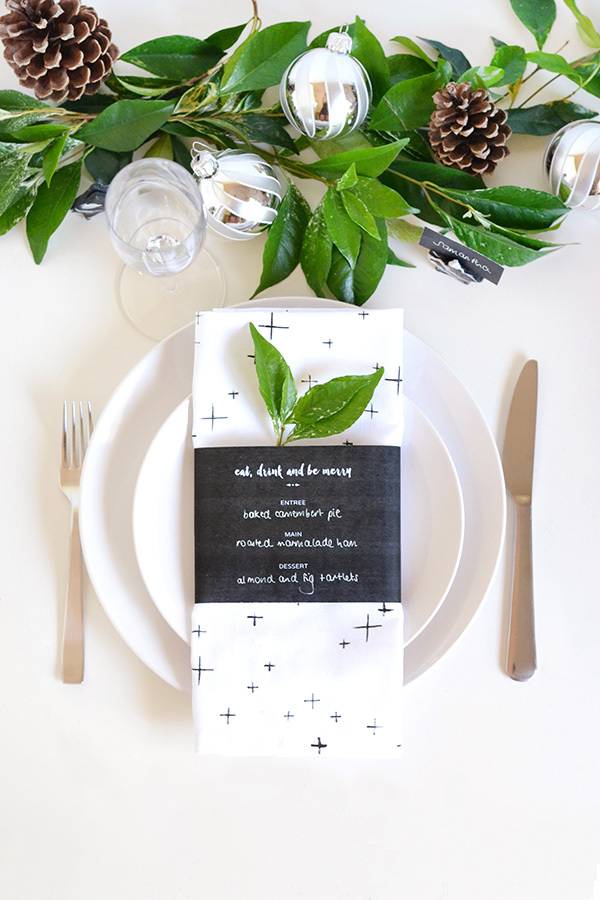
Then wrap the menu around your napkin and tape it at the back with washi tape (or you can use double-sided tape/glue if you don’t want the tape to be visible).
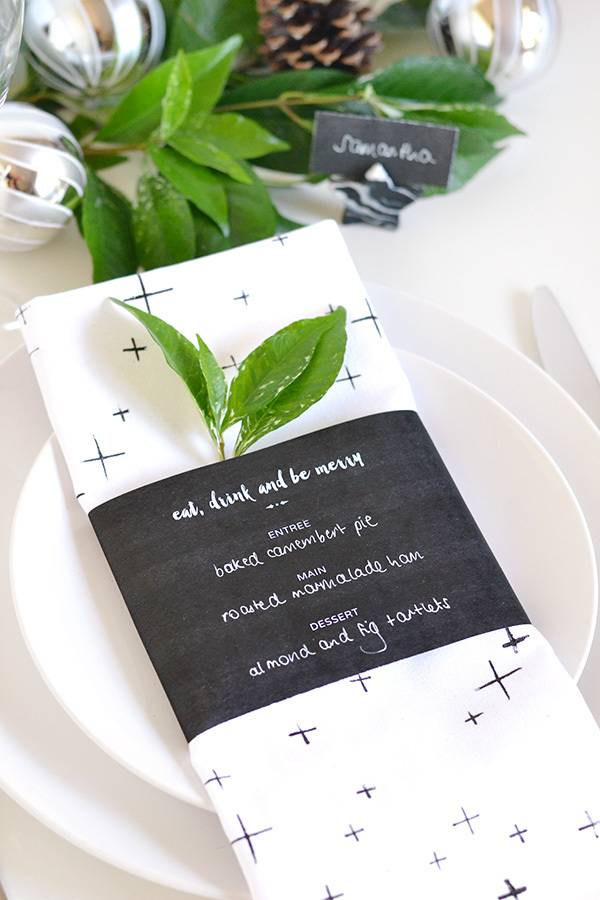
And that’s pretty much it! With all your elements ready to go, all that’s left to do is style up your table.
I used a lot of fresh greenery, combined with a few pinecones and baubles for an elegant and festive feel; but of course you can set up your table any way you like! If you’re not sure where to start, get all your votives, tealights, baubles and bells out of storage and experiment with combining a few of those with some fresh flowers or leaves until you come up with an arrangement that you’re happy with.
Don’t forget that you can change up the DIY parts of this place setting to suit your own tastes – for example try using different coloured paint for the stars on your napkins and a different coloured clay for the place card holder. I’ve included various colours (both traditional and non-traditional) in the menu printable; hopefully one of these will suit whatever colour scheme you end up choosing. Happy entertaining!