With the cabinetry ordered and the house gutted, we started construction. Well, one of us did, as walls needed to be framed in the unfinished basement. While that was attended to, three of us started the never ending painting process.
Prep-Work
But before brush touched pigment, we removed all light switches, registers, doors (except the one remaining for the functioning bathroom, for obvious reasons) and baseboard moldings, where we intended to install hardwood flooring. After this we were ready to tackle the walls. Two of us concentrated on the woodwork, new six-panel composite doors and those delicate areas near the ceilings. The last of our foursome tackled the wide expanse of walls themselves, all the while furious building continued in the nether-regions.
The Reveal: The Kitchen
Relating an entire home make over is difficult, as the impact of an “after” picture needs a “before.” So, while viewing the transformations, keep in mind that the “afters” crossed the finish line pretty much at the same time.

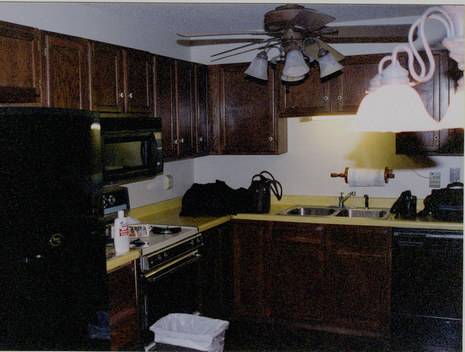
As the original kitchen was very dark, we knew we needed to keep our remodel bright, so we installed maple cabinets with a natural finish. We also added much needed light, including two new ceiling fixtures, under-the-cabinet puck lighting and rope lighting above the cabinets to wash the ceiling above. Other new components included a stainless steel sink, counter top, faucet, and stove, as the old gold one barely functioned. And was gold. We did, however, reuse the original (newer) black refrigerator and microwave oven. The original dishwasher stayed as well as it was in fairly good condition, only filthy. To the point of gaging. Literally.
 Underfoot
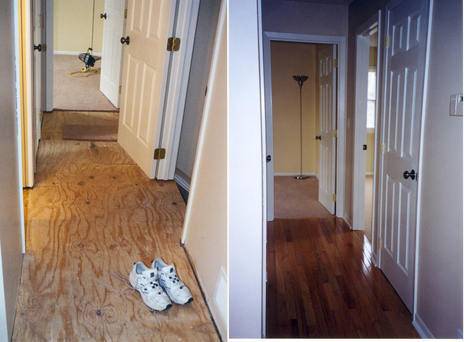
We installed a new sub-straight over the existing plywood to have an even canvas on which to install 3/4 inch pre-finished oak strip. We found installing the oak worked fastest with three people: one nailing the flooring down, in this case using a hammer-driven flooring nailer, one positioning the flooring to be nailed and one looking for the appropriate lengths among the dozens of boxes of flooring purchased. Picking the right lengths to be installed is essential as it is desirable to stagger the lengths of the boards, as their ends, laying side by side, should not repeat within three rows. Not only is this done for aesthetic reasons, but staggering the boards creates a stronger floor as well.
Tomorrow’s Post: Construction Continues (the living room)