
It’s officially National Painting Week – one of our favorite times of the year, because paint is, well, magical. You just wave a magic wand (ahem, I mean…brush), and it transforms rooms like nothing else. It’s a powerful feeling, holding so much potential in your hand, wielding that brush and roller like a wizard. Kazaaap!
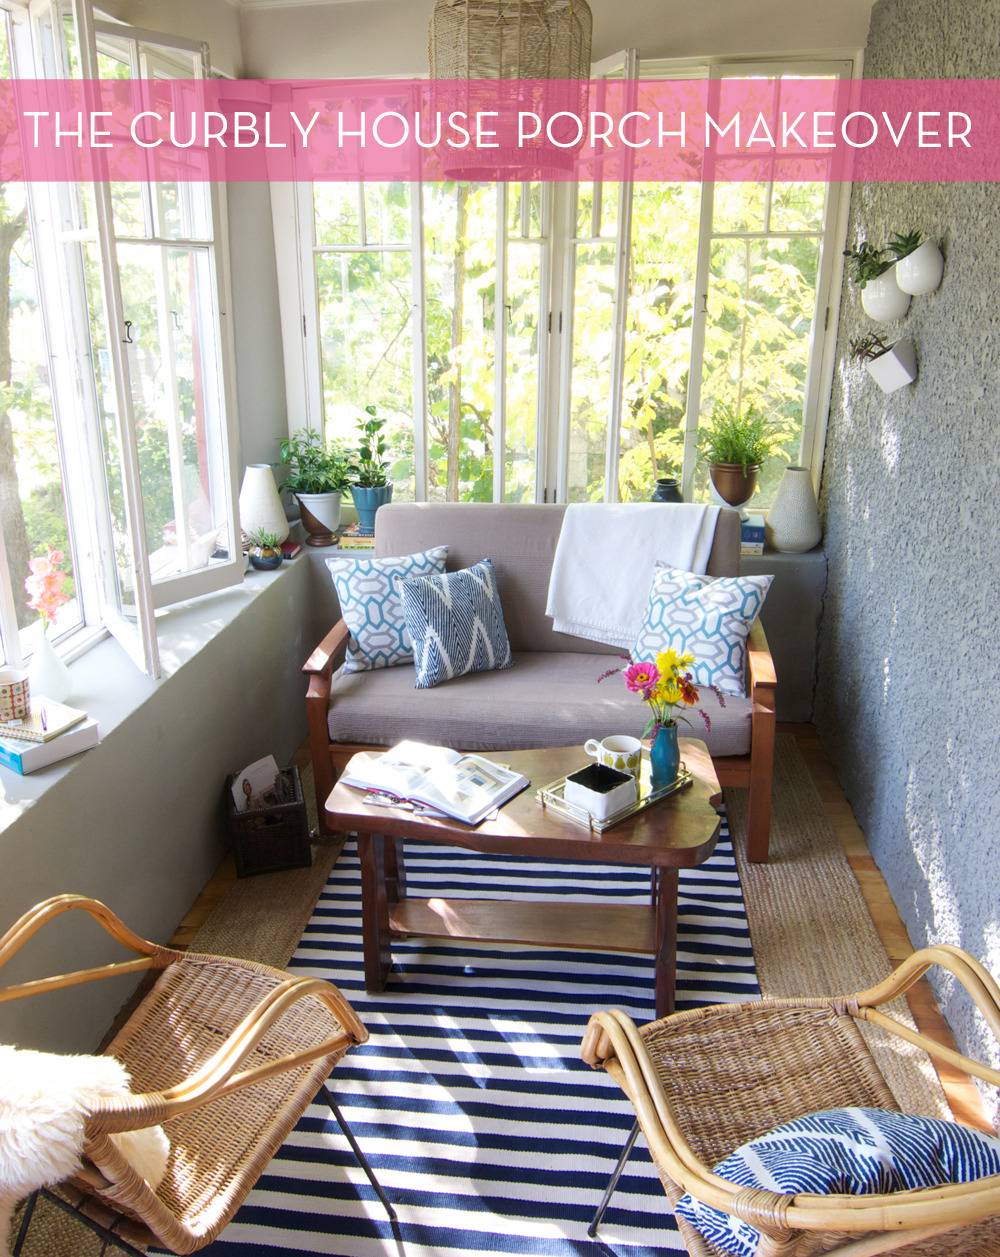
For this year’s project we focused on the bonus room of our house: the porch. The truth is, we are porch people. That soft summer air drifting through the screens, the cool fall nights lounging with friends, the sunset on city streets. That’s what your porch is for, and if you have one, you know how lucky you are. Read on to see how we transformed ours.
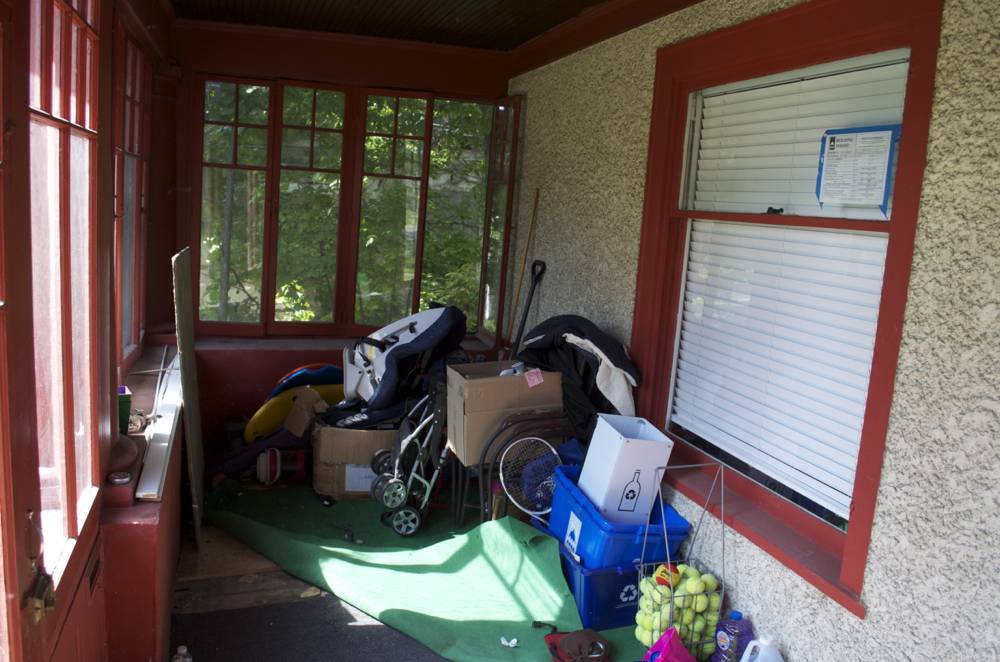
In the beginning, the Curbly House porch was the province of mean squirrels and soggy carpeting. And then, while we focused on fixing the inside of the house, it got worse; a dumping ground for construction debris, and later storage space for sleds and strollers.

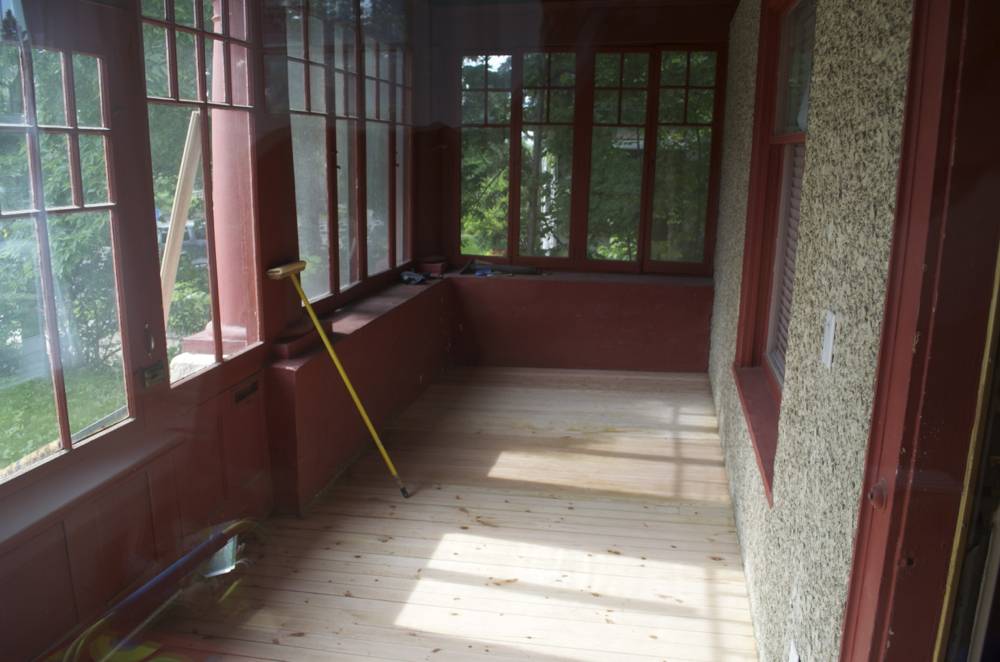
Finally, we decided enough was enough and began bringing the porch back to its original roots. We started the makeover by tearing up the carpet and removing a quarter inch of carpet adhesive. A combination of a frighteningly toxic chemical stripper and four days walking behind an orbital sander did the trick. Note: Upon returning the orbital sander, the nice rental lady informed us that we were given a broken sander by mistake. So, should you choose to take on a project like this, your sanding experience will likely not involve four days of your life.

We patched the damaged floorboards with new fir planks and gave the whole thing several coats of clear polyurethane.
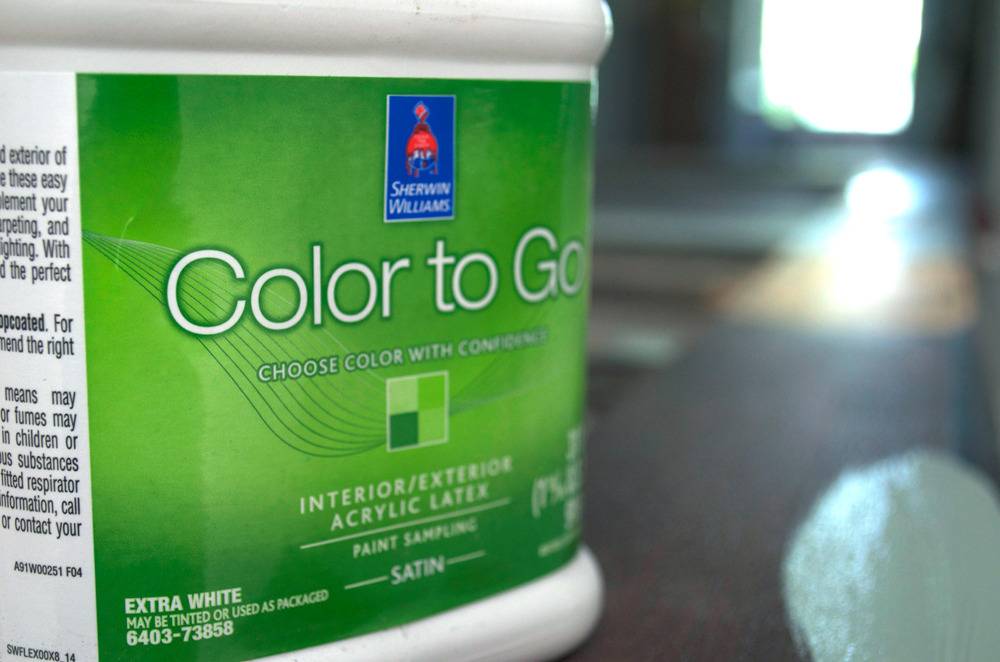
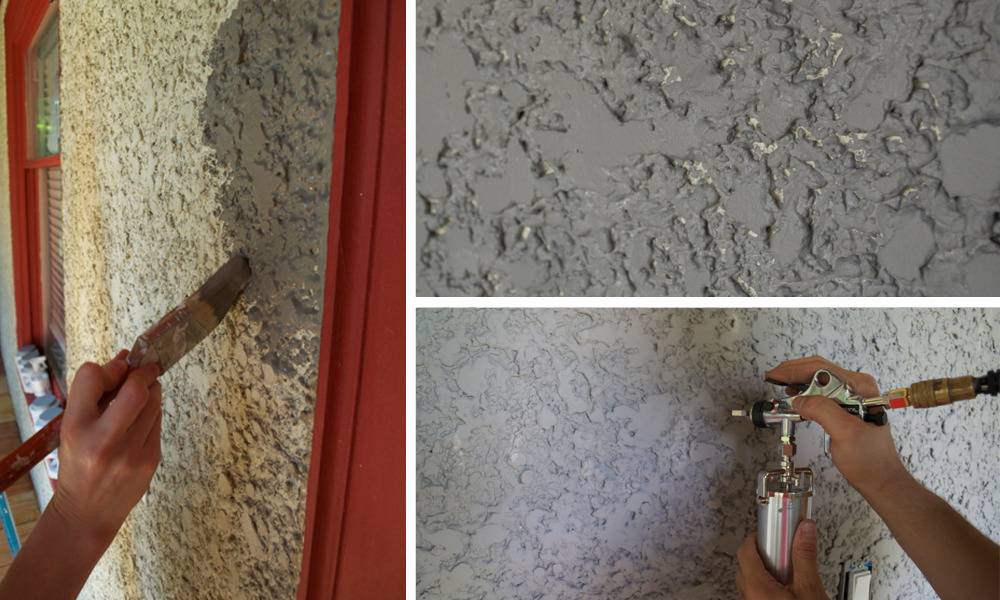
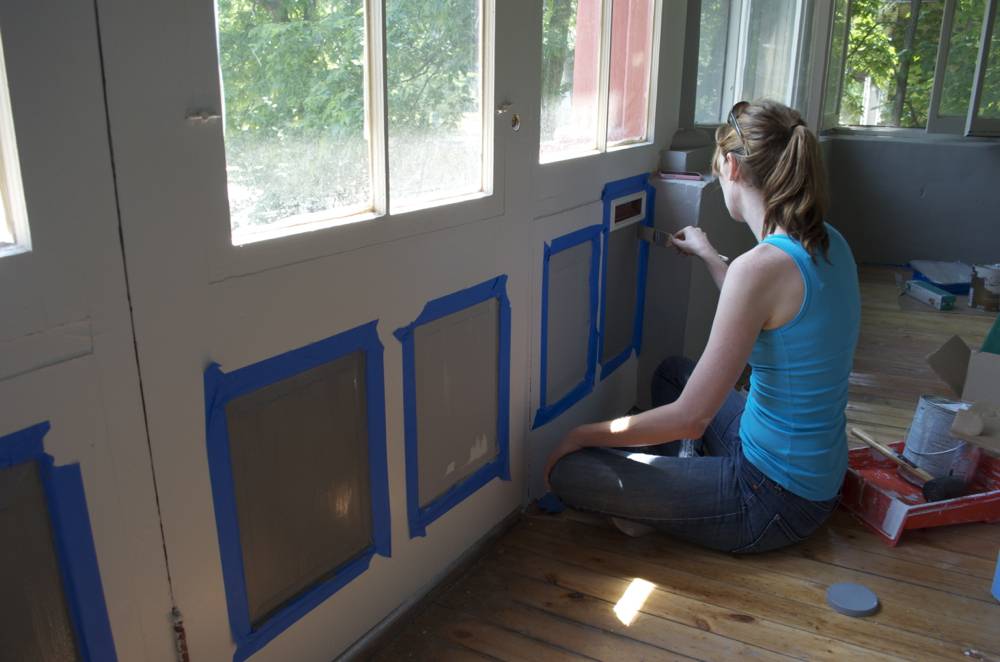
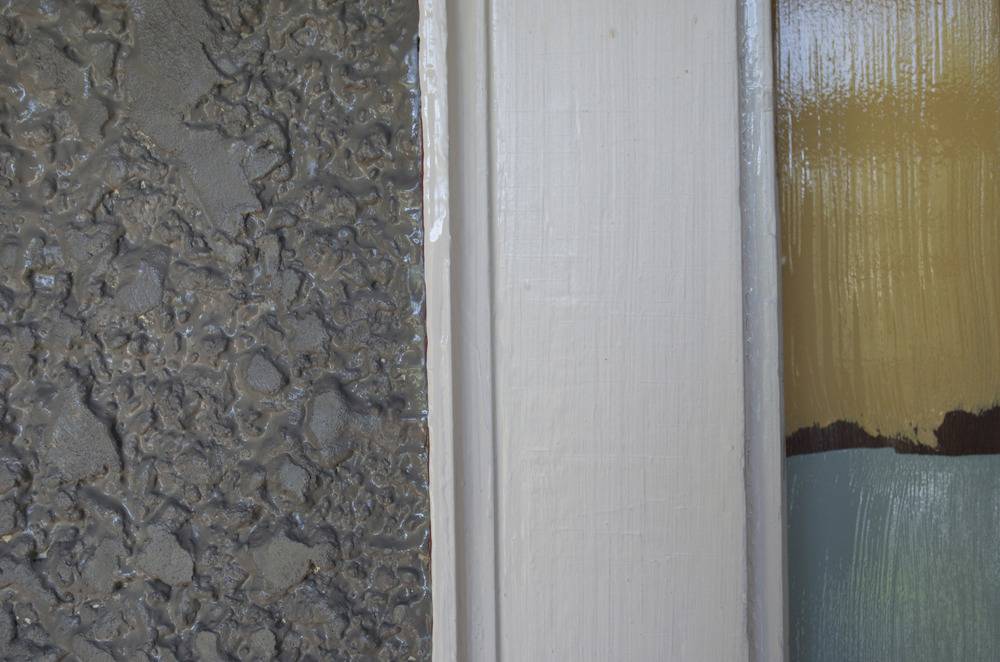
Next, we painted the stucco, windows, and cement perimeter wall. We used Sherwin-Williams’ Duration Exterior paint in Dovetail (for the walls) and Kestrel White (for the wood trim). On the stucco we used an acrylic latex paint (recommended for stucco because it allows the walls to breathe), applied first with a roller, then a brush, and finally a sprayer. Guess what? Stucco is a real challenge to paint.
Before painting the woodwork, we sanded and primed every square inch of it. This was a huge task, but it made the painting process go much more smoothly (in every sense of the word).
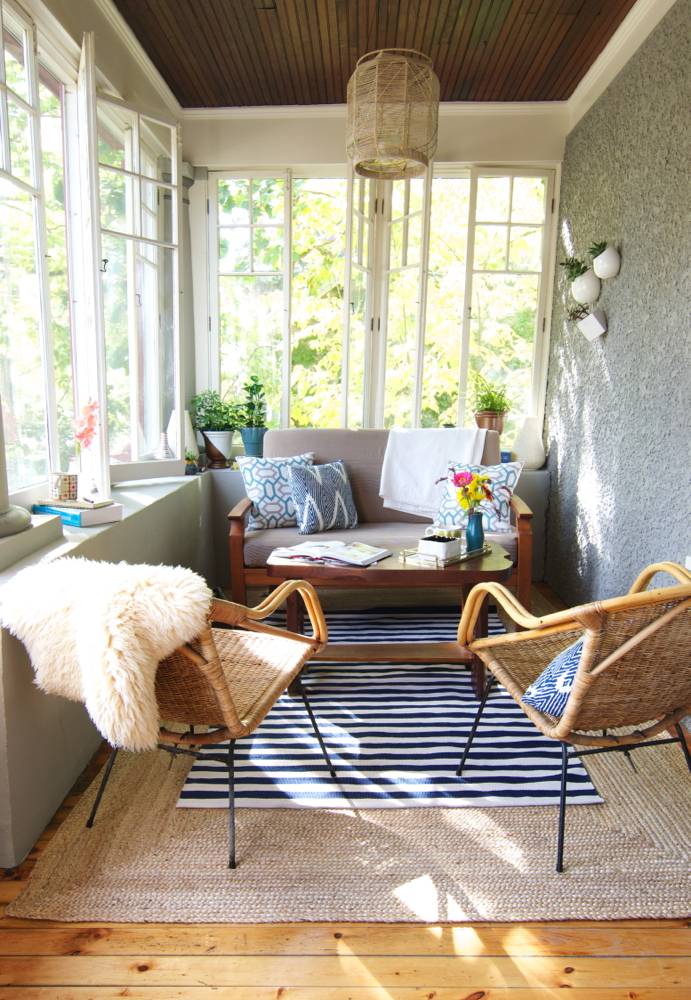
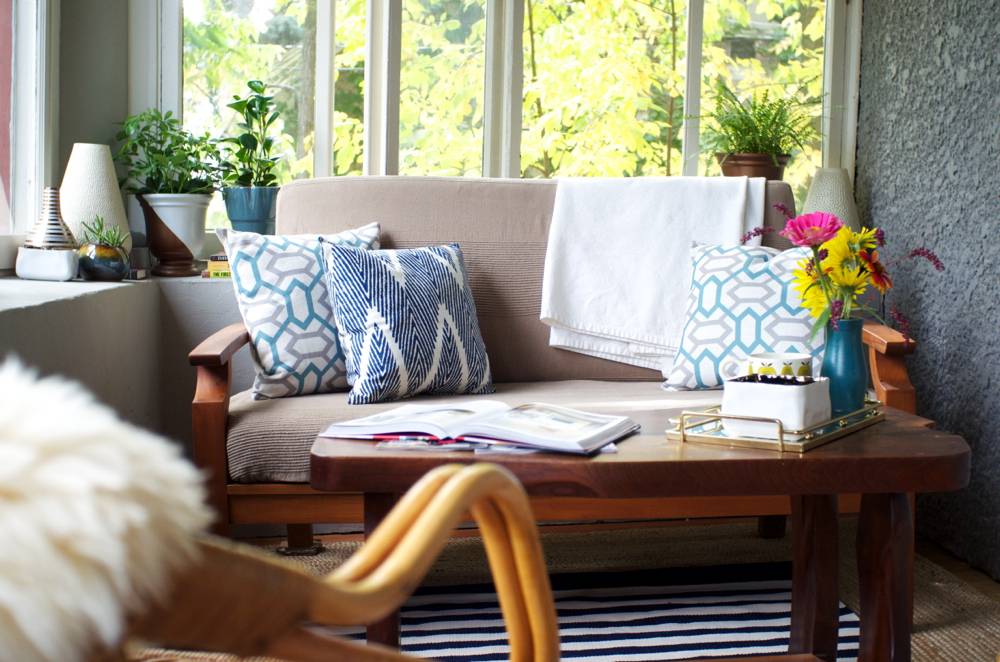
Once the paint dried it was time to make the space our own. To help define the seating area, we layered a striped outdoor rug from Dash and Albert over a simple jute rug (pro-tip: layering rugs is a simple way to give a space depth and dimension).
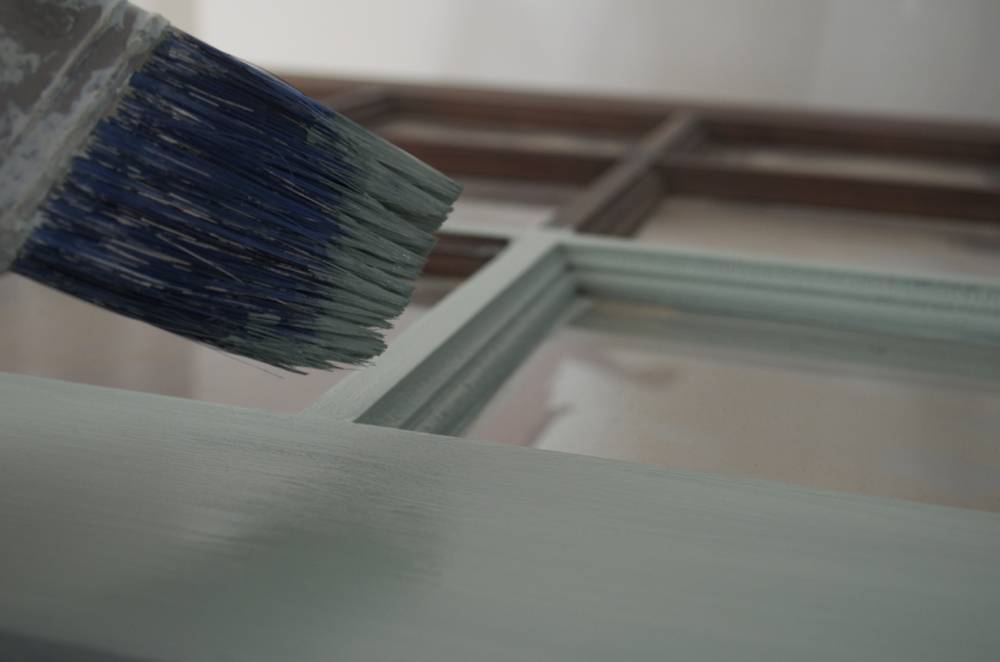
Since the porch is the transition between our house’s exterior and interior, we wanted it to feel organic, comfortable, and functional. With the exception of our aqua-colored door (in Sherwin-Williams Halycon Green SW 6213), we kept the color palette neutral, and incorporated a variety of wood tones on the floor and furniture.
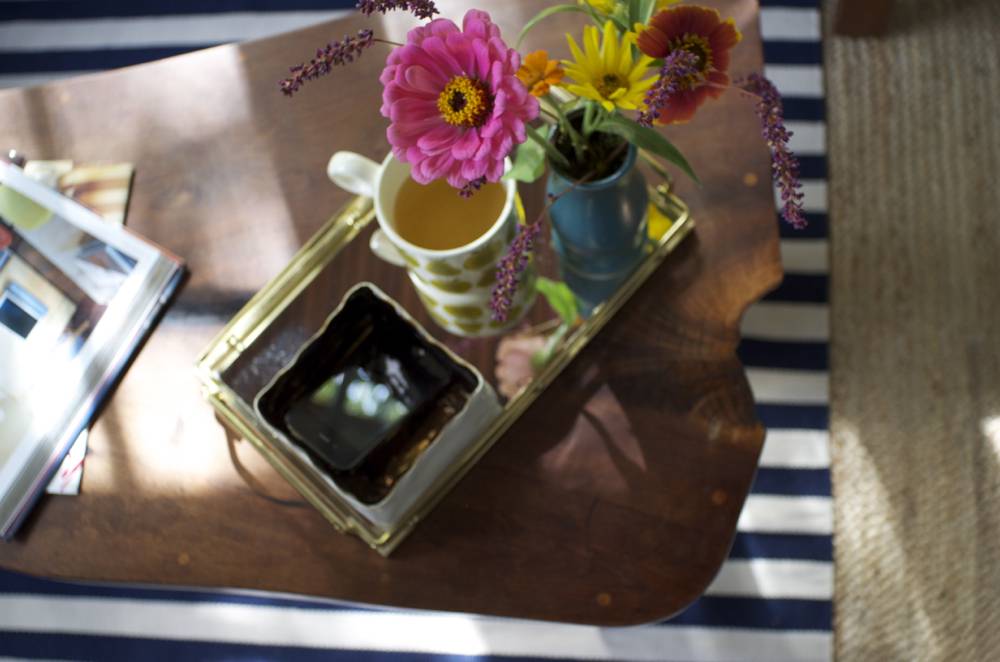
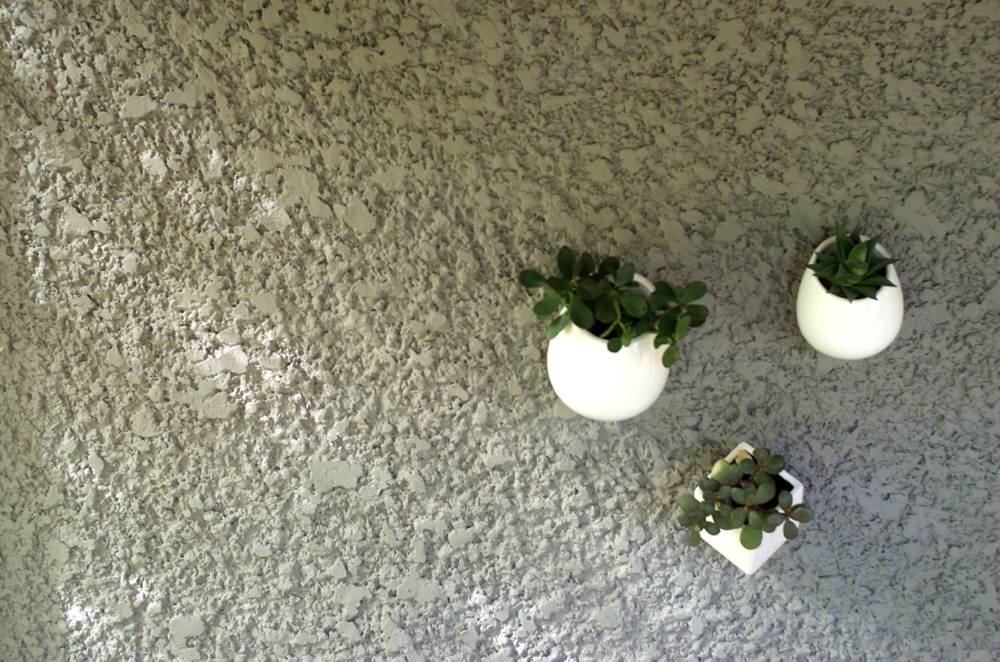
We used weather-friendly, natural fibers like jute and hemp for the rug and lantern. We also brought in bronze metallics that we used on our planters to bring more depth to the space. We housed our greenery with wall planters and clearance planters and vases that cost less than $10 a piece at Goodwill, and added a few sculptural candle holders to round out the decor.
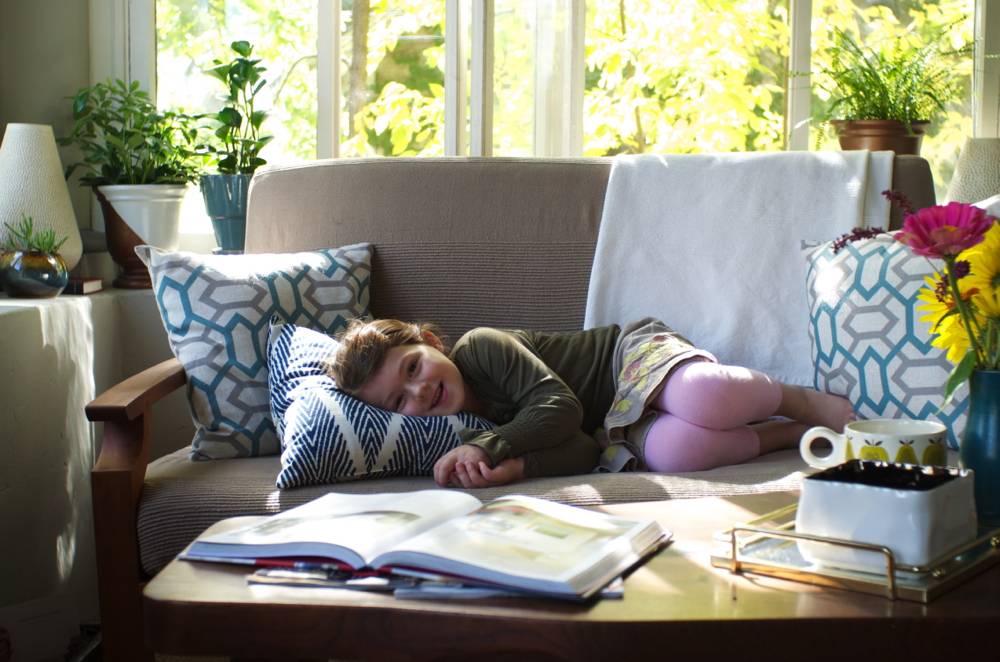
The result is a space we love. We are enjoying an early spring in the Midwest and we are taking advantage of the long sun-filled evenings on our pleasant porch.

Here’s a source list for those who love ’em:
Wall Color: Sherwin-Williams’ Dovetail (SW 7018)
Trim Color: Sherwin-Williams Kestrel White (SW 7516)
Accent Color (On Trim): Sherwin-Williams’ Gauntlet Gray (SW 7019)
Door Color: Sherwin-Williams’ Halcyon Green (SW 6213)
Jute Rug: Overstock (5×8)
Striped Rug: Dash & Albert Trimaran Striped Navy Indoor/Outdoor Rug (4×6)
Coffee Table: Made by Alicia’s dear, old dad! Here’s a similar one.
Wicker Chairs: CraigsList lucky find ($30 for a complete set!). Here’s a similar option.
Couch: Target’s Smith & Hawken Brooks Island Patio Love Seat (slipcovered)
Planters, Vases, Catch-all Dishes: Goodwill (all under $10)
Jute Lantern: DIYed, but here’s a similar one.
Wall Planters: Arcadia Round Wall Planter
Bench: Crate & Barrel (past season). Here’s a similar one.
Toss Pillows: Bali Set & Geometric Links Set
This post was sponsored by Sherwin Williams, but all opinions are mine alone. Thanks for supporting the brands that support Curbly!
i am impressed with the transformation,and i am not easy to impress.very well done!
It looks like the inside of your house! Nicely done. I love it.
Beautiful!
Thanks, all!