Meghan and Al What is it about getting older that makes you just want to grow things? I’m not sure when it happened for us, exactly, but it hit one day and we couldn’t ignore the longing. We had the itch: to make something with our hands, to live off the land, and to go back to a simpler time. The feeling also conveniently coincided with spring so we knew it was time to give it a shot!

We would make ourselves a tidy, urban garden in planter boxes, right from the convenience of our own back deck. Since we know we’ll be remodeling in the next year, we needed to make something portable that we can place in a new location once the construction starts. So, we teamed up with our friends over at 3M DIY for this journey, and figured out an awesome, affordable DIY solution.
First things first, we made a Saturday morning trip to the local hardware store for supplies. Because we knew that we’d be moving the planters once our renovation began, we decided to go modular. We wanted to use plastic storage bins to hold the dirt and plants, then create an outer layer of wood to create a four-sided container.
 Meghan & Al
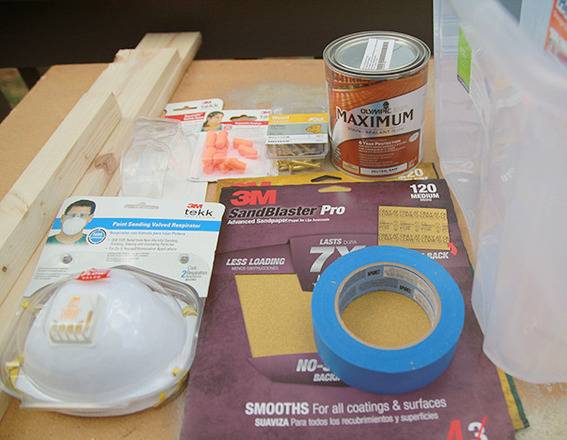
 Tools and Materials:
- 6- 1x4x12 cedar boards (on sale!)
- 2- 2x2x8 cedar boards
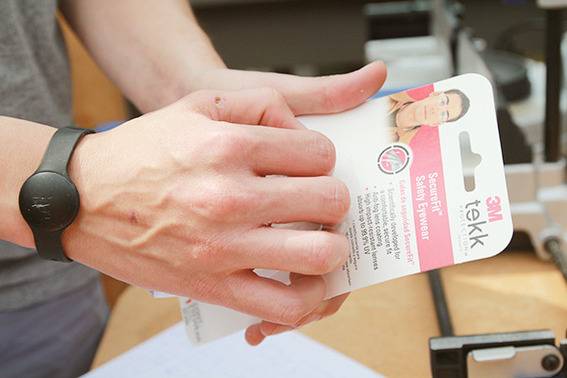
- 3M™ safety products including glasses and earplugs
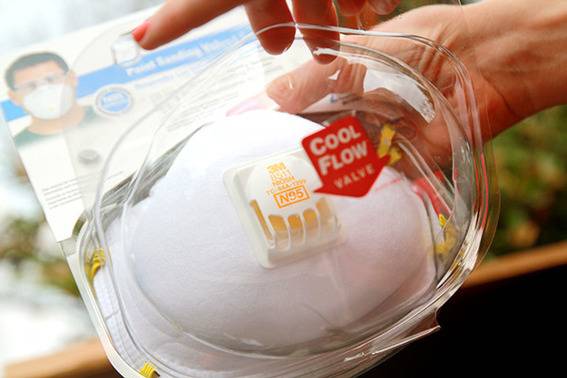
- 3M™ Paint Sanding Valved Respirator
- ScotchBlue™ Tape
- 3M™ SandBlaster Pro Sandpaper
- Outdoor wood finish
- Brass screws
- 2 plastic storage bins
When we got home Al planned out the cuts, grabbed the appropriate safety gear: glasses and ear protection, and checked the measurements one last time. It was our first spring Saturday of the season so we decided to set up shop on the back deck.
 Meghan & Al
 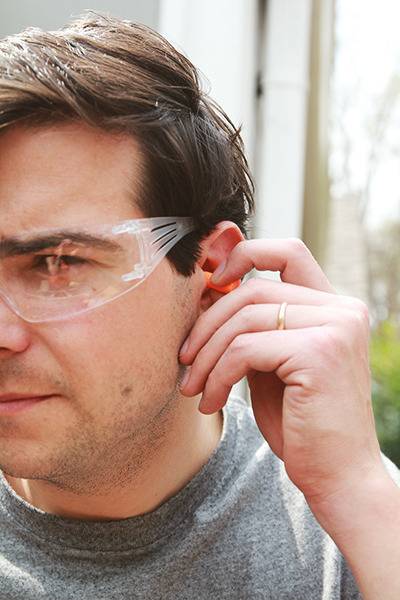 Meghan & Al
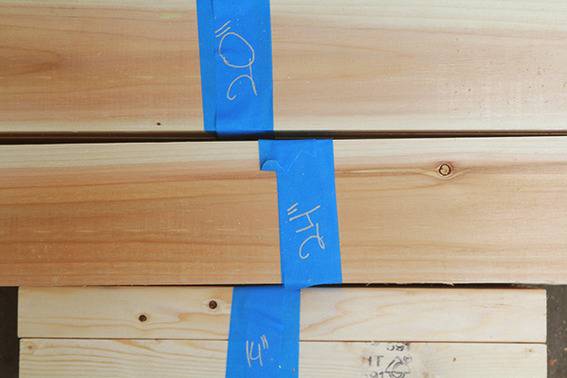
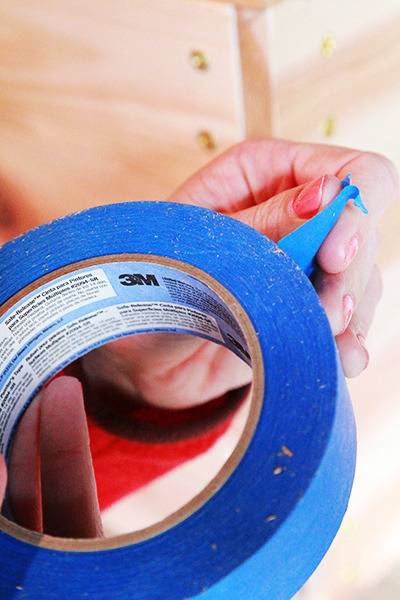
 We cut all of the boards down to size, but soon realized that things could get confusing if we didn’t organize the lengths somehow. This was the first time the ScotchBlue™ Painters Tape came in handy.
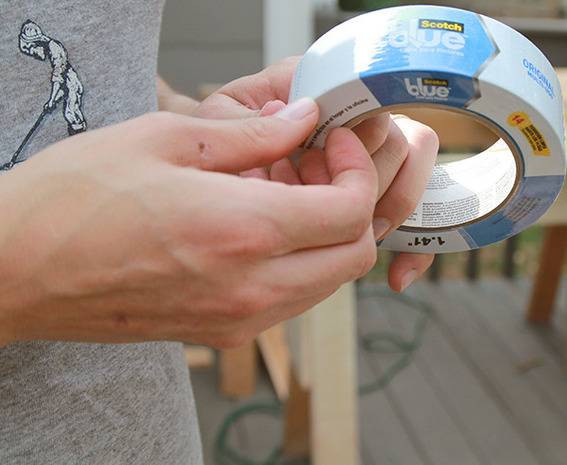 Meghan & A
We taped off each board length and set them to the side for assembly.
 Meghan & AlOnce all the cuts were made, Al gave each board a quick sand using the medium grit paper to smooth out the rough spots. Then we began to put together the boxes.
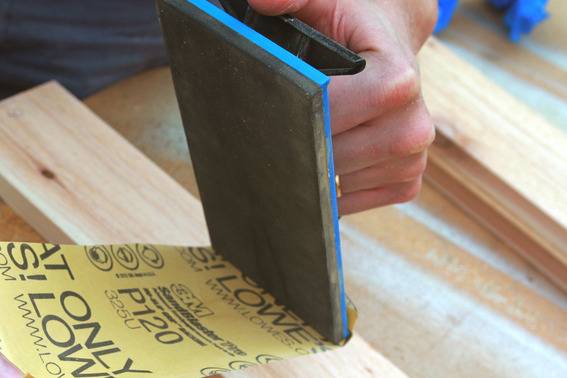 Meghan & Al
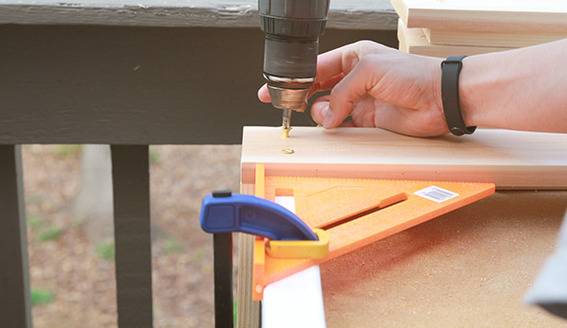
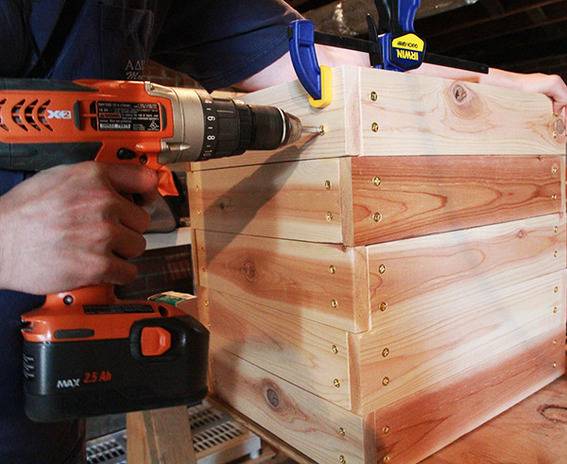
We drilled pilot holes in each board, and began screwing together the boxes. All it took was a roofing square and clamp to make sure the sides were true.
 Meghan & Al
 While Al was putting together the boxes, I grabbed a few scrap pieces of the cedar to test out the stain. The second I opened up the can of stain I was knocked back by the smell so I went ahead and grabbed that 3M Valved Respirator and a paintbrush and laid down two coats of stain.
 Meghan & Al
 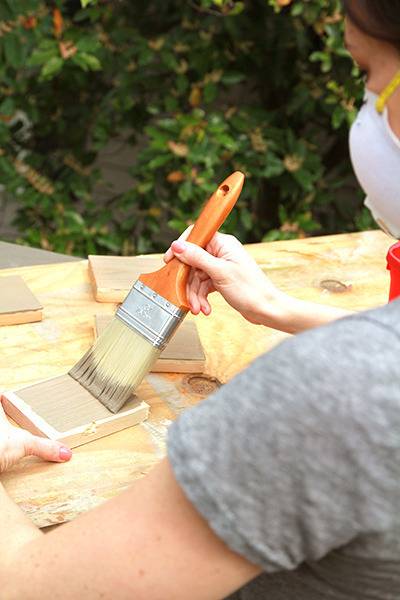 Meghan & Al
 About half way through the first box, I looked up and saw the clouds starting to grey. Our first spring shower of the season was coming. We’d have to finish this one up inside.
 Meghan & Al
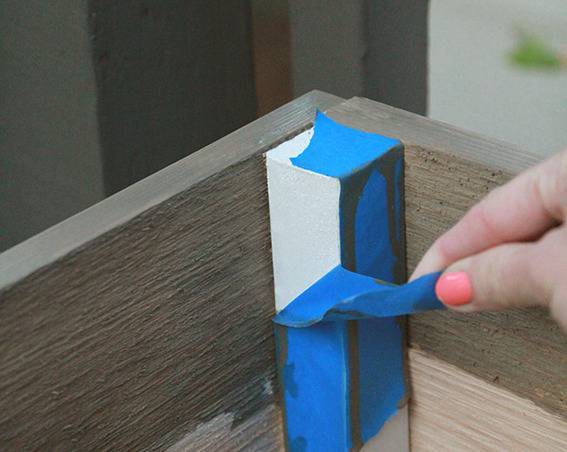
 Next up, staining the cedar. Before I grabbed the painter’s mask to brush one more time, I reached for the painter’s tape to tape off the brass screws.
 Meghan & Al
 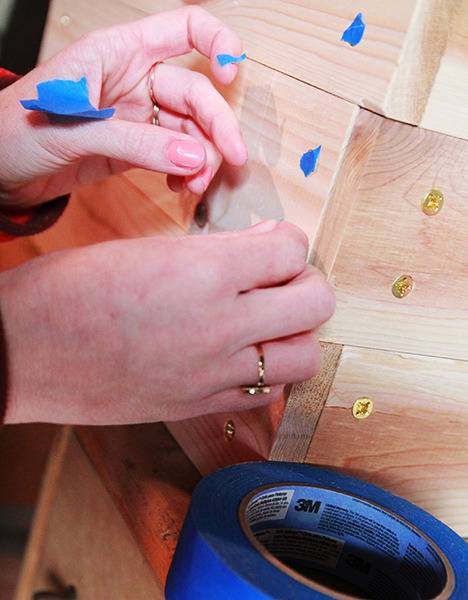 Meghan & Al
 The goal of the stain is to add a bit of grey to the color of the boxes without losing the grain of the cedar. While I stained the first box, Al finished building the second.
 Meghan & Al
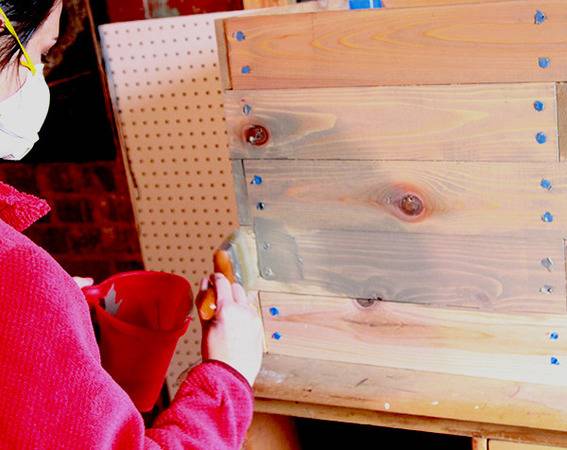
After two quick coats on the second box we were done. By now, the showers had passed and we moved the boxes upstairs to their (temporary) home, removing the tape.
 Meghan & Al
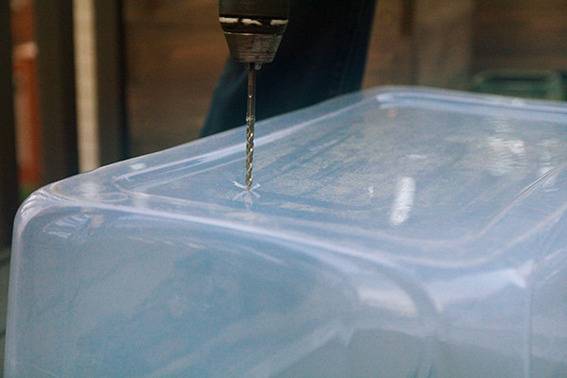
 Finally, Al drilled several holes in the bottom of the two plastic bins for drainage and we were ready for the dirt.
 Meghan & Al
  Meghan & Al
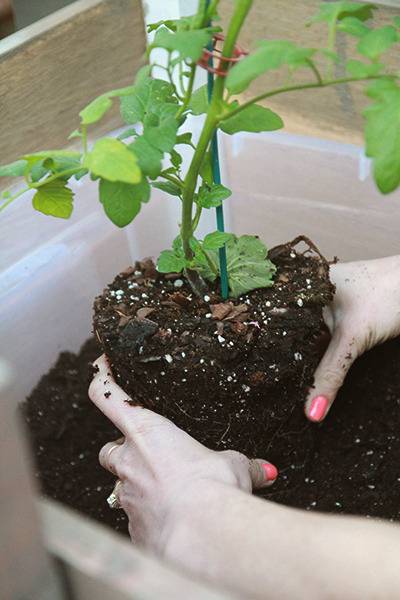
 Right as we were getting ready to plant, we remembered: we know nothing about gardening!
How could we forget such a detail on our quest to create said garden? Lucky for us, the friendly folks at our neighborhood nursery have seen our kind on the daily. They took us under their wing and told us everything we needed to know about the wide world of planting. I kept repeating, “Ok, so just sunlight, soil and water, correct?” We choose our favorite cooking herbs: basil, cilantro, rosemary and thyme, along with tomatoes (as good first-timers should), and a blueberry bush, just for fun. Then we headed home and gave these babies their new home: our lovely little planter boxes and ever-so-garden chic, assorted pots.
 Meghan & Al
  Meghan & Al
  Meghan & Al
 So there you have it! Planter boxes to suit your gardening needs!
 Meghan & Al
 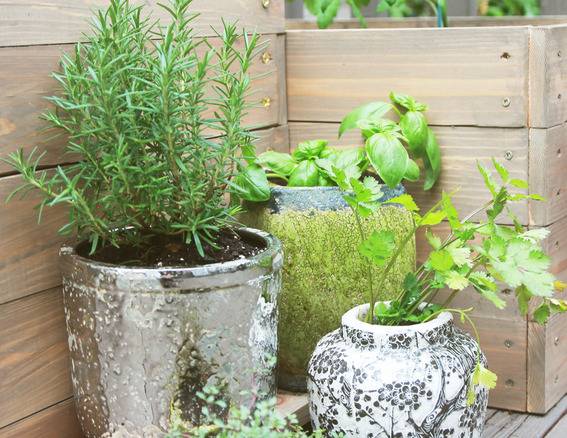 Meghan & Al
 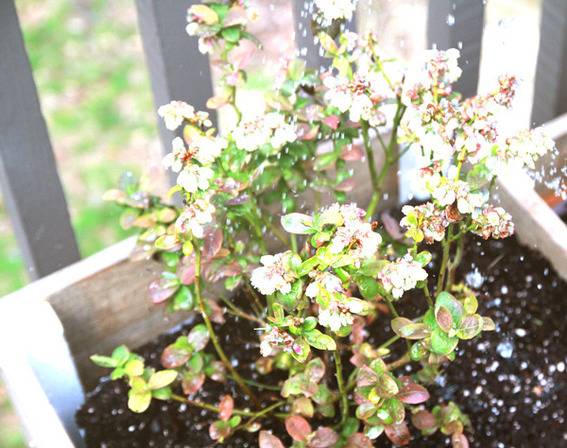 Meghan & Al
Find more great DIY project ideas on 3M DIY’s Pinterest, Twitter, and Facebook profiles.
I am proud to be a 3M-sponsored blogger, and, as part of my responsibilities, I get the opportunity to evaluate new products from 3MDIY. Opinions are my own and additional product used in the project were selected by me.