Faith Towers

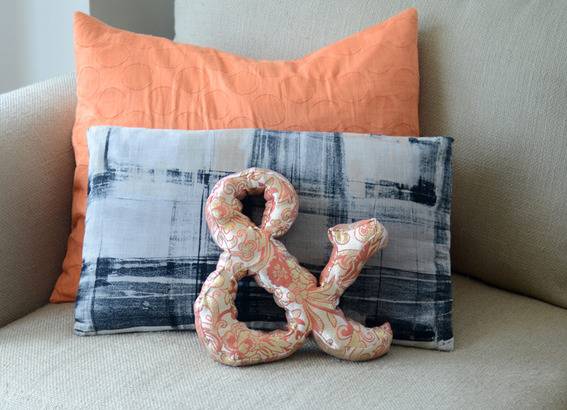
Being a typography nerd, I’m a big fan of the ampersand. It’s a beautiful letterform. And being fabric and textile month here at Curbly, I thought that combining sewing and typography could be the perfect project. I mean… who wouldn’t want an ampersand accent pillow on their couch? Keep reading to get your free printable pattern and the full photo tutorial.
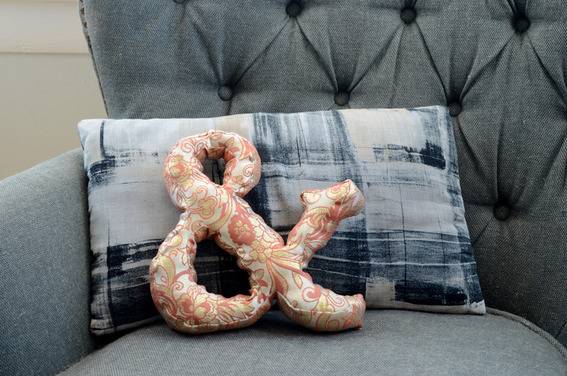
The result is a fun, whimsical accent pillow that is sure to be a conversation piece the next time your friends come over. I would classify this as a beginner to intermediate level sewing project, and it will take you a couple of hours to make. Now let’s get started!
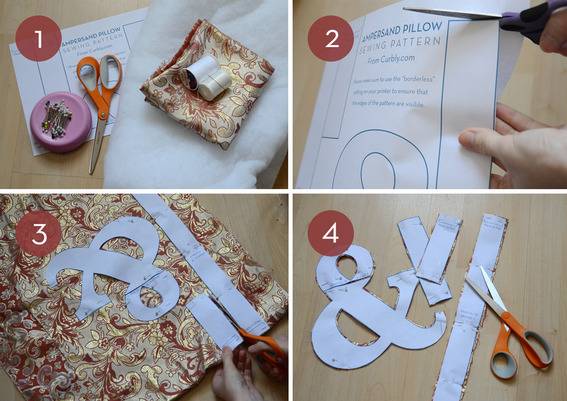
1. Here is what you’ll need for the project:
– A sewing machine
– Our printable pattern (download it here)
– 1/2 yard of cotton batting
– 1/2 a yard of fabric
– Matching thread
– Clear thread
– Needle
– Scissors
– Pins
2. Begin by cutting out your pattern. Because it is set up as a letter-sized file for easy printing, you will have to assemble some of the pieces using the instructions on the pattern after cutting everything out. You may want to tape those pieces together.
3. Next, fold your fabric in half and pin the pattern pieces onto your fabric. Carefully cut them out.
4. This is what they should look like.
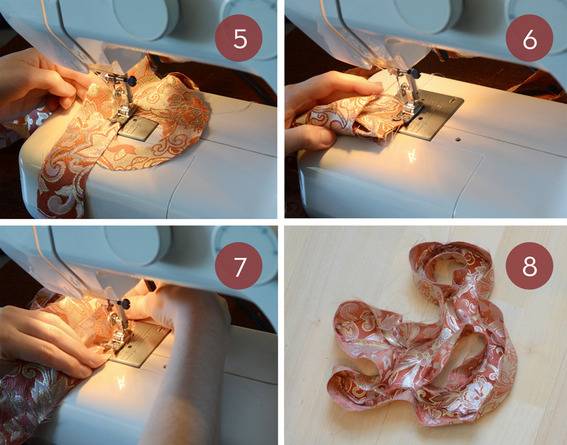
5. Find the ampersand piece that looks normal (not backwards) when the right side of the fabric is facing you. With right sides together, begin sewing the shortest rectangle to the upper hole of the ampersand. Use a quarter inch seam allowance (do so throughout this entire project). Start at the point of the hole and work your way around, turning and curving the edge of the rectangle piece to match the shape of the hole as you go. You’ll probably want to lift the foot of your machine up quite a bit throughout this process (just be sure that the needle is down in the fabric when you do this so you don’t lose your place).
6. Once you make it all the way around the hole, sew the short ends of the rectangle together with right sides together again.
7. Repeat this exact same process for the bottom hole of the ampersand, using the next shortest rectangle. Then repeat the process one more time using the super long piece, attaching it to the outer edge of the ampersand.
8. If you turn everything right side out at this point, it should look like this. Next we’ll be sewing the back of the ampersand on.
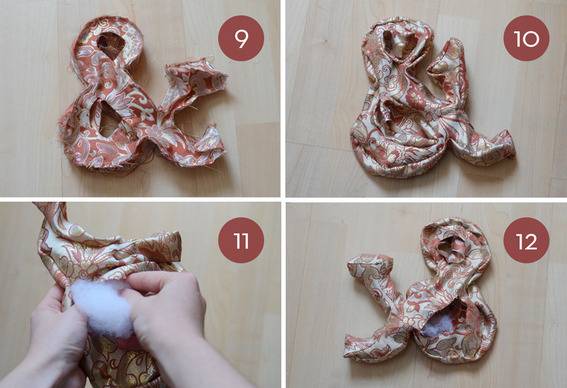
9. Turn it back inside out again, and begin attaching the remaining ampersand piece of fabric onto what you’ve already created, just around the outer edges. Do not sew the “holes” yet.
10. At this point, once you turn it right side out, it should look like this with all edges sewn except the back part of the holes. This will allow you to stuff the pillow.
11. Begin stuffing small pieces of batting into the parts that are completely sewn.
12. It should now look like this.
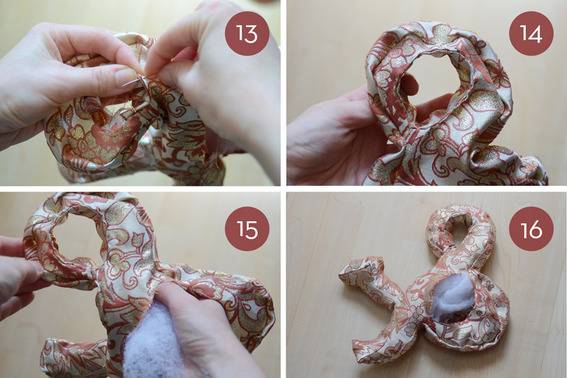
13. Next, grab your needle and clear thread and begin hand-sewing the back of the walls of the top hole to the back ampersand piece. You’ll want to fold each edge in and sew using a blind stitch (here are some instructions in case you don’t know how to do this).
14. It should look something like this.
15. Continue stuffing the top of the pillow.
16. Sew a blind stitch almost all the way around the bottom hole in the same manner, leaving about two inches open this time. Add some more batting until it is completely full. Now sew up that last two inch section, and you’re finished!
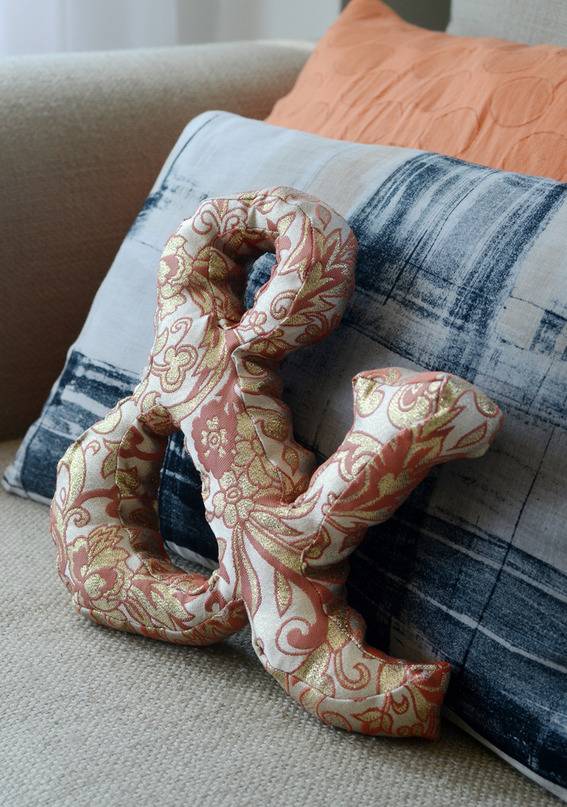
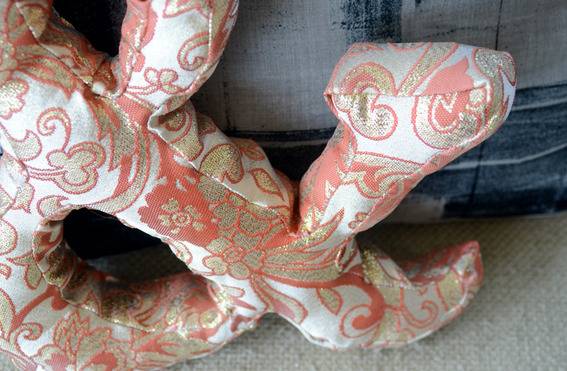
I used brocade fabric for a dramatic look, but you could use any fabric that doesn’t have much stretch to it. It would look really great in contrasting solids, or even a plaid!
If you’re really feeling adventurous, you could even try doing other letters to create initials or full names. That could be fun in a nursery. The possibilities are endless! Good luck everyone, and happy sewing!
Wow! Looks so cute. I’m gonna try for this weekend to decorate my sofa! Thanks for sharing.
Great! Have fun with it, Susan!