
In making over our bedroom as part of the SYLVANIA Blogger Makover Challenge, replacing the old light fixtures was one of the bigger projects we tackled (making over your room? Check out their daily sweepstakes on Facebook). Need a little reminder? They’re very 1996:
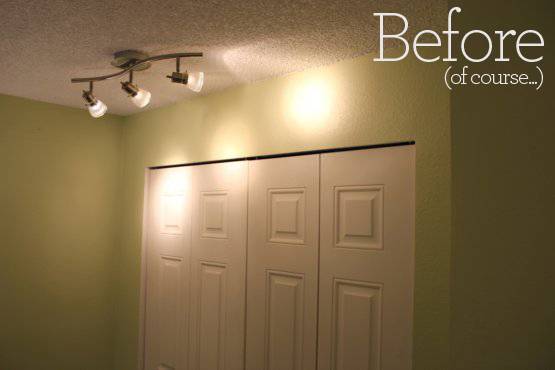
Why replace our existing bedroom lighting?
Not only were our existing lamps, frankly, hideous, but they also made the ceilings feel about two feet shorter than they actually were. Perhaps most importantly, they used a total of 350 watts of energy and made the room feel like a sauna. Hot!
What were the considerations when selecting our light solution?
It was immediately clear we need to go with recessed lights to raise the ceiling height. It was also imperative to find something that put out enough light to illuminate the room and the nether-regions of our closets.
What did we end up choosing?
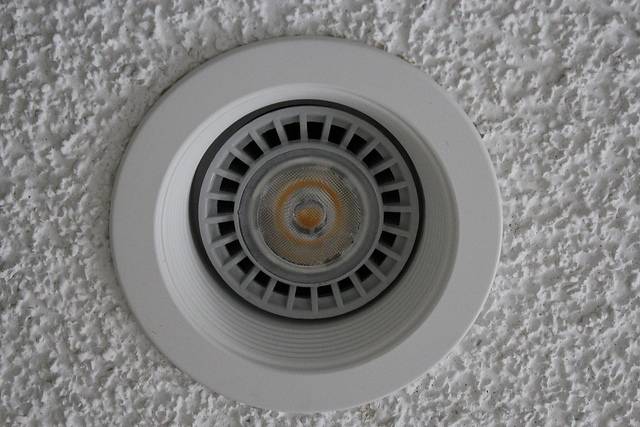
We settled on 5-inch remodel-style cans. Also, since we were in contact with insulation we wanted to ensure that the housings were airtight and IC-rated. They were the correct size, held the right type of bulbs, enabled easy installation, and would be safe. The final (and key) piece was a set of SYLVANIA ULTRA LED Dimmable PAR30 LED floodlights (you can also use the 12 watt Aline dimmable LED bulbs for standard lamps and fixtures).
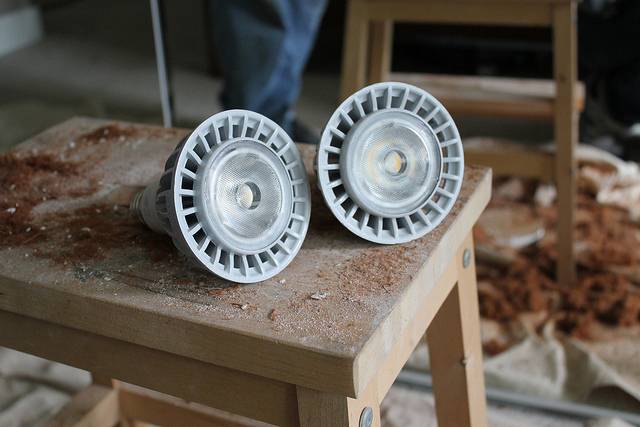
Now, rather than using 350 watts of energy to provide mediocre light, we’re using just 60 watts of energy to generate great illumination coverage. It saves a ton of space and really makes the room seem larger. We love the clean, bright lights from these lamps – and they generate no perceptible heat. Cool!
Check out our video to see just how easy the change-out was.
And here’s the entire process in 10 simple steps that we DO enourage you to try at home!
How did we make the switch?
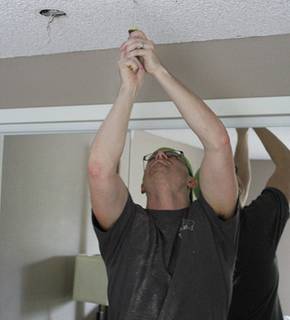
- Turn off the power at the circuit breaker, then remove the existing surface mount light and hardware.
- Select the new location(s) for the recessed cans, and mark them. Confirm that you will not interfere with a joist prior to cutting into the drywall in a substantial way (see tip below).
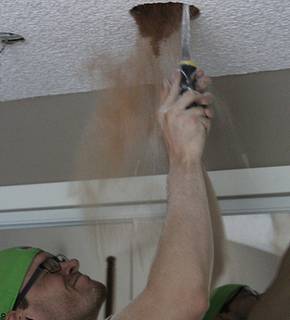
- Scribe the holes in the drywall and use a drywall saw to cut the holes for the remodel cans.
4. Run wire to the first can, and run a new piece of wire from the first can to the location of the second can.
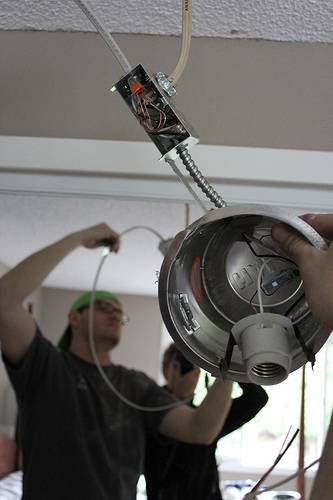
5. Connect the wires appropriately (as indicated on the instructions) to both cans. Turn the power back on to test that the lights work properly.
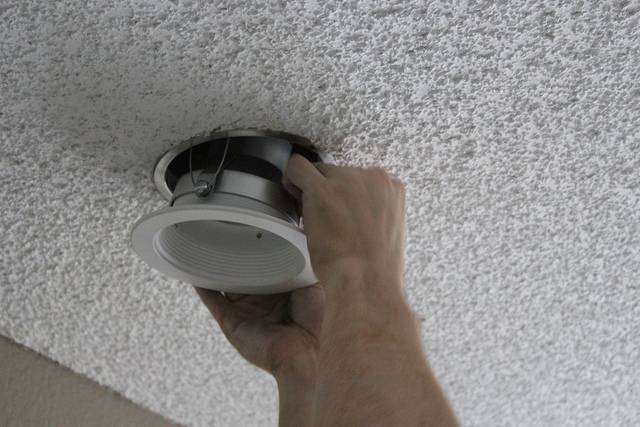
6. Install the cans and use the included clips to secure the cans in place. Re-confirm the lights work properly.
7. Install the trim and button up the lights.
8. Remove the old surface-mount box from the ceiling and use a piece of circular drywall (see tip below) to patch the hole.
9. Use spray texture and paint to match the surface to the existing ceiling
10. Enjoy!
If you’re unsure or uncomfortable, call a pro to help.
Erin and Chris’ Light Replacement Tips:
- Use a piece of wire (like a bent coat-hanger) inserted in a nail-size hole in your ceiling to check for obstructions like a joist or low hanging insulation.
- Use a circular piece of cut-out ceiling drywall to patch the hole you created when removing the surface-mount box.
- Wear glasses and a mask when cutting into overhead drywall – avoid a large amount of dust and insulation landing in your face! (We probably should have done this … cough).
- If your remodel can “clips” cannot be secured easily, don’t fret! Just bend the clips a bit to make it easier to secure the can in place.
Be sure to check out all the SYLVANIA blogger room makeovers on the SYLVANIA Facebook page. If you “like” the page, you can enter the daily sweeps to win your own SYLVANIA lighting products and Lowe’s gift cards so you can perform you own room makeover!
Erin Hiemstra is the style-maven behind Apartment 34, a daily blog that reflects her love for all things beautiful. Recently married, Erin and her husband Chris decided to apply her passion for design and decor to their Seattle, WA home. We’re thrilled that they’re sharing this DIY master bedroom makeover with Curbly.
Curbly received monetary compensation, but all opinions are our own