
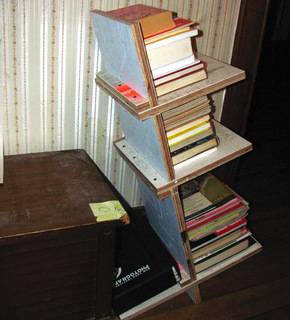
Remember the Pisa bookshelf from awhile back? Well, fellow Curblier, Craig (aka SpyStyle) got all fancy with his tools and made a prototype! Yesterday, he shared his pictures of the process and gave me a quick rundown of how he went about creating it. First, with the help of Photoshop, he made a plan. (Each square equals one inch.)
Using scrap wood–thus the orange stripe!–he used a jigsaw to cut channels that are ‘material thickness’ wide.
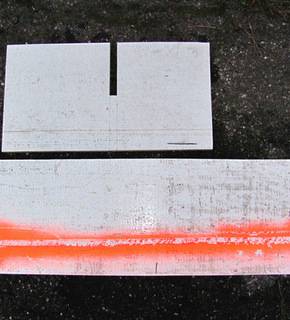
In this case, that means they’re 3/4″ as Craig’s plywood is 3/4″. The channels where cut at 90 degrees, as shown, and ‘reach exactly to the center of the board.’ Craig drew a line down the center of each board to mark where the channels should end. He was able to achieve a nice square inside cut by first drilling a pilot hole slightly larger than his jigsaw’s blade near the center line.
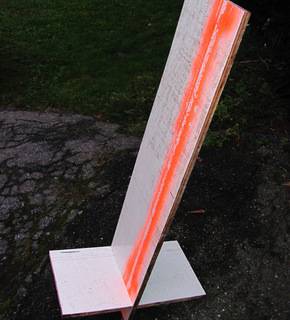
To put the pieces together, Craig used his trusty rubber mallet. He pounded them together using a ‘Welcome’ mat as protection so the edges wouldn’t get dinged.
He finished the piece by screwing strips of material along the back of each shelf to reinforce them. The screws themselves can be driven in through the top of the strips or they can go through the piece from the front and into the strips behind.
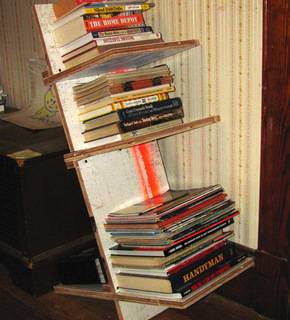
Inspiring…no?! Now let’s all encourage Craig to make a NON-prototype one!