
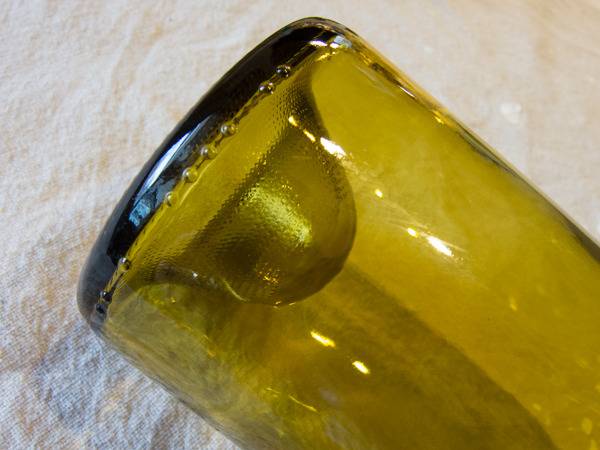
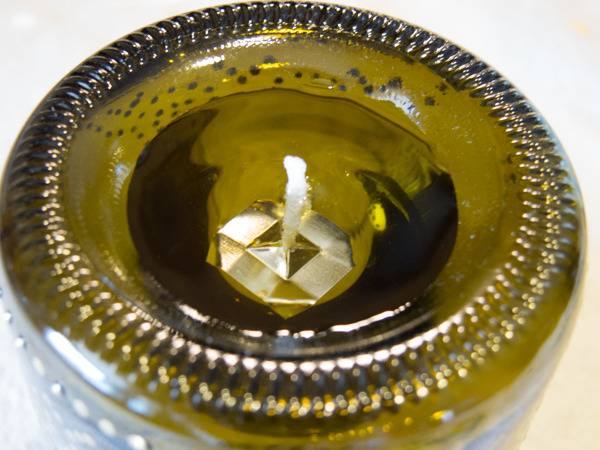
A while back I reviewed several popular bottle cutters here on Curbly. (Yesterday I added the Kinkajou to the shootout). Today we’re going to use one to turn a wine bottle into an inverted oil lamp that burns cooking oil. But first, let’s talk about punts. A punt is the indentation at the base of a wine bottle. Some are are deeper than others. Some wine bottles don’t have one. This project requires a wine bottle with a deep punt.
That’s one deep punt:
Okay, now let’s get down to business.
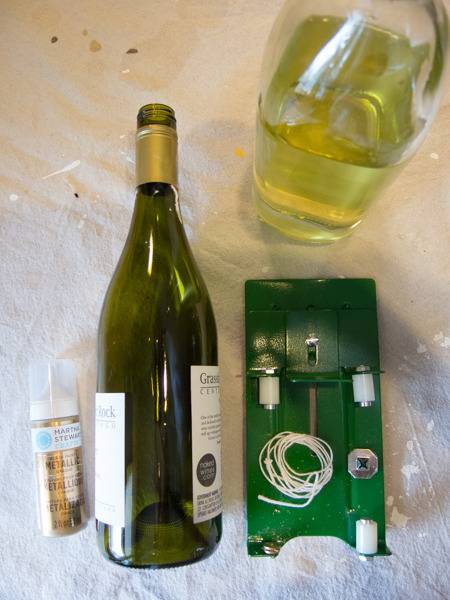
What you need:
- a wine bottle with deep punt
- bottle cutter (and finishing supplies)
- candle wicking
- candle wick anchor tab (you can find these next to the candle wicking at your local craft store)
- Martha Stewart gold metallic glass paint (the kind with a point applicator)
- table salt (yeah, weird, right?)
- cooking oil (I used canola, but any kind should work)
- scrap paper
- fine point marker or pencil
- tape
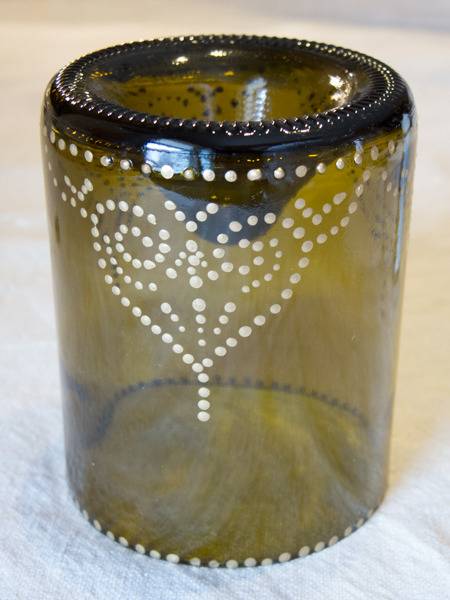
I started by cutting my bottle at about 4″ from the bottom, but you can make your lamp any height you’d like. After you’re done cutting and separating the two halves of the bottle, finish it as indicated on your bottle cutter’s instructions or in your preferred method.
Sketch a design that will fit the outside circumference of the bottle. Mine was about 9″ around, which means a 3″ repeat pattern.

Tape the design inside the bottle.
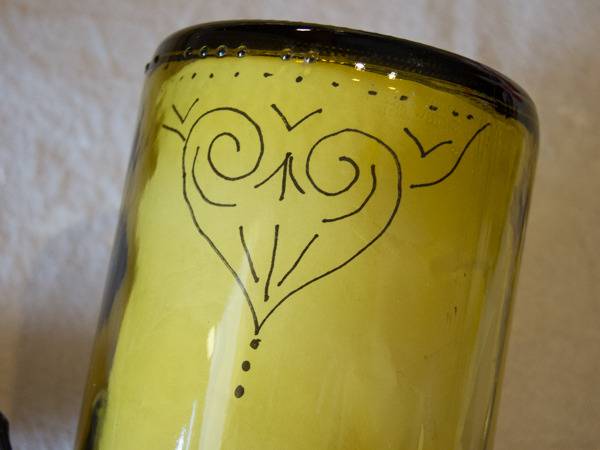
Using the metallic paint, apply dots all along the outline of your design. Why DOTS? Because they are much more forgiving than a line. Plus, the dots provide dimension, which looks cool.
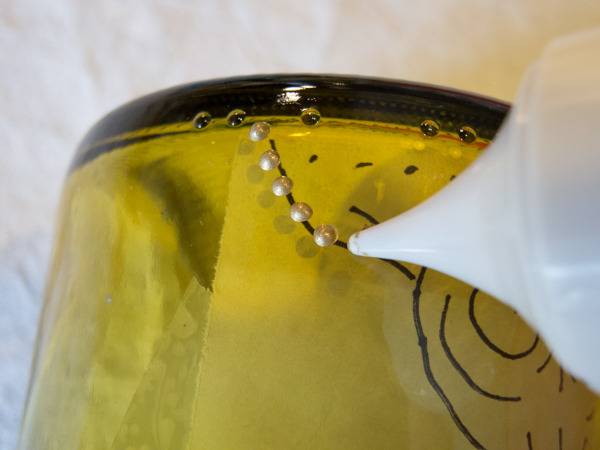
Move the pattern to the next space over and repeat the dot action until the entire circumference of the bottle is covered. If you figured out your circumference to design ratio, the beginning and end of your pattern should be spot on or at least very close.
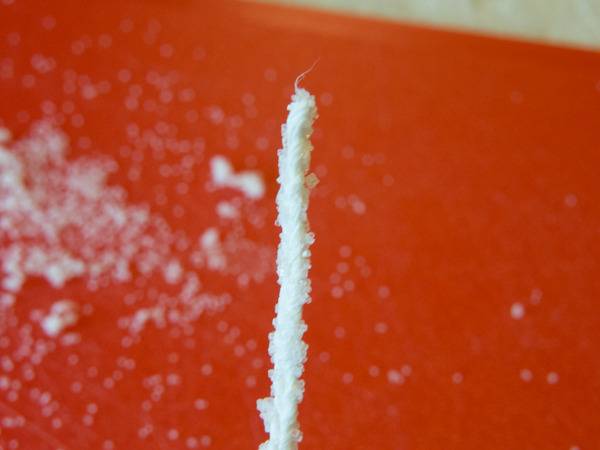
While the paint is drying, cut a bit of wick a little longer than the depth of the wine bottle’s punt. Saturate the wick with water and roll it in table salt. Let it dry completely! [Why salt the wick? Because it keeps the wick from burning too quickly and, when the wick is dry, the salt will make the wick stand straight.]
Dried, salted wick, standing at attention:
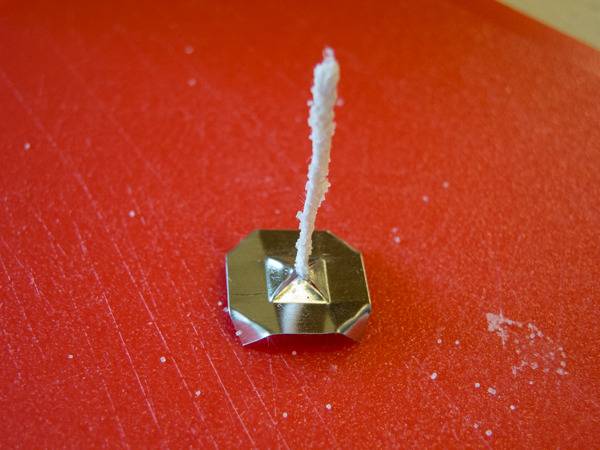
When the wick is completely dry, tuck the end into a candle tab.
Fill the punt with oil.
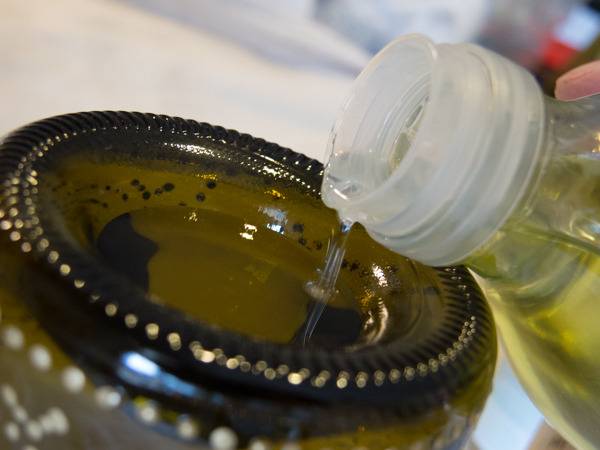
Drop the wick assembly on its side into the oil so the wick gets saturated with oil. Wait a few seconds and then right the assembly. Cut off any excess wick to about 1/8″ above the oil. (You’ll want to trim the wick as the oil burns to maintain that 1/8″ height.)
Then, just light it up to set a mood:
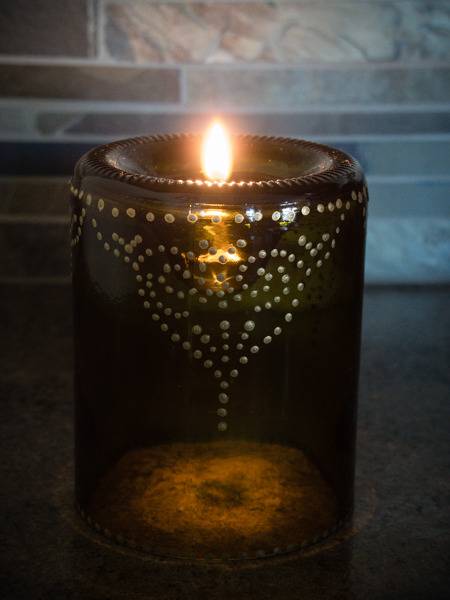
Very clever. Nice work, DIY Maven.
Thanks, Chris. We aim to please. 😉