
Last week, I shared some of the inspiring spaces, colors, and artwork behind our office makeover, as well as the paint colors we decided on. You may even remember talk of some neon pink desk legs being thrown into the mix. Well, I wasn’t lying!
If you follow Curbly on Instagram, you no doubt have already seen some sneak peeks of my office makeover, as well as this neon DIY project. (What can I say? I’m a sucker for crazy pops of color!) If you’re thinking about painting your own metal desk or table legs a fun color, here’s how I did it!
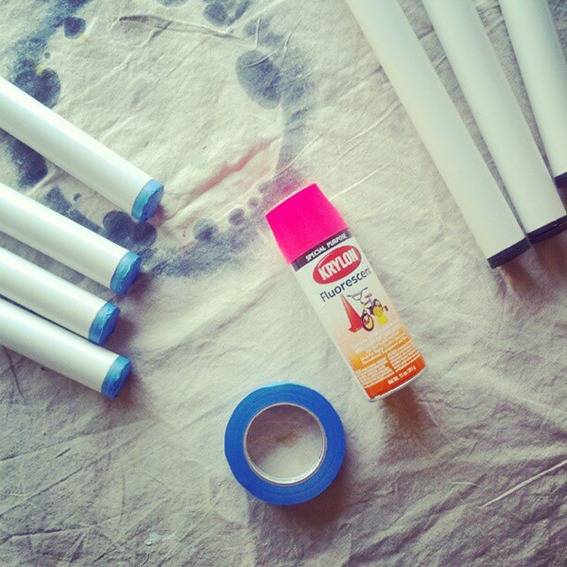
Materials:
- VIKA ADILS desk/table legs (however many you need)
- painter’s tape
- drop cloth
- fine grit sandpaper
- tack cloth
- white spray primer (not shown)
- spray paint (for 14 legs, I went through about 5 cans)
- spray sealer (not shown)
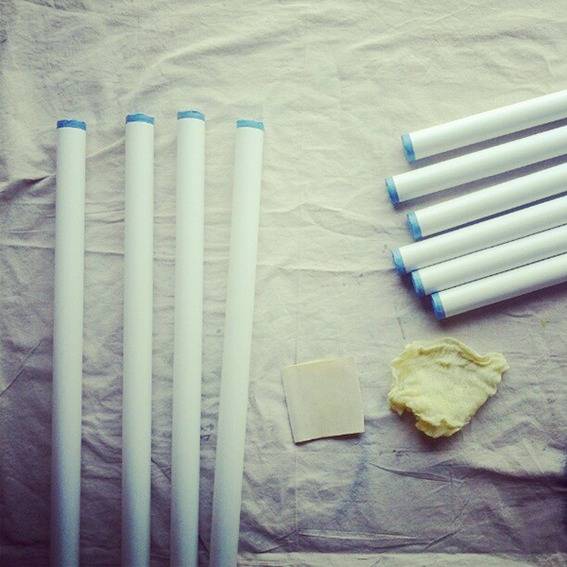
Step 1: Lightly sand the entire surface of each desk leg, then wipe the dust off with a tack cloth.
Step 2: Tape off the black plastic feet that are attached to your desk legs.
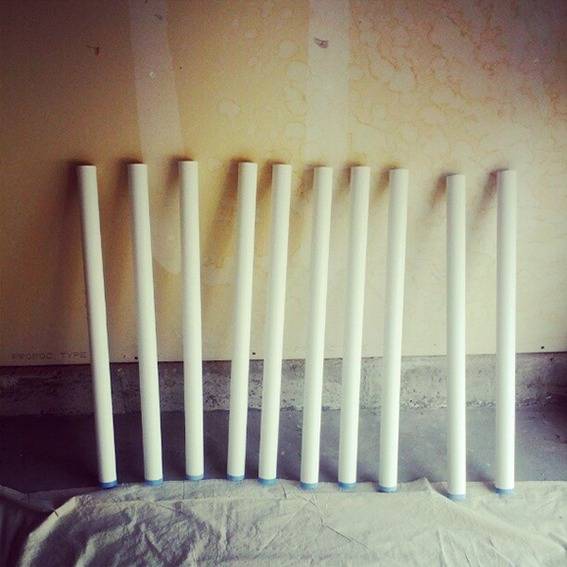
Step 3: Spray each leg with an even coat of primer and let dry thoroughly.
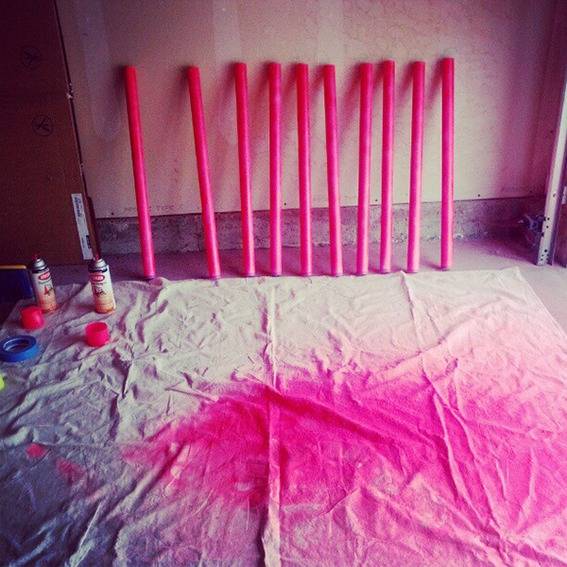
Step 4: Spray on your first coat of spray paint and let dry completely. [The spray paint I used was really, really hard (and frustrating) to work with because it came out in horribly uneven spurts (see photo below). Recommendation: buy better spray paint, preferably one with a decent nozzle.]
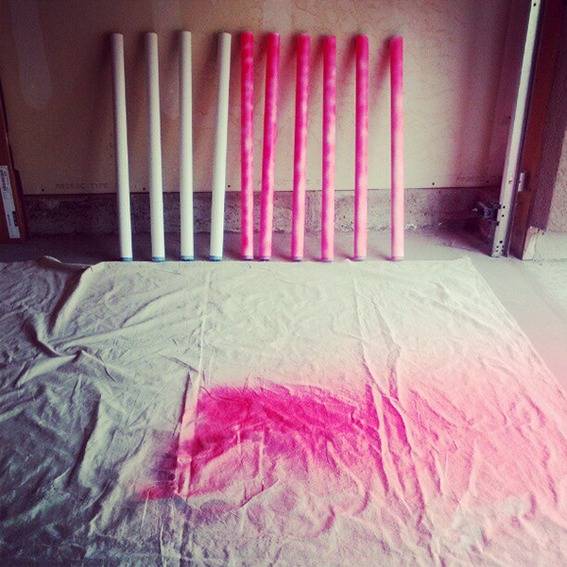
Step 5: Repeat step 4 for as many coats as you need in order to get an even finish. [I ended up having to apply 4 coats (see previous note about spray paint quality).]
Step 6: Apply a sealer in whatever finish your heart desires (matte, satin, or glossy). I went with matte.
And there you have it! Once those bad boys are dry, you can attach them to your desk or table top.
Speaking of desktops, we also decided to cover our white VIKA AMON desk with some wood grain contact paper. I would include a tutorial for that except, you know, I needed both of my hands at the time. It’s super easy, though! The trick is to measure (twice!), cut (once!), and very slowly peel the backing off as you work/rub your way up the (clean and dust-free) desk surface, watching for air bubbles along the way. Bam! Easy peasy.
And now for some sneak peek-age!
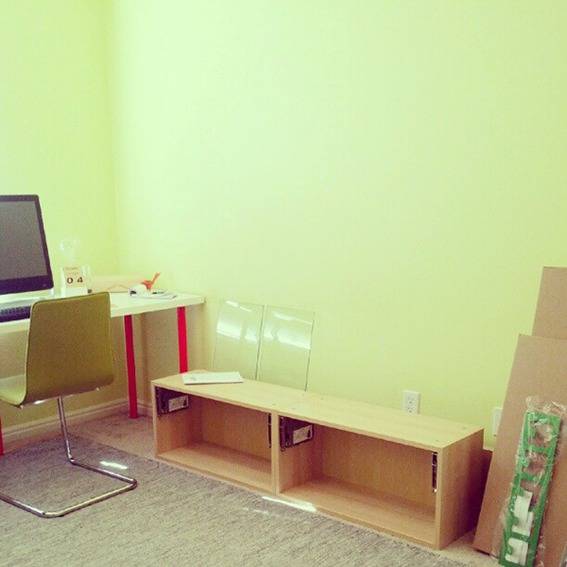
A little in-process action before we hung our staggered, floating cabinets.
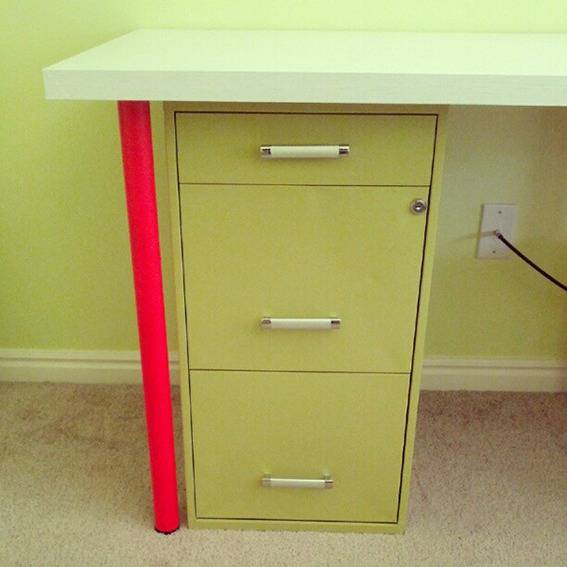
Another quick makeover: painting our filing cabinet to match the walls!
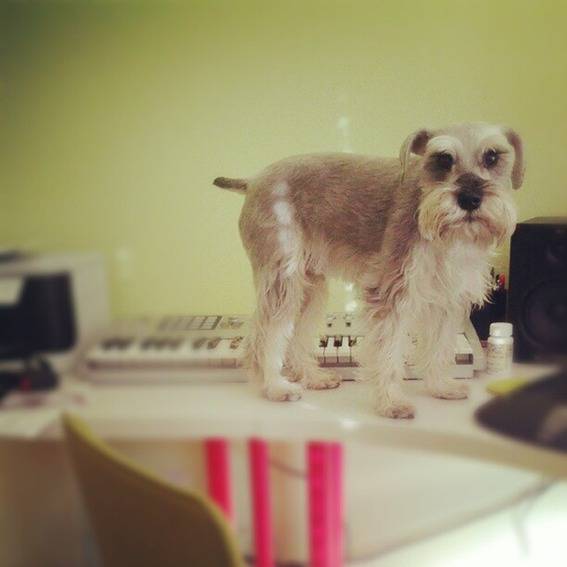
Oh, and this happened: Wrigley, caught in the act. Little sneak.
Be sure to check back next week for the FULL REVEAL!