I’ve hated my formica kitchen cupboards for a few years now and i’ve finally changed them this past year,here how I did it:
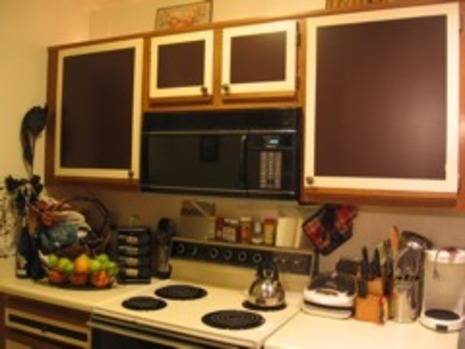
Before pic:

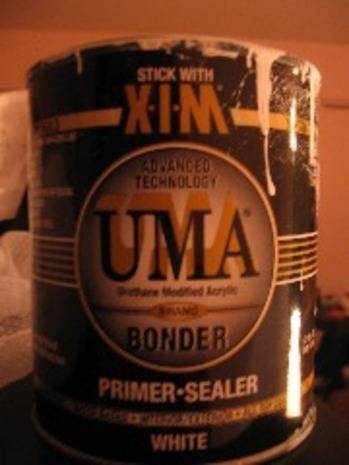
Step 1. Get this special kind of Primer called “UMA” for hard to paint over surfaces.
Step 2. Wash your cabients, especially if they are greasy. Unhook all hard to paint doors that you can’t reach and lay ’em down somewhere. I had to run my cat off a few times or pet hair end up in the primer or paint.
**
Step 3. Paint one layer of primer on and wait or few hours or do it the next day. I did it the next day.
**
Step 4. I used two colors, so they step can be taken out if you are only using one color. Paint your border color on and let them all dry. My case it was a off white color found in the “Oops” section of the Paint department at Home Depot for like 2 bucks.
**
Step 5. Once paint has dried, tape off the section you want to leave as your border, my case, I used the 1 and half inch painters tape for my borders. Whatever your heart wants for the boder, double the diameter to 3 inches or just use one inch tape.
**
Step 6. The last layer of paint, in my case it “Woodsy brown”. Let dry and put them back up.
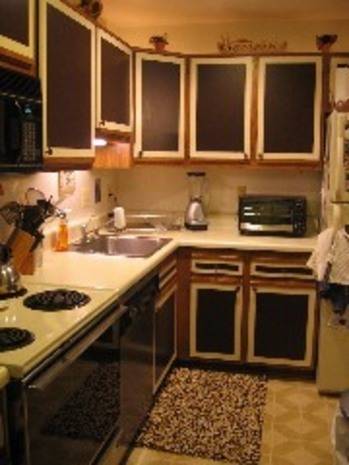
Step 7. I had knobs to my doors. If you don’t want fixures on, then forget the step. Drill your door with a drill bit that goes through formica, 1/64 drill bit. Add your knobs and you are are done. This can be done in 2 days, but I took my time and did it in 3 days.
The hardest part to this project was finding the right colors and fixtures. And since I a “Design on a Dime” freak, this project cost less then $100 bucks.