Ok so you’re renting your apartment and can’t paint, wallpaper, or make any major changes.
Why not have a bit of fun with your switchplates and outlet covers?
TOOLS NEEDED:
- Scissors
- Magazines, calendars, maps, post cards, or newspapers with interesting images
- Tape (double sided or regular, it don’t matter!)
- Pin or needle
- Screwdriver (the metal kind. Not the kind made with Orange Juice)
- OPTIONAL: Permanent marker or nail polish, PVA glue or waterproof acrylic sealer
STEP ONE
Remove your switch plate cover from the wall. There’s usually one or two screws, usually flat-head. Save the screws for later, don’t lose them! Wipe down the switchplate and wall if there’s gunk behind them.
STEP TWO

Find interesting images or pictures that would fit over the face of your switch plate. Lay the switch plate on top of the image, and look at where the hole lies. Remember, the flipper dealie will be showing through the hole. Use this to your advantage.
STEP THREE
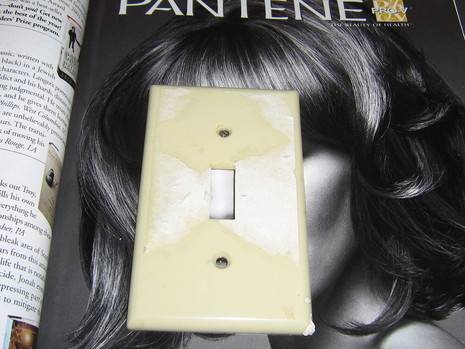
Cut about 1 inch around the outside of the switch plate, then fold over the edges and hold it up to the light. 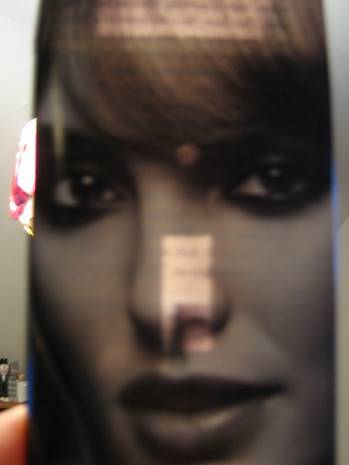
Adjust as needed to line up the hole just right, then fold the edges over and tape them down. Do hospital corners at the top to get rid of the bulk.
Tape is good because you can remove it later and get back your damage deposit!
But if this is your own digs, or if you just bought some replacement covers, you could certainly use glue.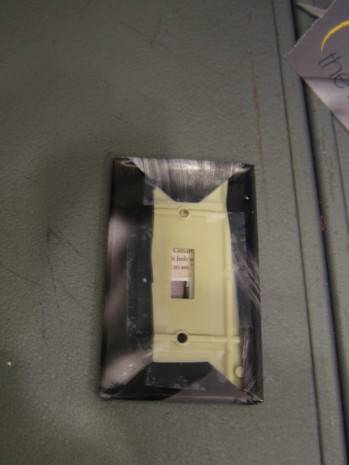
STEP FOUR 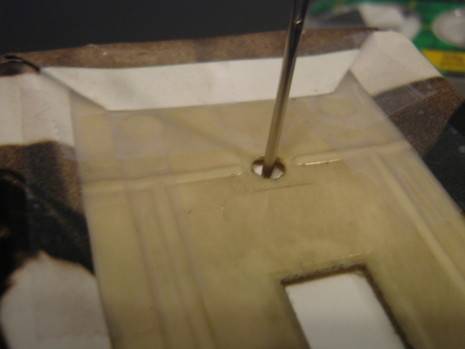
With the pin, go through the back side where the screws need to go so the paper won’t rip when the screw goes in. Also go through the center portion where the lever is, and work the pin back and forth a little bit. Using your scissors, make a capital ‘I’ shape and fold back these edges, and tape them as well.
STEP FIVE
Replace on the wall and enjoy!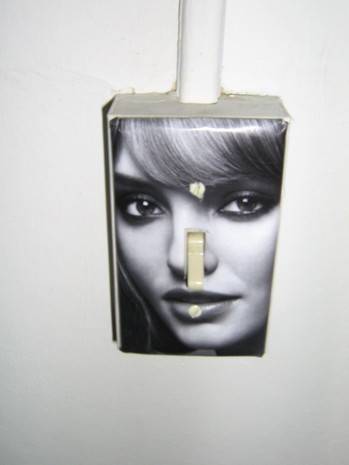
OPTIONAL Use the permanent marker or nail polish to color the screw head to blend in with your image. You could also seal the entire thing with PVA or acrylic sealer, but be prepared to replace the switch plates when you leave (or start with brand new ones).
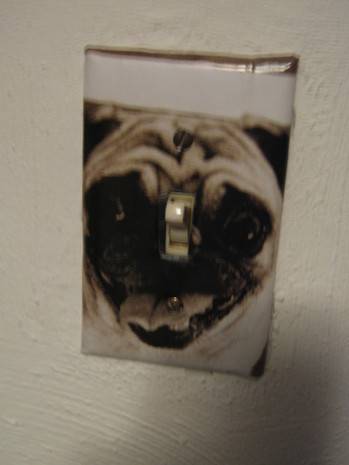 Pug in my bedroom!
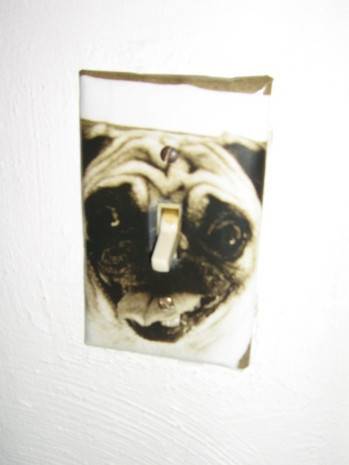
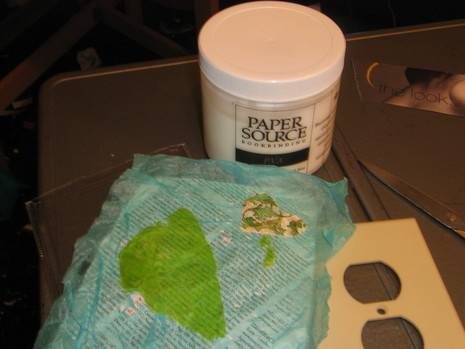
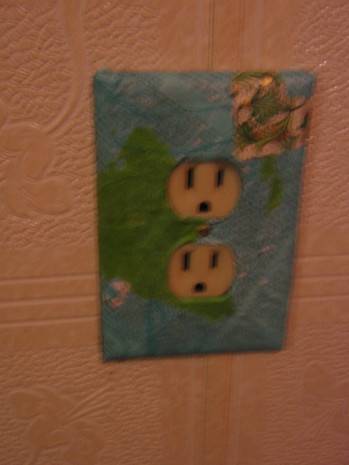
Here’s one for an electrical outlet. It’s basically the same process, I used some PVA glue to adhere tissue paper to a magazine page, then ripped out a heart shape and added some more tissue paper in a different color. I followed the steps to tape it to the electrical outlet plate. The only difference is that I used the scissors to completely cut away the portions for the plugs.