Are you stuck at work just before the holidays? Do you have a lot of small gifts to wrap?

Do you have MSWORD on your computer? Got a printer?
That’s all you need to make cool graphic wrapping paper!!!
Step 1: Choose some clip art, in this case, snowflakes. Choose ‘Insert’, then ‘Picture’, then ‘Clipart’. Search for the image you want. I used just four snowflakes for this paper.
Step 2: ‘Right click’ on each snowflake, choose ‘Format Picture’, then, the ‘Layout’ tab. Choose ‘Behind Text’.
Step 3: ‘Right click’ again, and choose ‘Copy’ and ‘Paste’ as many times as desired to fill paper. Use green dot at center top to rotate, and open dots to resize. The directional arrows let you move it around.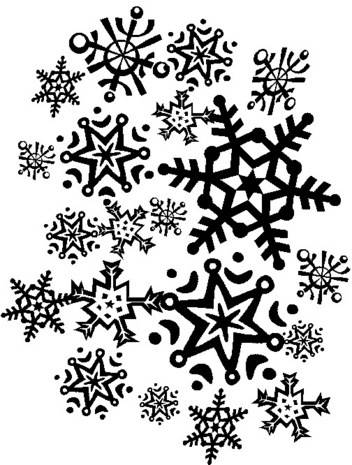
OTHER OPTIONS: Color!
‘Right click’ and ‘Format Picture’, and play with ‘Color and Lines’, choose fill colors for the background and mess with transparency options.
These look a little bit different than in WORD, because I had to copy and paste them into photoshop to get them into a jpg.
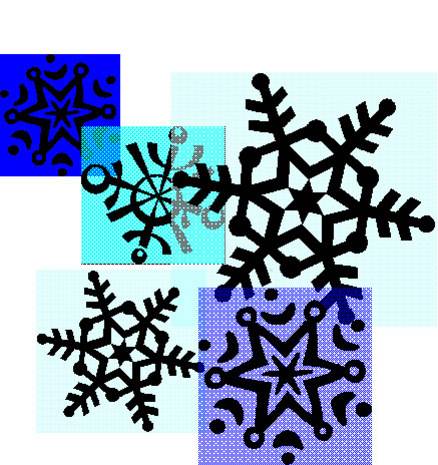
Print on colored paper, or use highlighters to fill in specific parts of the snowflakes for a more custom look.
You could also layer words, images imported from your camera, all sorts of fun things. The possibilities are endless! Just don’t let your boss catch you!
Like this story?
![]()