I recently celebrated my sixth wedding anniversary with my guy (Bruno!) and I wanted to make him something meaningful. When I looked into the traditional and modern wedding anniversary gifts I learned that year six is marked by iron (traditional) and wood (modern). I decided to incorporate both.
After much thought I decided to create arrows. For symbolic reasons – because, you know, I’m deep like that – and because he is forever in search of them ever since seeing these ones Emily Henderson scored at a thrift shop.
I’m sharing this DIY in time for Valentine’s Day, because these arrows would make the perfect gift for the archer in your life. And, if you don’t have an archer in your life, they would make the perfect gift for the one you love because, as I mentioned above, arrows are full of symbolism (love, forward movement, etc.).
The best news is that these arrows are fun to make, and can be put together in a matter of hours (I’m looking at you, last minute Valentine-person). They also turn out beautifully and will earn you dozens of sentimental points with your honey.
Here’s what you’ll need:
- Wooden dowels (I used 6)
- Paint pens in a variety of color
- Washi tape in a variety of patterns and colors
- Sculpey clay (I used a brown color to represent “iron”)
- Feathers
- Glue
Here’s how you DIY:
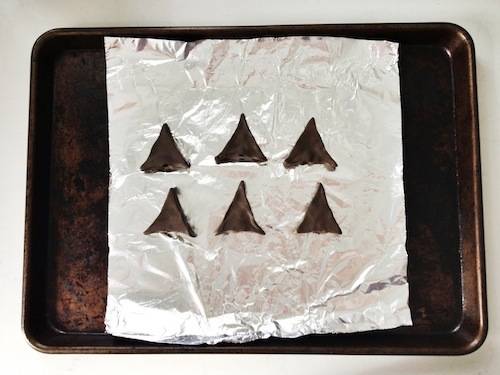
- Using Sculpey clay, form your arrowheads by hand.
- Using a dowel, create an indent in the base of each clay arrowhead so that you’ll have a place to attach the wooden dowel.
- Bake your Sculpey according to the directions. I baked my arrowheads for 20 minutes at 275 °F.
- Since I had 6 dowels to work with, I decided to create three separate patterns and repeat each one once.
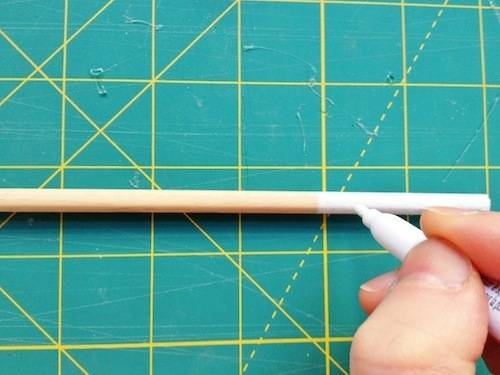
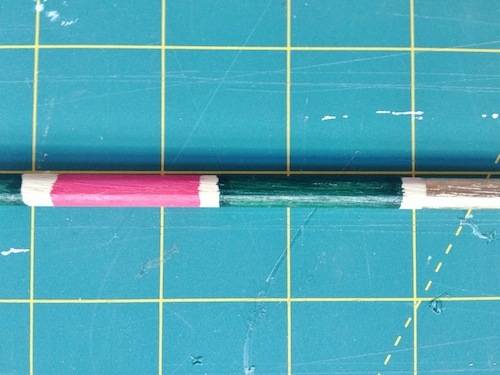
- When I set out to paint my dowels, I just kind of winged it. Using paint pens, I covered my first dowel with white paint (about two inches long), followed by gold (about an inch long). See below for details pictures of these patterns.
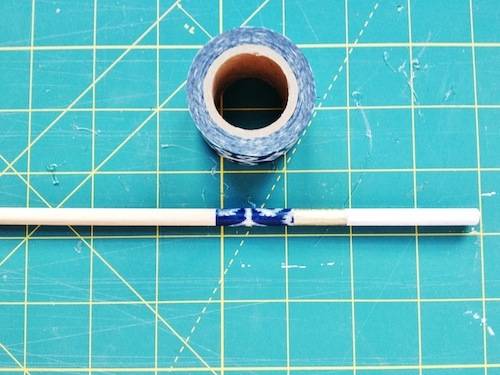
- Periodically break up your painted stretches with Washi tape. Initially, I painted, then added Washi tape, and continued painting, but this resulted in paint on the tape. After one round of this I wised up and painted the dowels first, leaving unpainted sections for the Washi tape, which I added after the paint was dry.
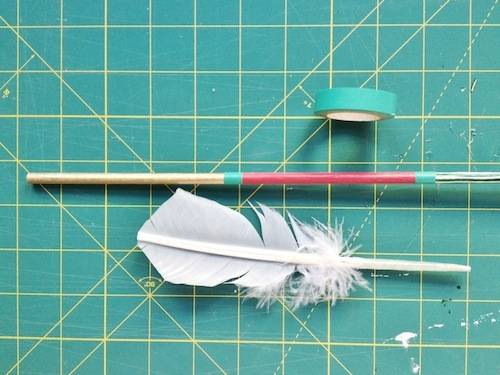
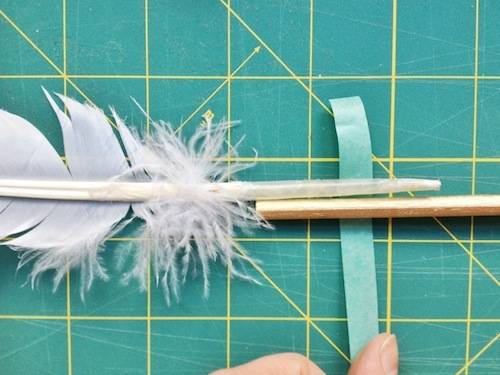
- Once your dowels are painted, attach feathers using Washi tape. I purchased synthetic feathers from the craft shop. They were tall, so I cut them in half and used a total of three feathers for the arrow tails.
- Glue the arrowheads to the opposite end of the dowel and you’ve got arrows!
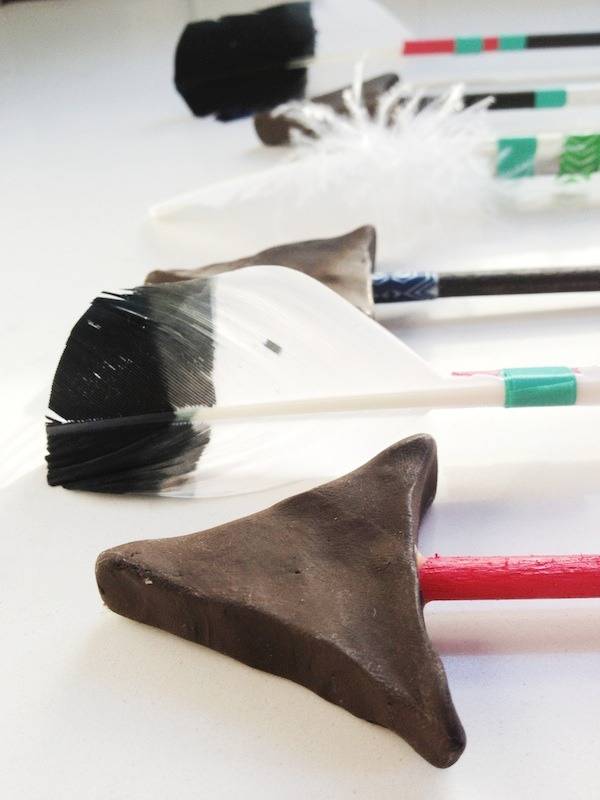
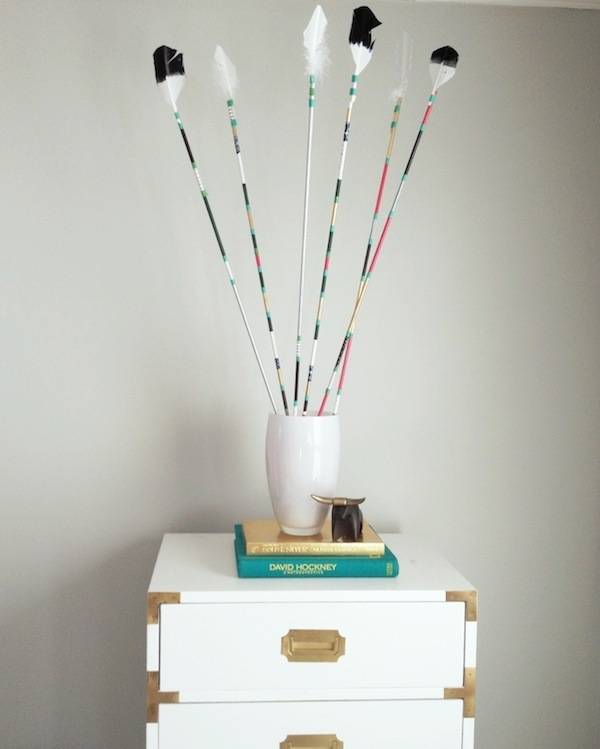
Once your arrows are dry and set, arrange them in a vase, mount them on the wall, or tie them up in a big red bow and send them via Cupid.
![]()