Ideas pop up in the most random of situations, don’t they? The inspiration for this project came to me the other day when I was at the airport. I was standing in line at a Wendy’s, preparing to pay $15 for a small frosty and fries (why is airport food so expensive?!), and I was absent-mindedly staring at this wall that divided the checkout lane from the seating area. The wall was made of two layered panels of glass, frosted. Each panel was painted with lots of abstract green brushstrokes, making the wall look like an ethereal field of grass. Maybe it was the jet-lag that made me zone in on this wall for so long. For some reason or another, the grassy glass stuck with me. And I decided I wanted to make some glass wall art of my own in the same style.
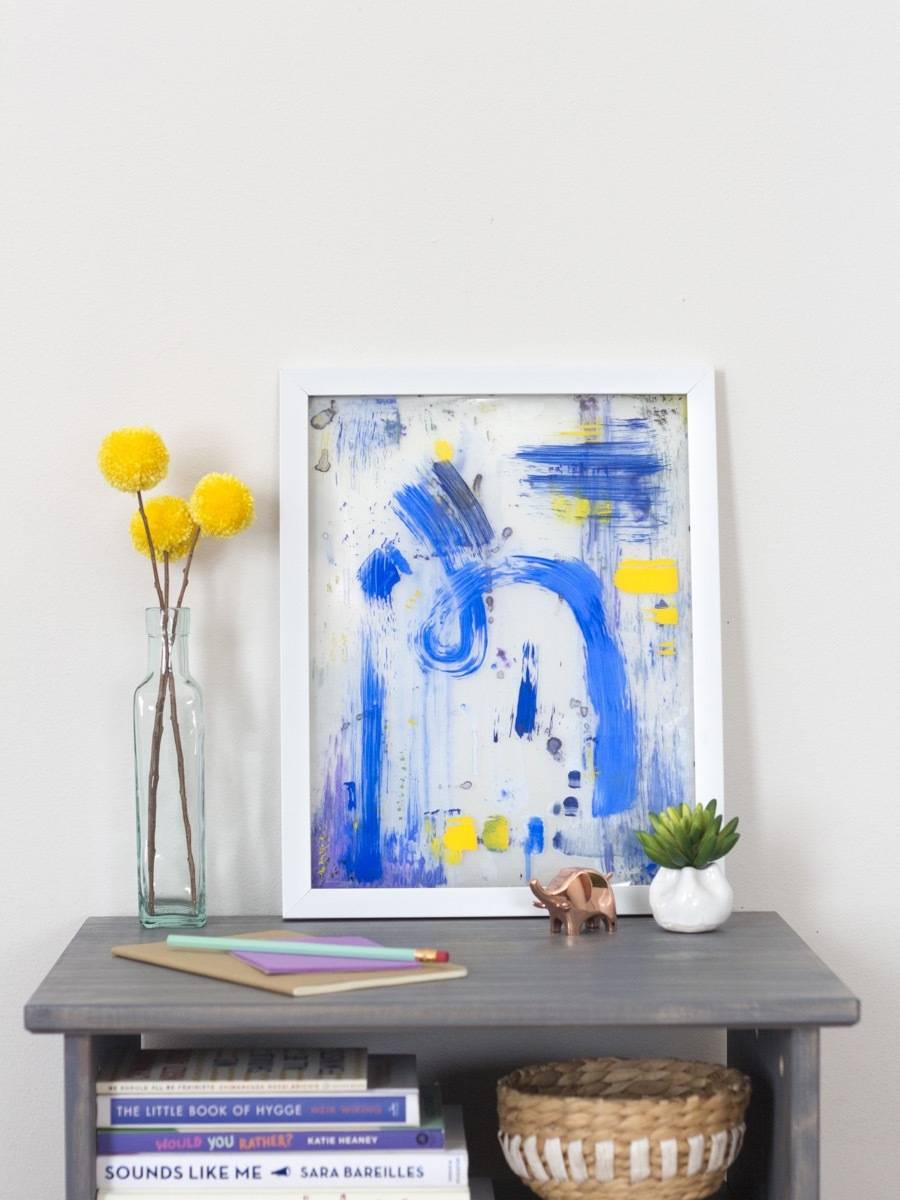
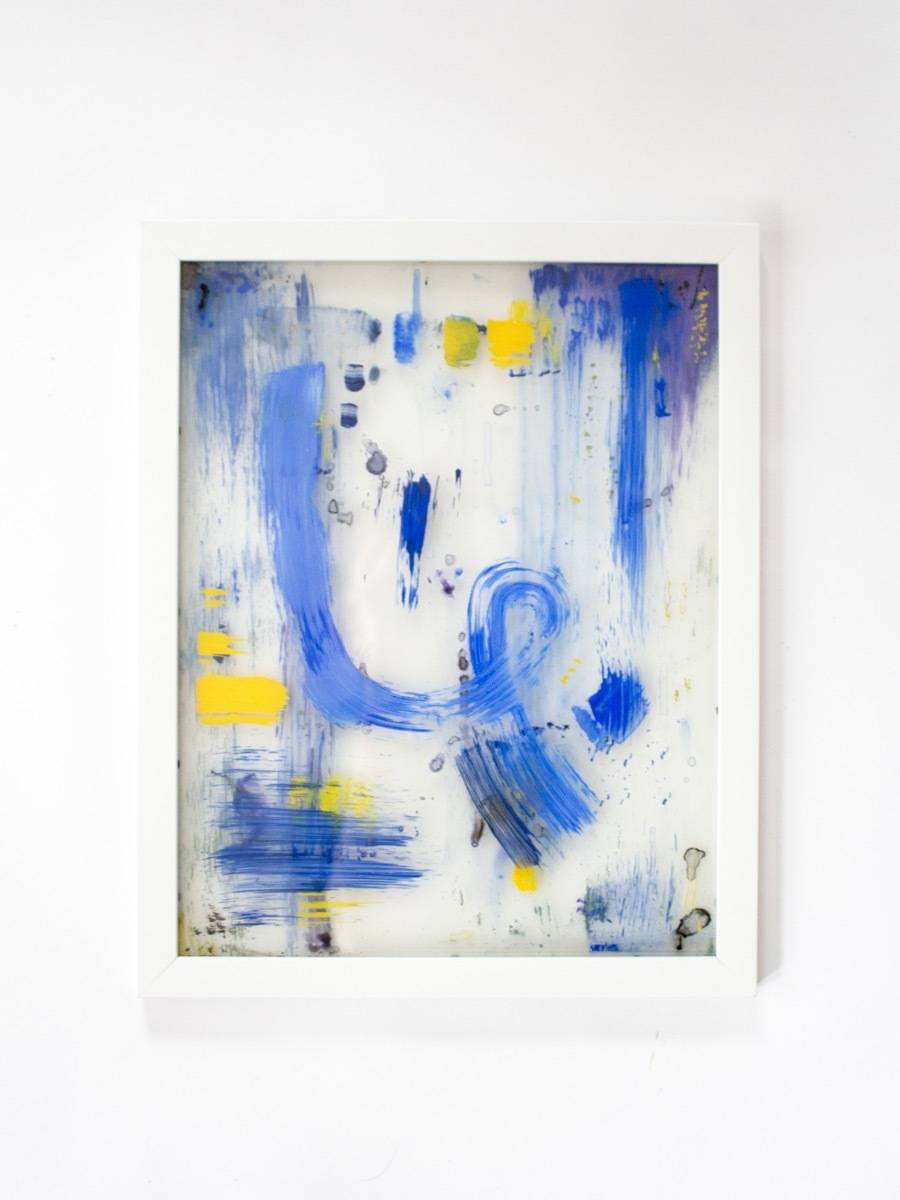
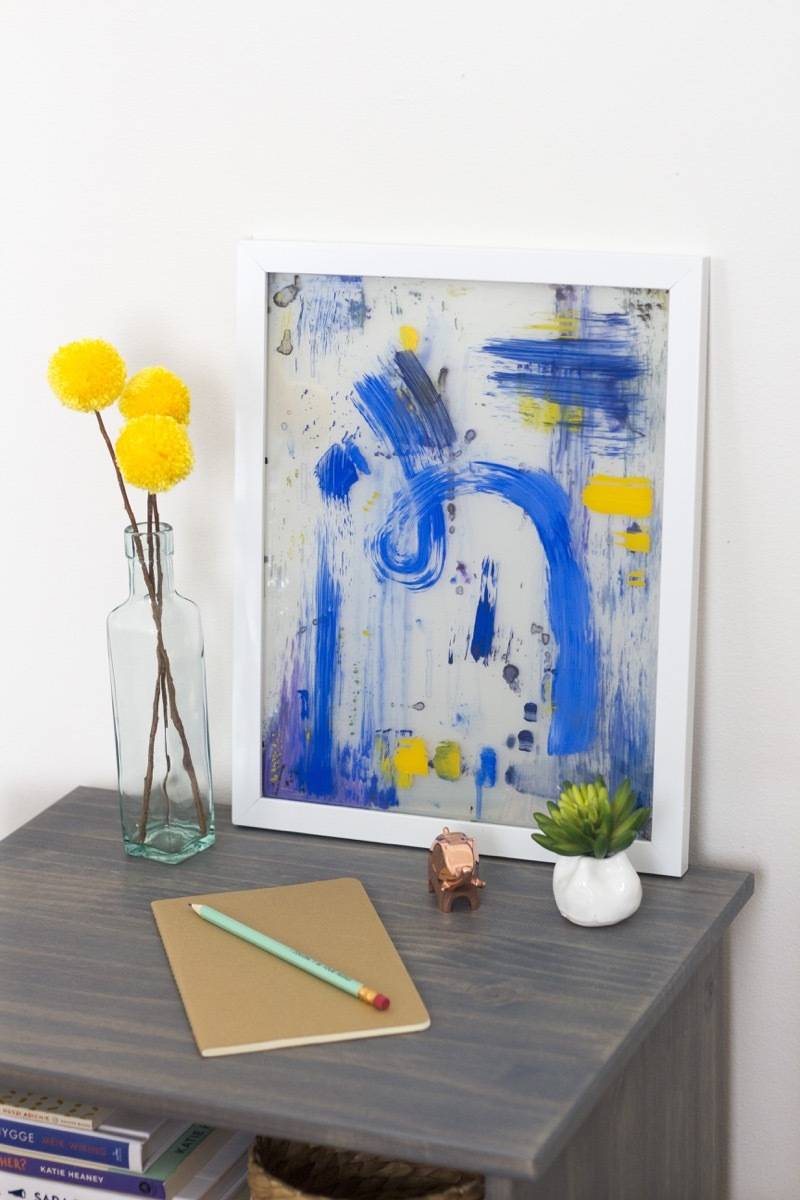
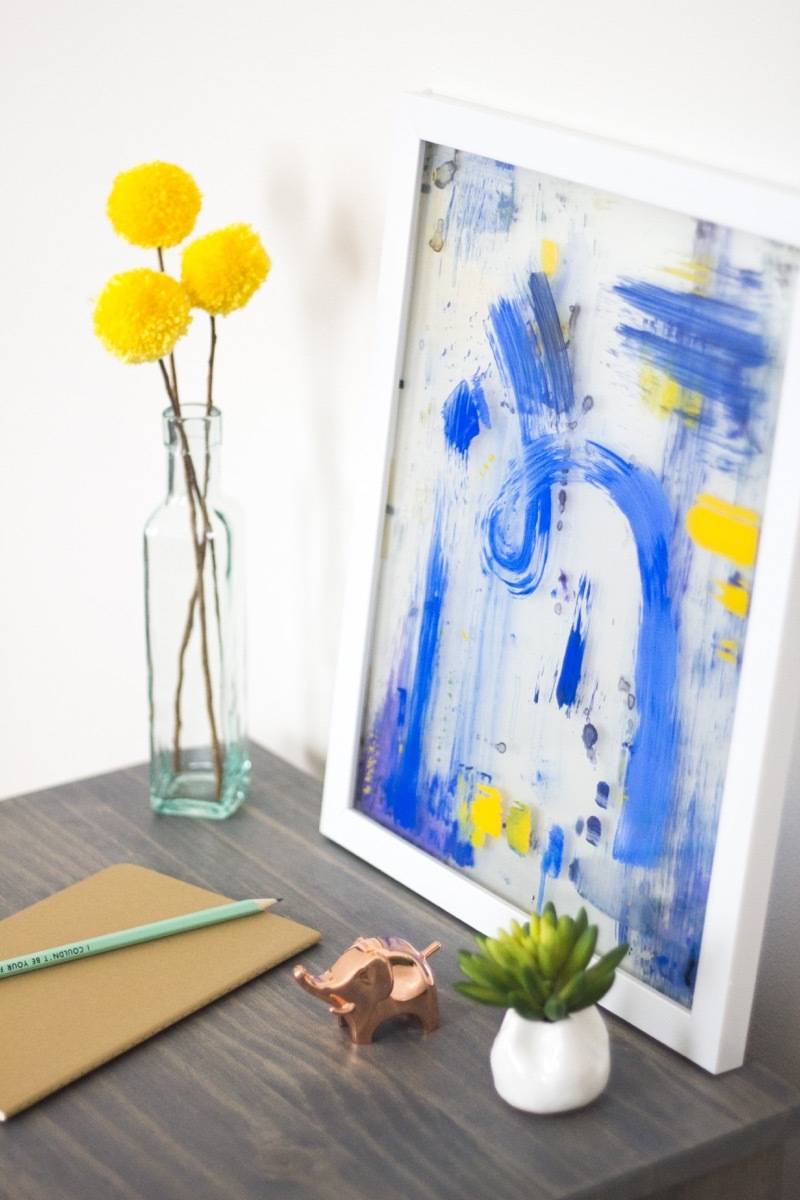
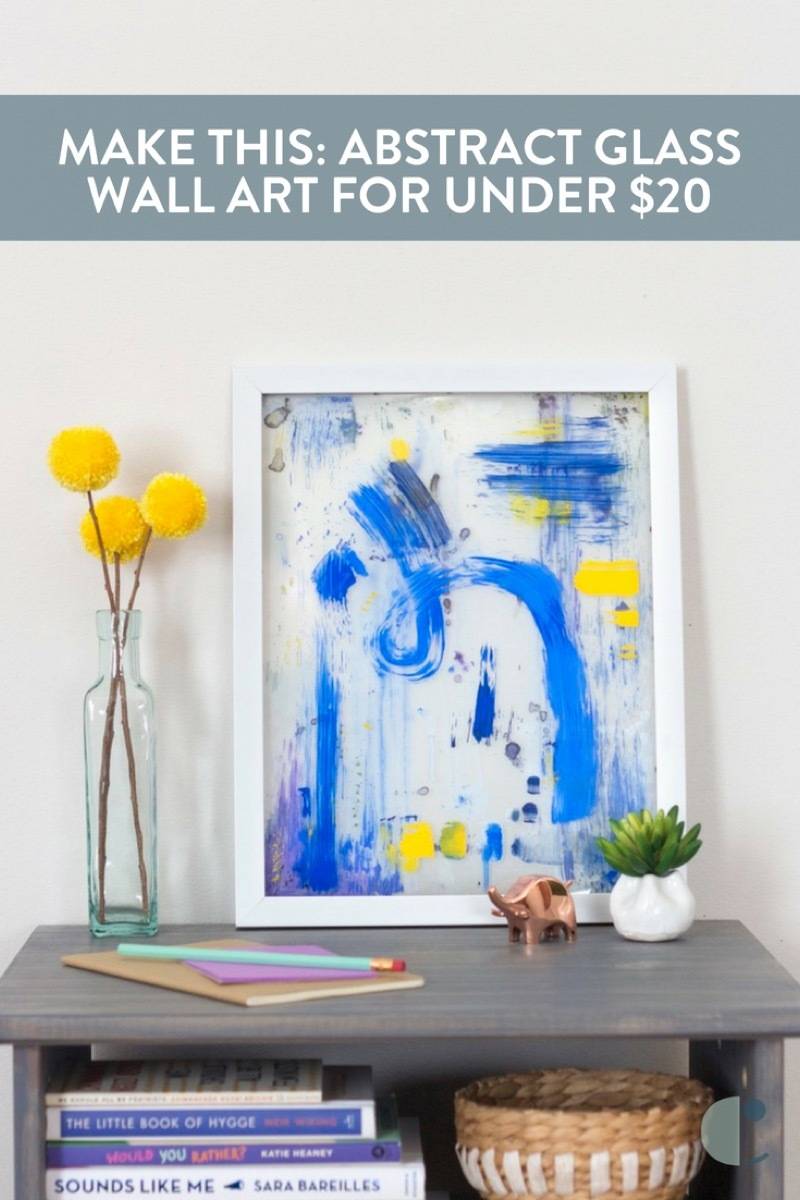
This glass wall art project combines two pieces of glass, sitting slightly apart from each other, which creates some interesting depth. Bonus – this project cost me less than $20 to create!
Materials
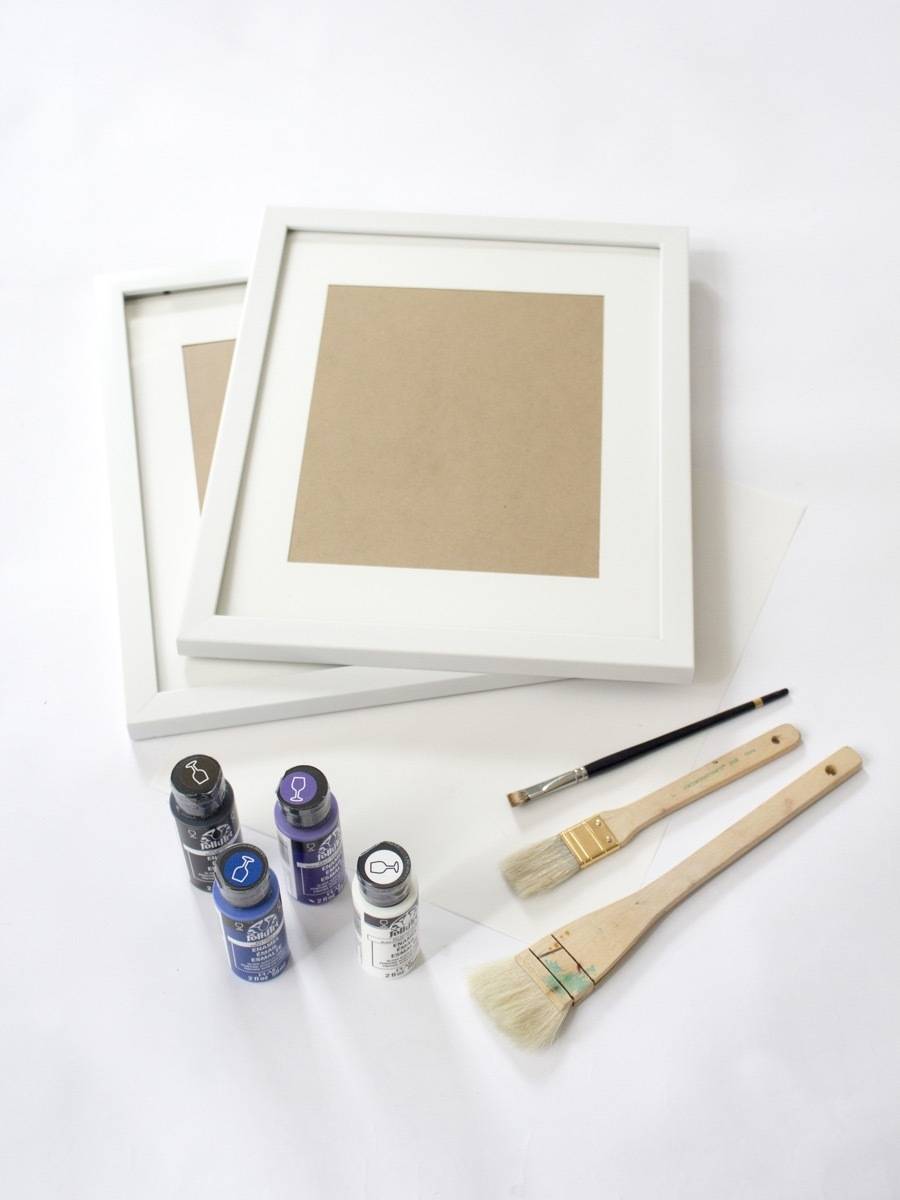
- Two identical picture frames
- Enamel glass paint (you can use regular acrylic paint, too – just keep in mind that it will scratch much easier)
- Paintbrushes
- A piece of vellum (opaque) paper
Step
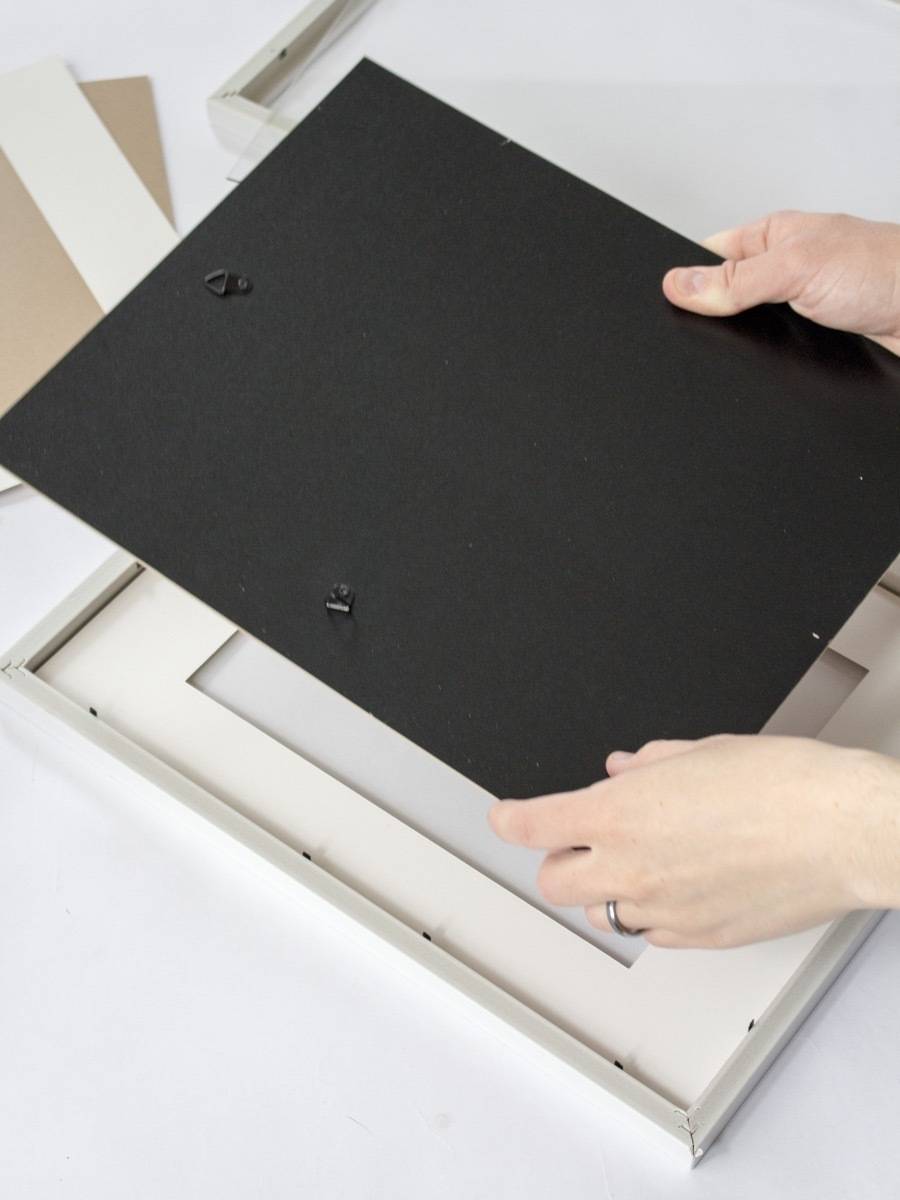
Begin by disassembling the two frames. For this glass wall art project, you will only need one frame and both glass panels. Set everything else aside.
Step
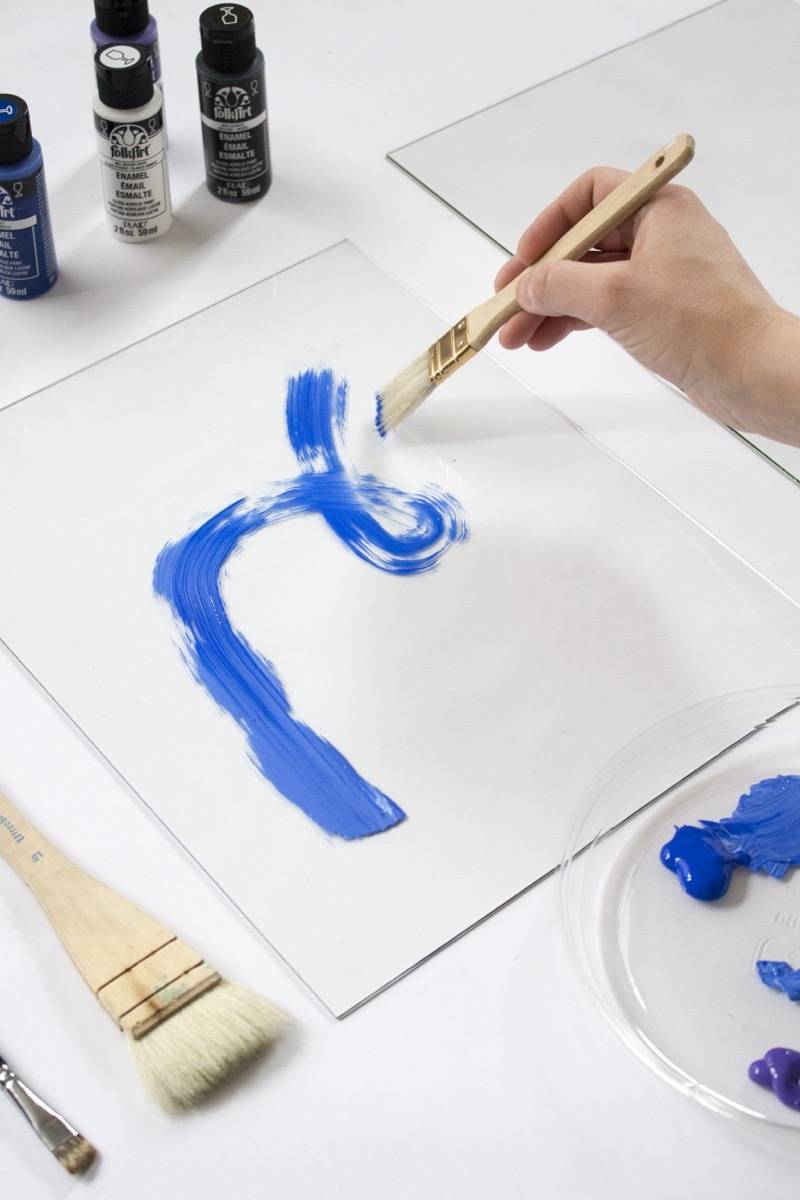
If you are using enamel glass paint, prep your glass panels by wiping them clean with some rubbing alcohol first.
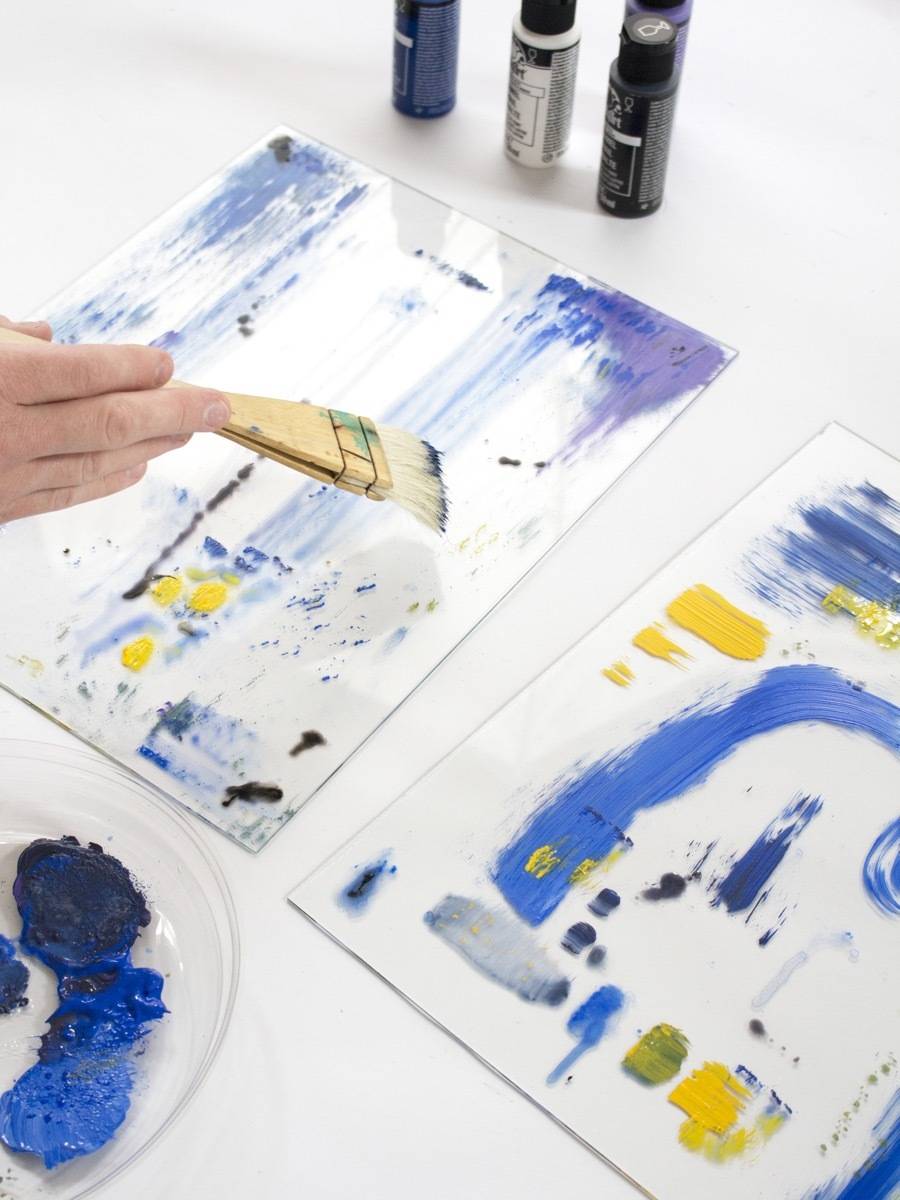
When painting, you can go abstract, or paint more concrete elements (like the blades of grass I was initially inspired by!). Keep in mind that one panel will go in the back, and one will layer on top. For my glass wall art design, I chose abstract brushstrokes, watery drips, and a bit of splatter painting. Basically, I made a mess on my glass canvas. It was super fun.
When you’re satisfied with your artwork, let both glass panels dry completely. If you’re impatient (I was!), use a hair dryer to speed up the drying process.
Step
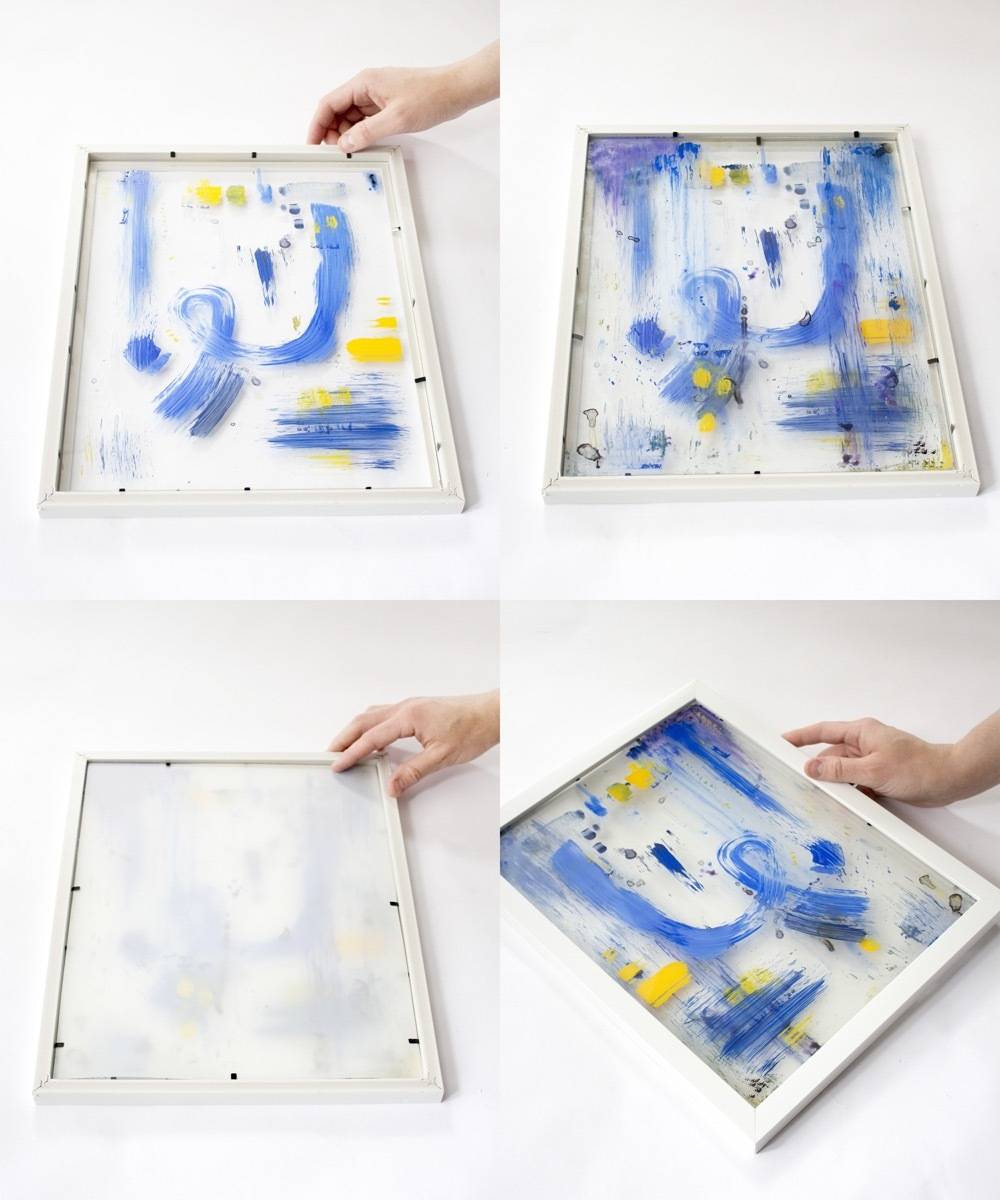
To assemble your glass wall art, lay your frame face down, and insert the first panel. I put mine facing paint-side up, to prevent the paint from getting scratched.
Next, fold down every other tab (those little pieces of metal that hold the assembled frame together) against the first panel of glass. Then lay down the second glass panel.
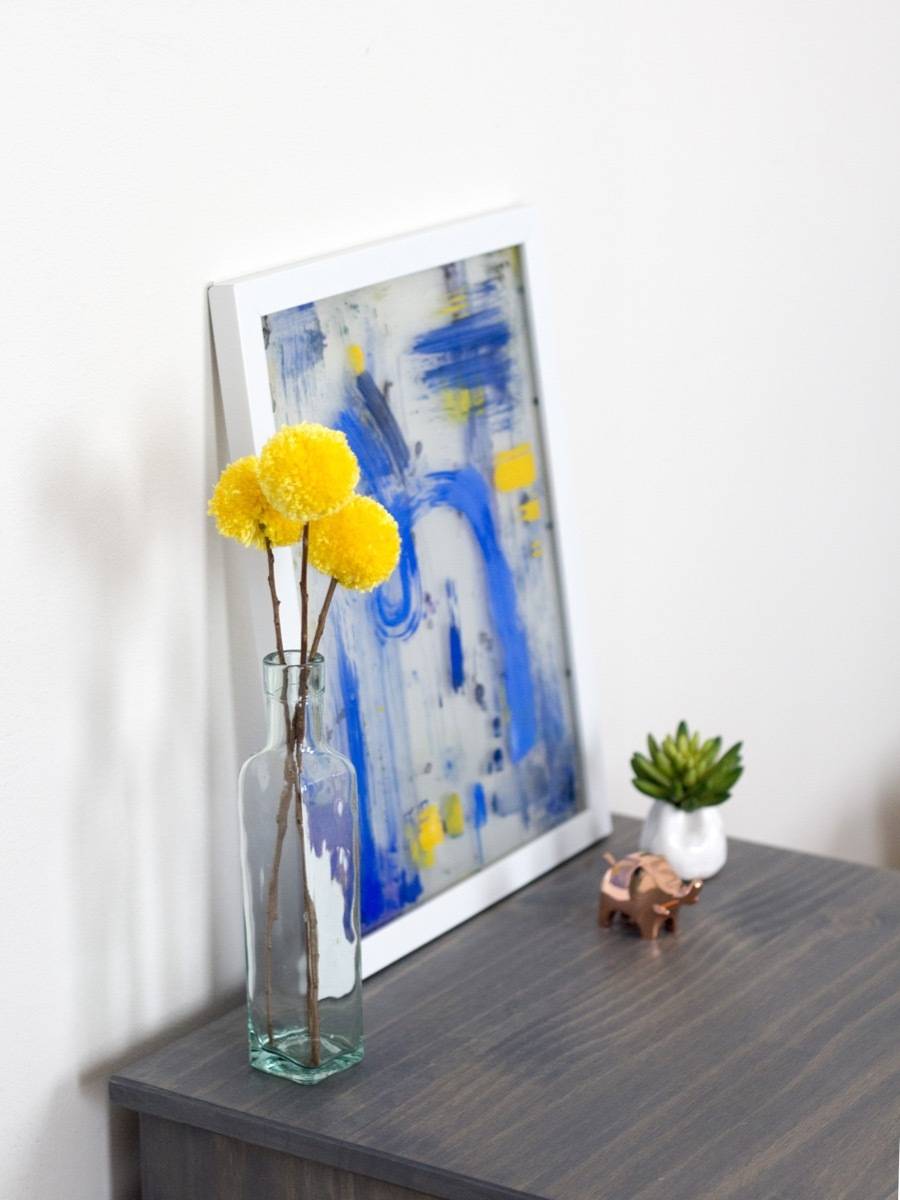
Finish off the glass wall art sandwich with a piece of vellum paper, and fold down the remaining tabs. Your wall art is ready to go! If you want to hang your piece, you will need to install additional hanging hardware, or use a Command strip along the back of the frame. Otherwise, you can prop up your new artwork on a shelf or ledge.
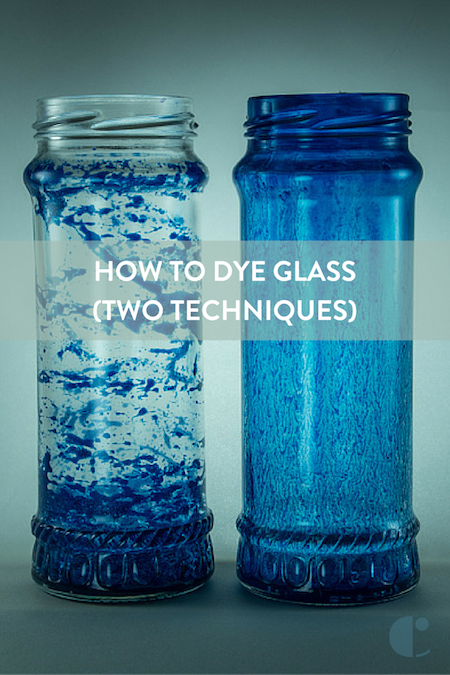
If you like this DIY glass wall art, check out our post on how to dye glass!