
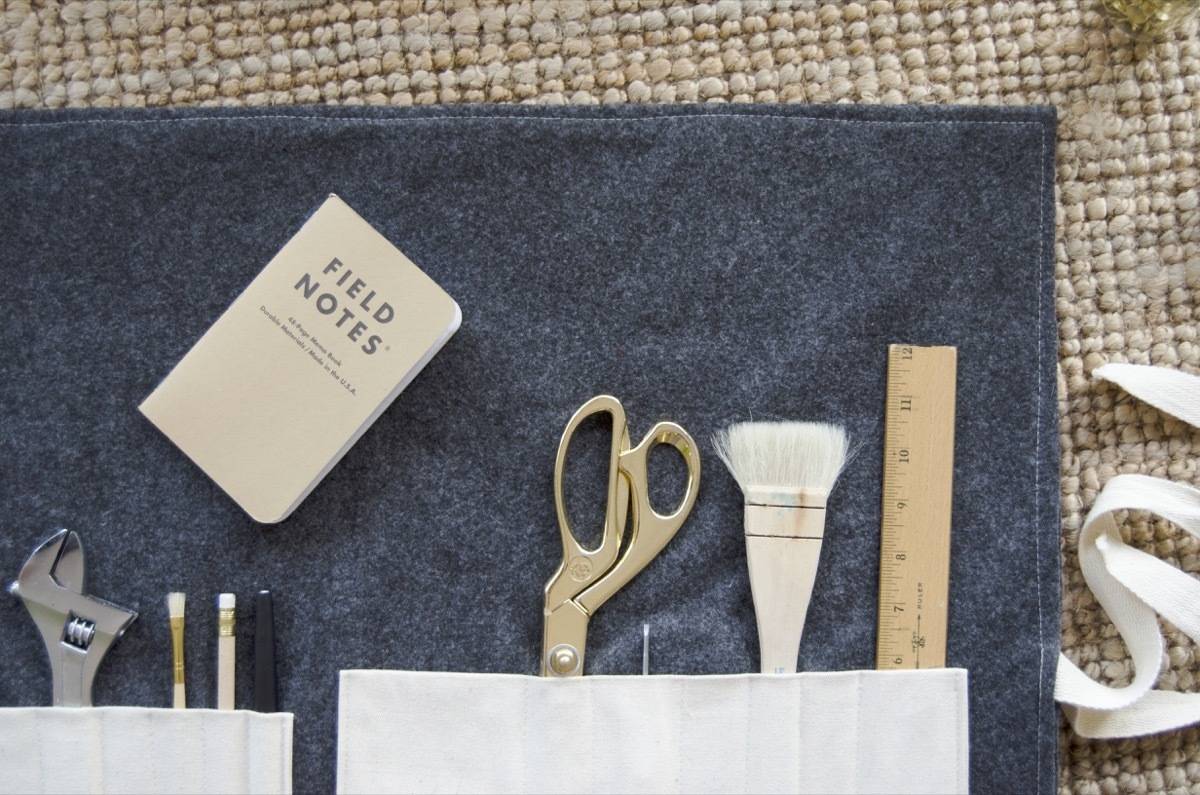
It’s the season of organization and purging, and it’s high time to get real with ourselves. Let’s talk about the junk drawer. You know the one I’m talking about. The drawer that holds everything and anything: takeout menus, a few rubber bands, hardware from that IKEA chair you bought two years ago, and an orange-handled pair of scissors. Maybe you are one of the blessed few who has managed to avoid the never-ending pit that is the junk drawer. Good for you – gold medal in adulting. If you are an actual human being like the rest of us, or just need a place to put all your tools, why not roll’em?
This roll organizer takes no time at all to make, and unlike pre-bought organizers, the dimensions are up to you, which means a spot for everything.
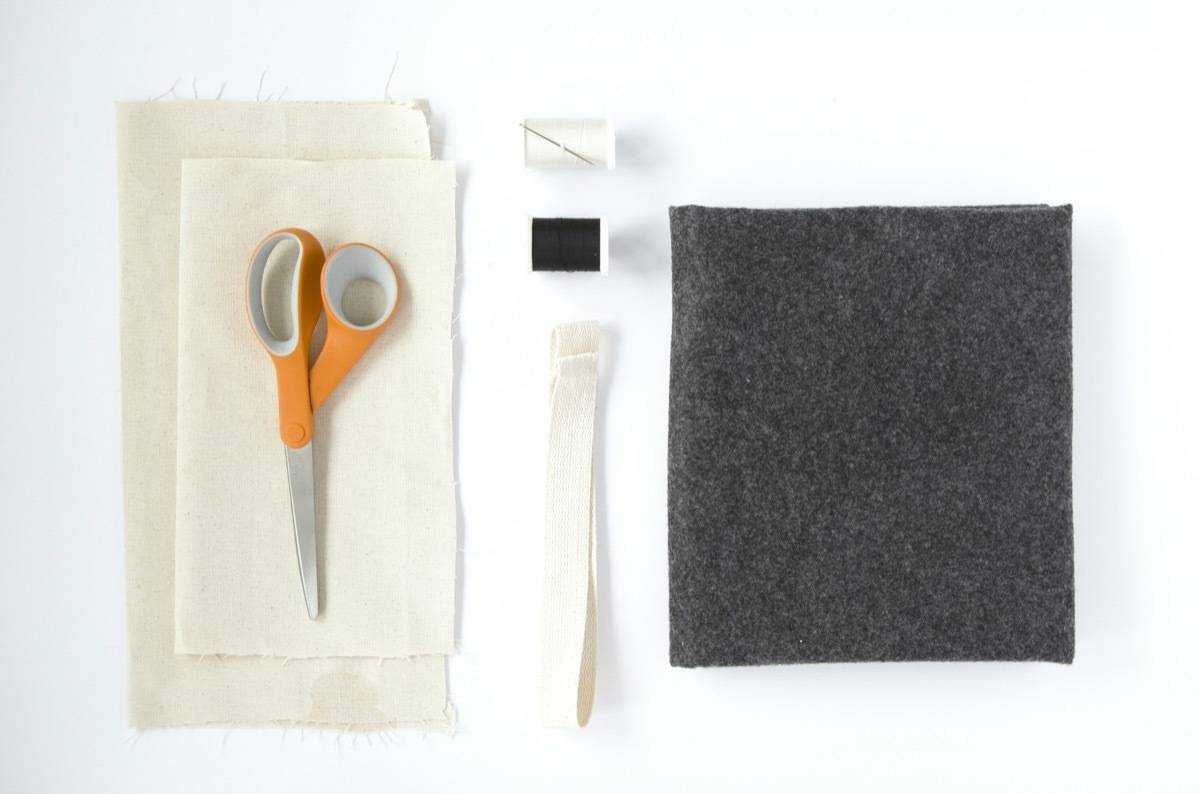
Materials
- Felt (measuring 25 x 18 inches)
- Fabric for pockets (one measuring 10 x 12 inches, the other 12 x 12 inches)
- Two straps (about 16 inches length for each; you can also use ribbon, yarn, or cording)
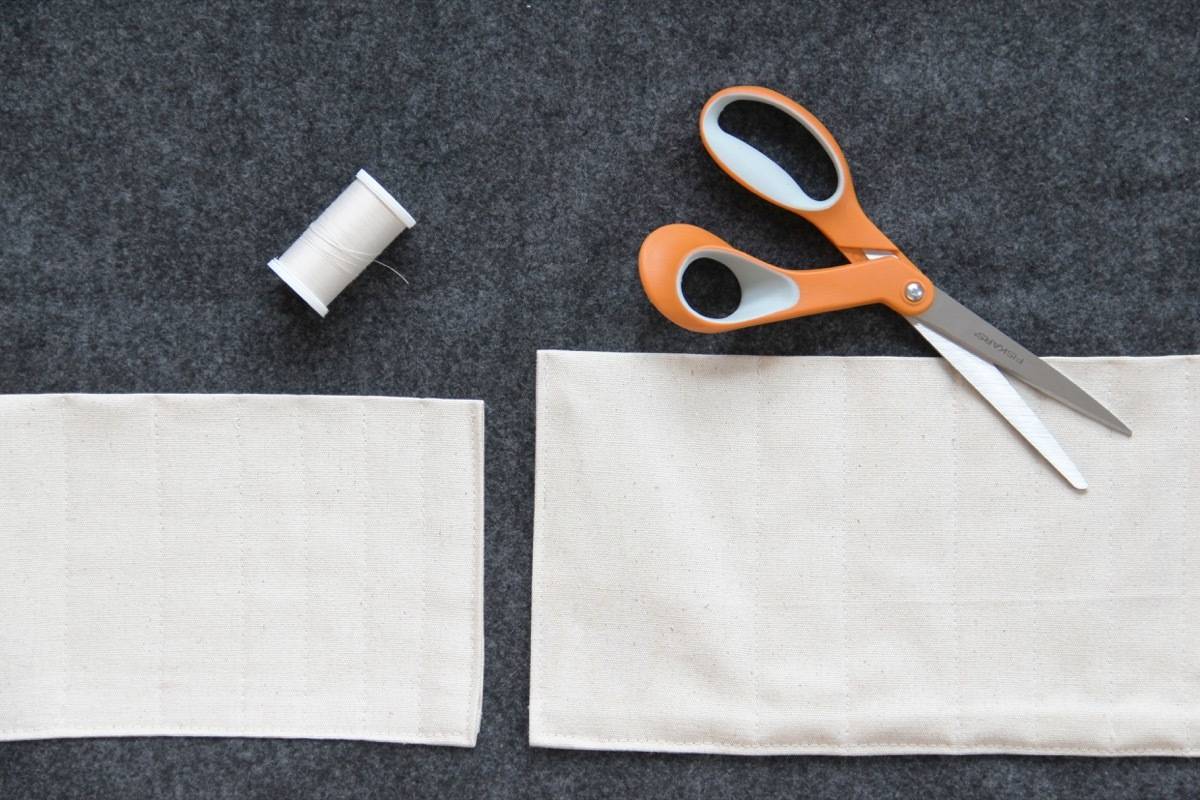
- Scissors
- Thread
- Sewing machine and notions (if sewing by hand, you’ll need a needle and thread)
- Iron and ironing board
Step
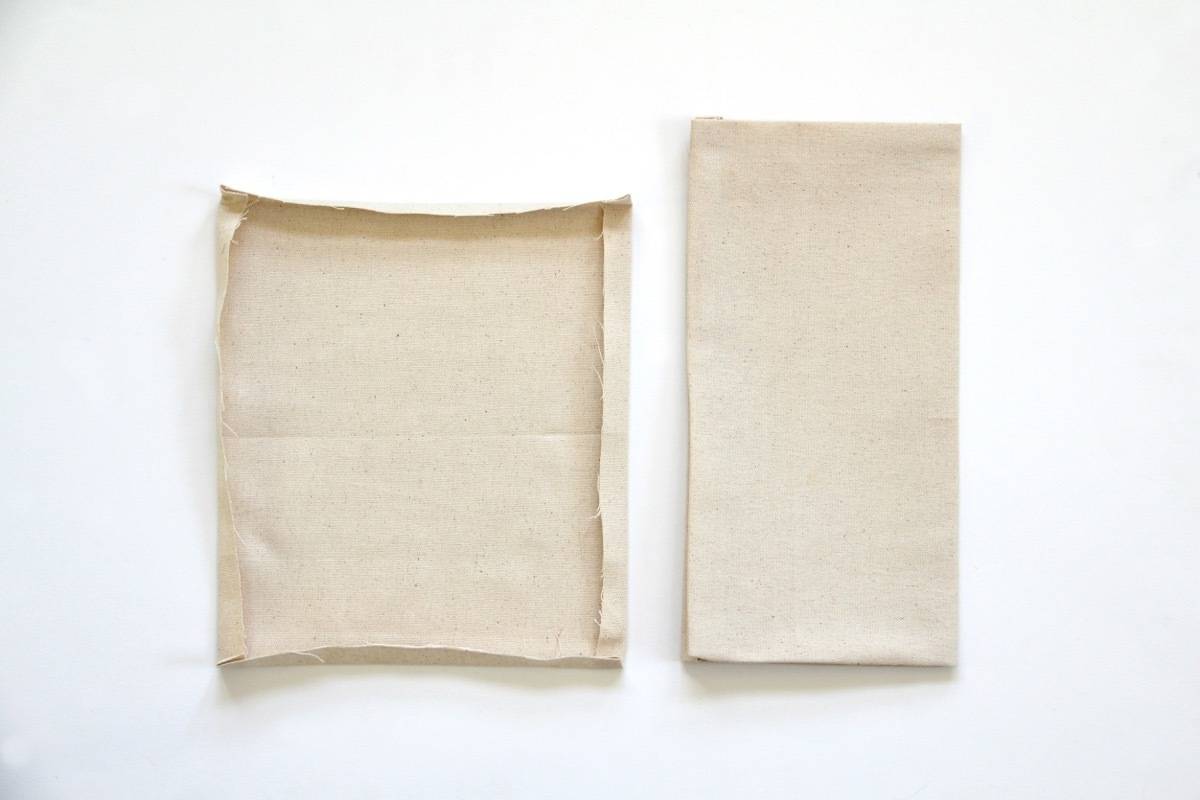
Fold the edges of the pocket fabric in 1/2 inch, then press. Fold each pocket in half and iron flat.
Step
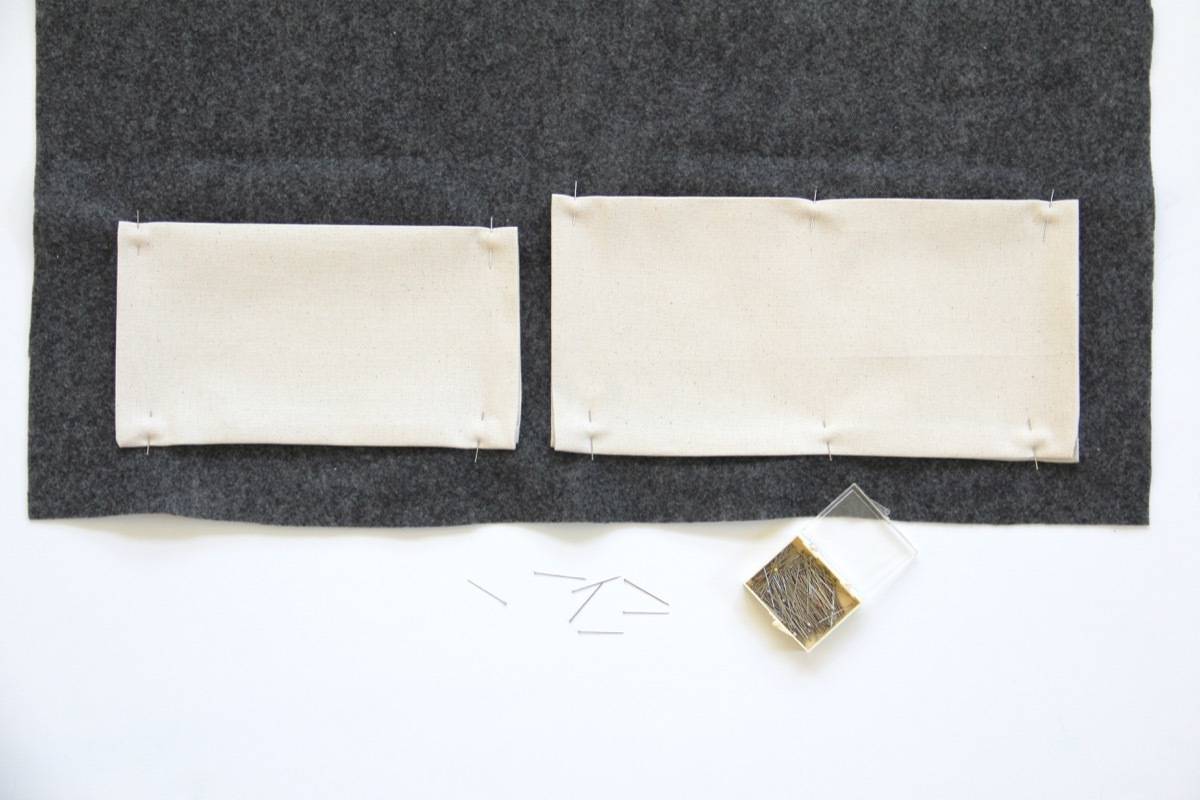
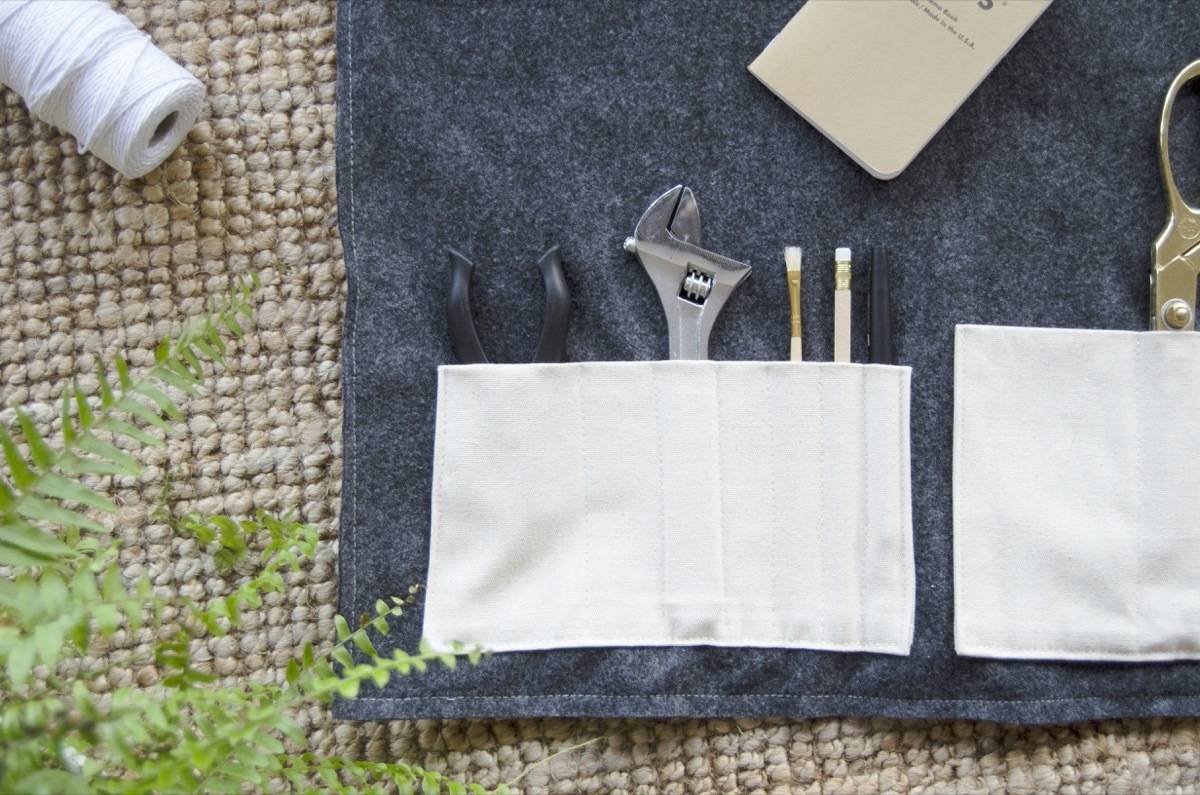
About an inch from the bottom edge, pin the pockets to the felt. With a straight stitch (machine or by hand), stitch along the sides and the bottom of the pockets, but leave the top open.
Step
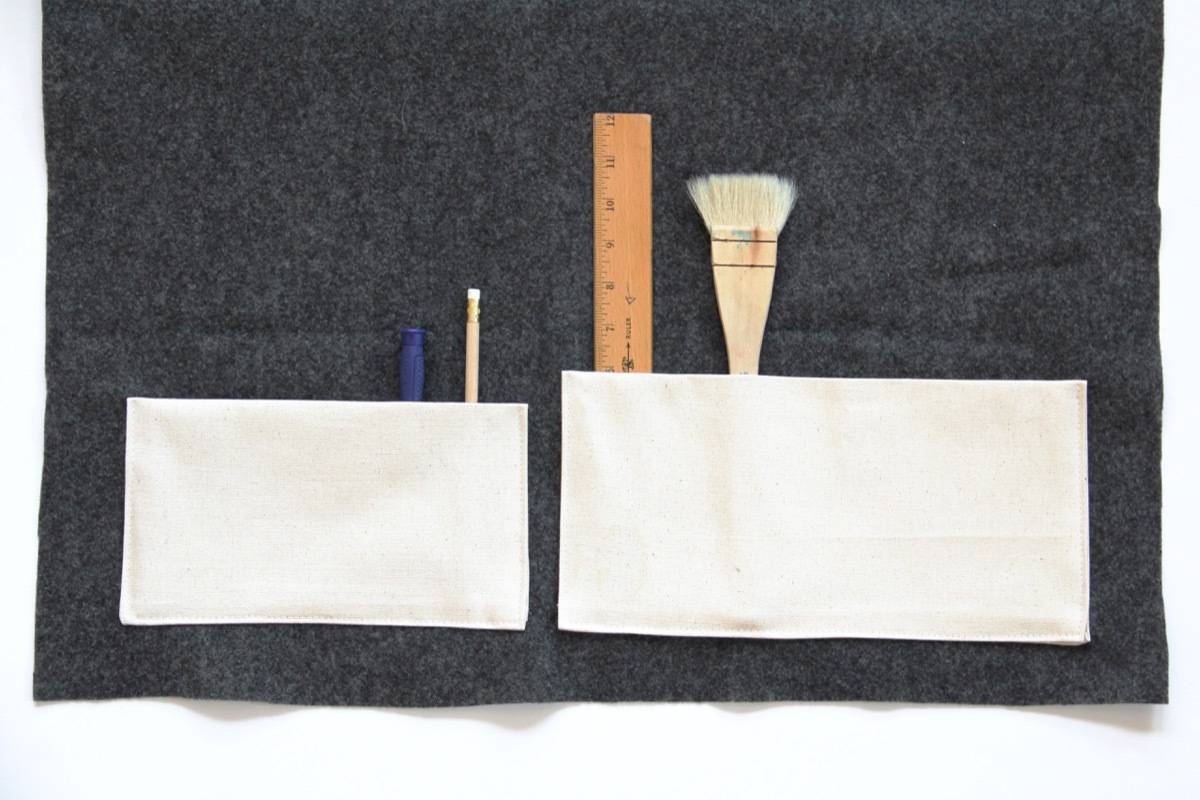
If you know what you’ll be keeping in your organizer, you can gauge the width of each divider by the items you’ll be storing. To make the individual dividers, stitch down the length of each pocket. Distance your seams between 1/2 inch to 3 inches. Vary the distance so you can keep objects of varying sizes in the roll organizer.
Step
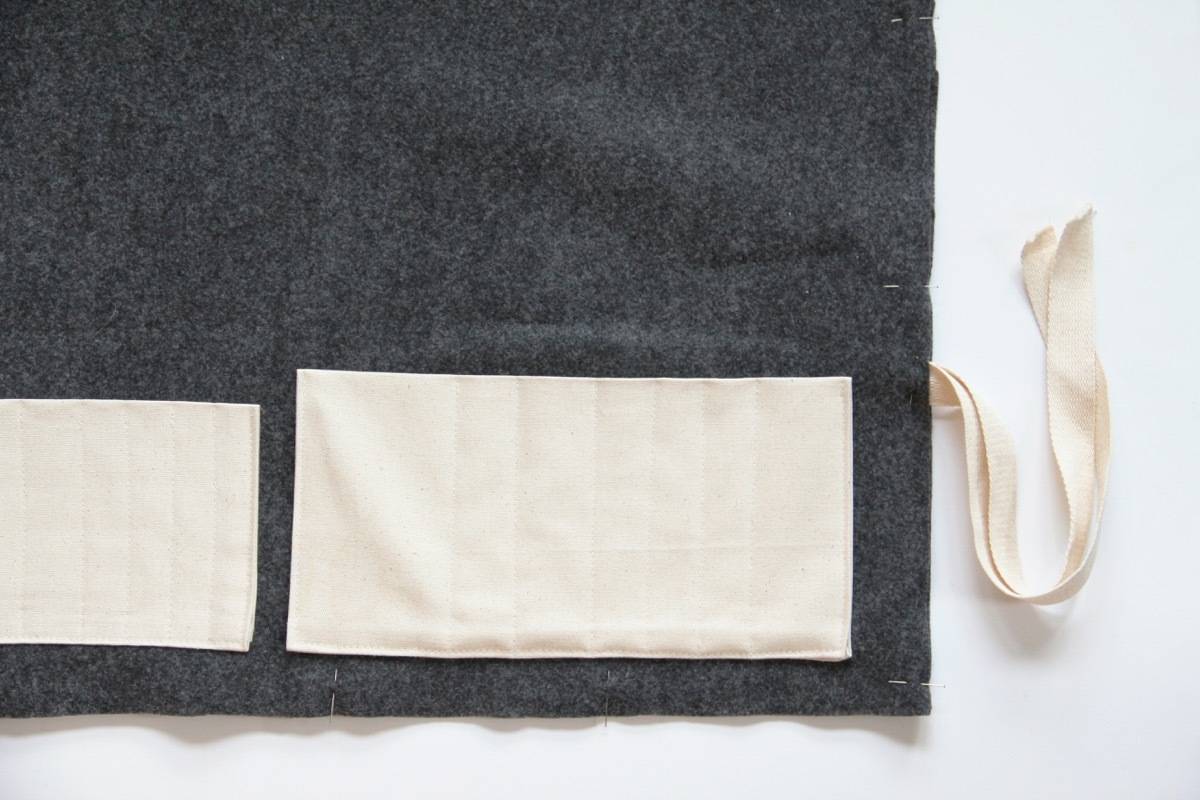
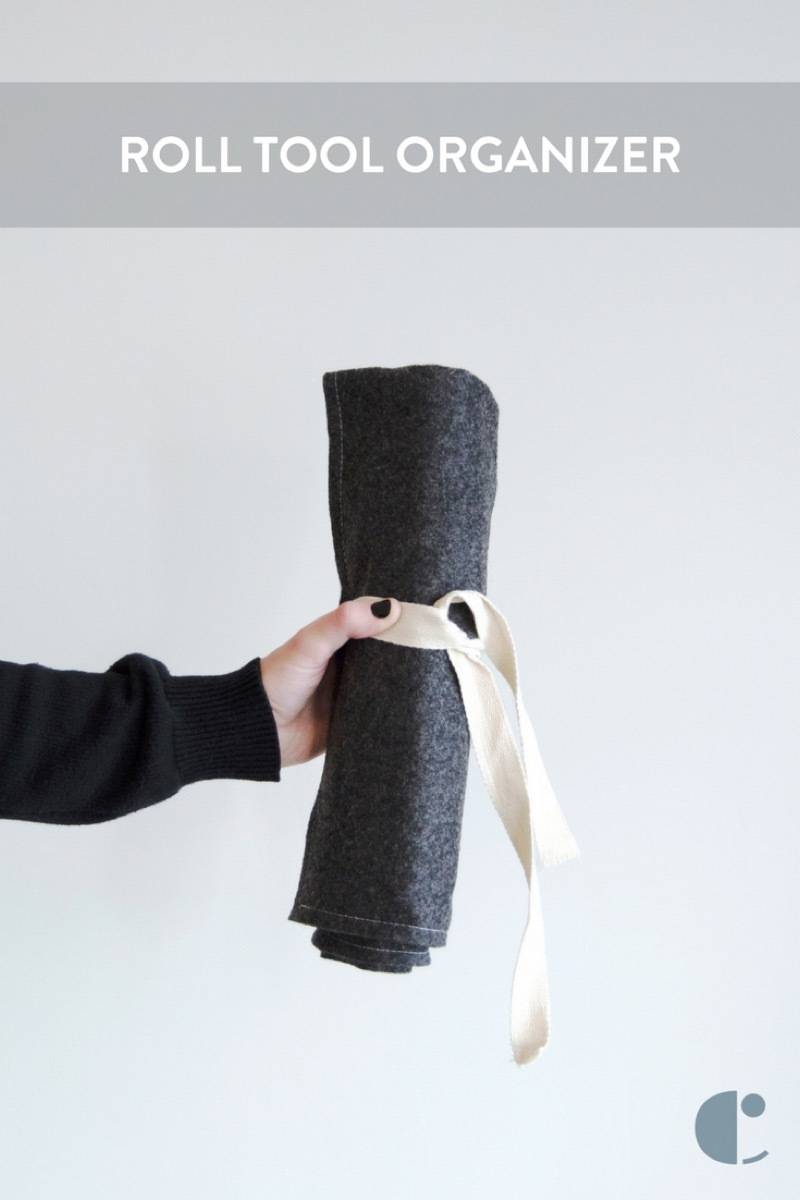
Double the felt by folding in half lengthwise, and pin the edges together. Pin the two straps inside the folded felt, about five inches from the bottom seam. Stitch along all sides of the felt, sewing the straps in place as you go.
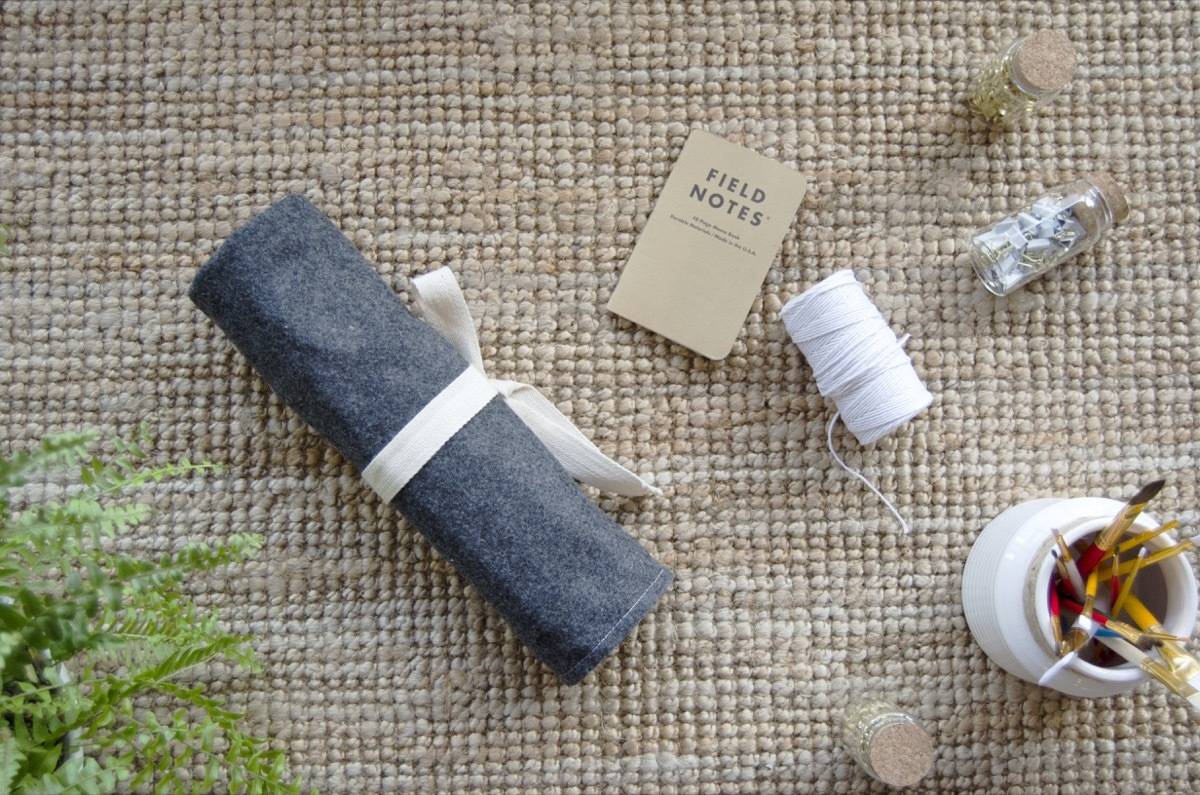
Here’s how to use your roll organizer: Fill, fold the felt down (so nothing falls out the top!), roll, and tie!
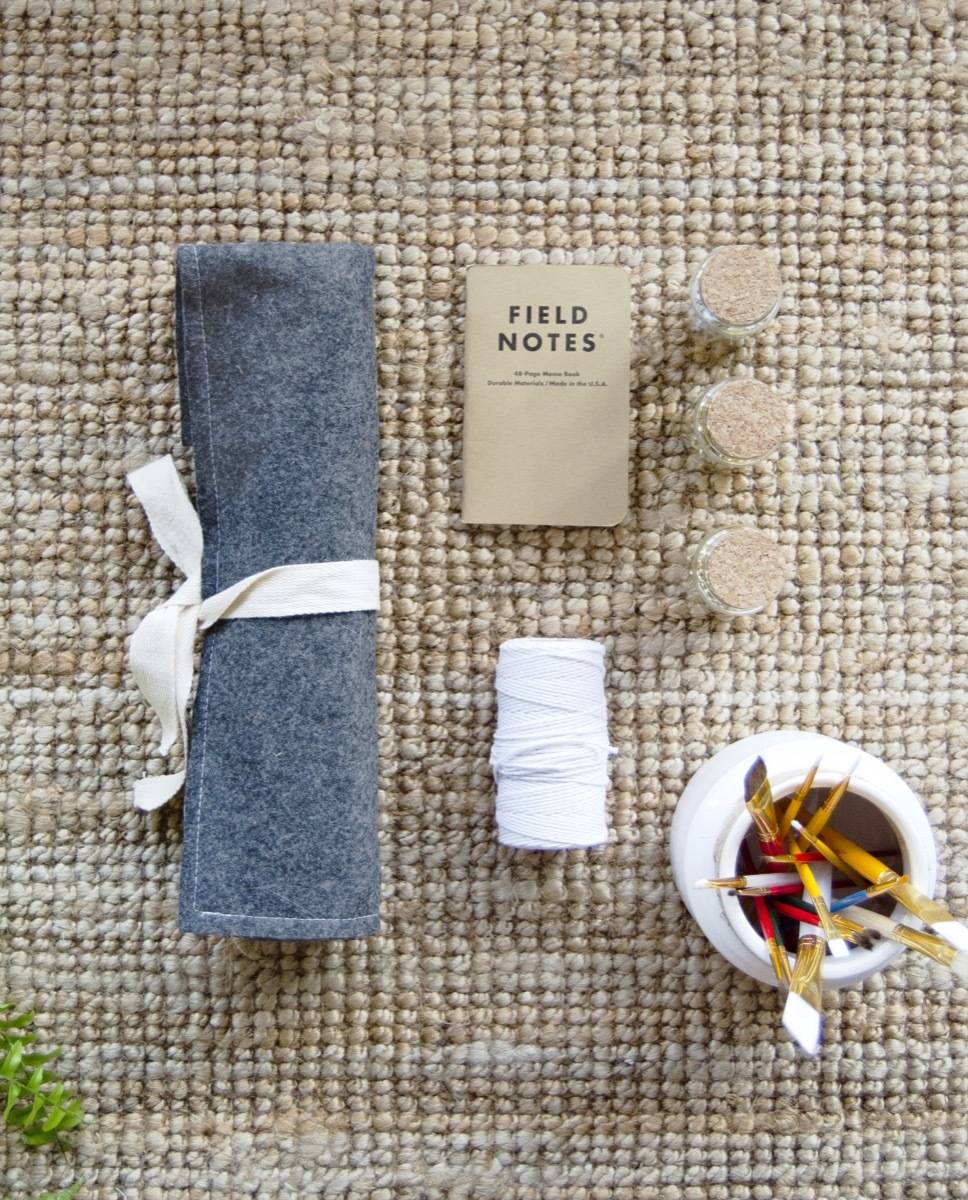
This type of organizer is also great for art supplies, wrench sets, knitting needles, or as a roll-up pencil case! Basically if you can roll it, you can store it. Happy organizing!
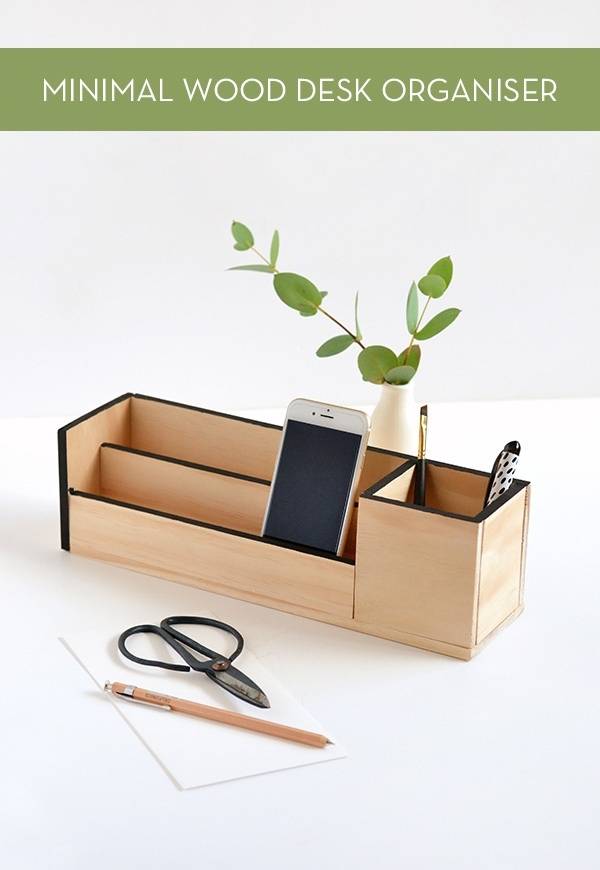
Now that you’ve conquered your junk drawer, clean up your workspace with our DIY minimal wood desk organizer!
Love it!
@Dana De Alasei Thanks!