I have a secret infatuation with faux fur. I’m the gal who raids the remnant bin at the fabric store for any and all furry fabrics. What I’m saving them for, I don’t know. They’re just so fun! The faux fur pouf is trending, but some of the nicer onces available to purchase are over $100. With back-to-school season upon us again, I wanted to find a way to make one of these fun and furry ottomans on the cheap. Keep reading to see how I made this one for under $40!
The secret to the affordability of this pouf lies at the thrift store. If you’ve ever had to buy foam, pillow forms, or stuffing, you know first-hand how pricey those kinds of materials can be. Not wanting to blow a bunch of money on filling, I headed down to my local thrift store to re-purpose some textiles. This pouf is filled entirely with old bedding that cost just $7. You may have enough unused bedding lying around your own home to stuff your ottoman for free! Any textile will do: comforters, pillows, old towels, etc. Raid your closet for linens that should be put out to pasture, and supplement with a trip to Goodwill or the Salvation Army if need be.
Materials
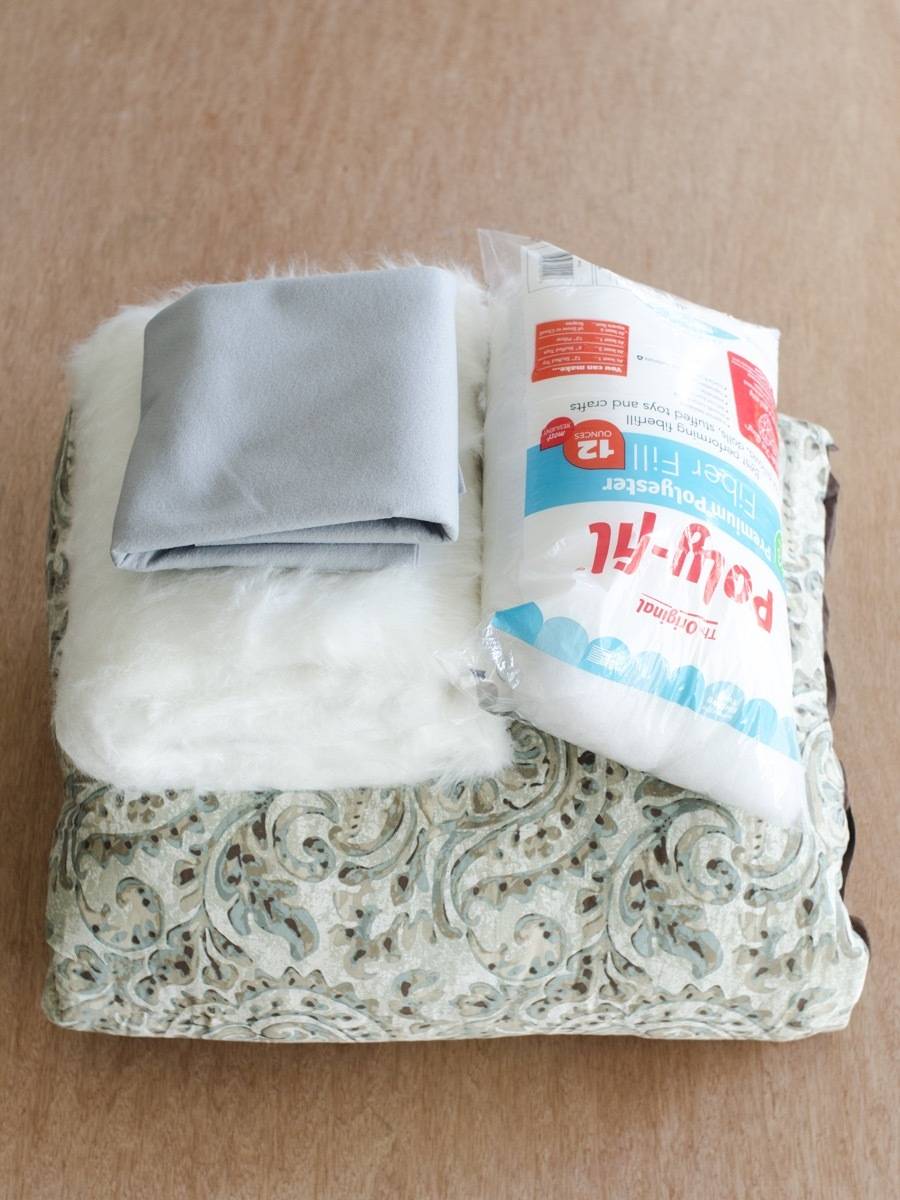
- Faux fur fabric (1.5 yards with at least a 36-inch width)
- Felt (18 inches with at least an 18-inch width)
- Old bedding
- Polyester fiber filling
- Sewing machine and notions
- Upholstery thread (a little tougher than regular thread)
Step

Begin by cutting a square piece of felt, measuring 18 inches in length and 18 inches in width. This square will be the bottom of the ottoman.
Step
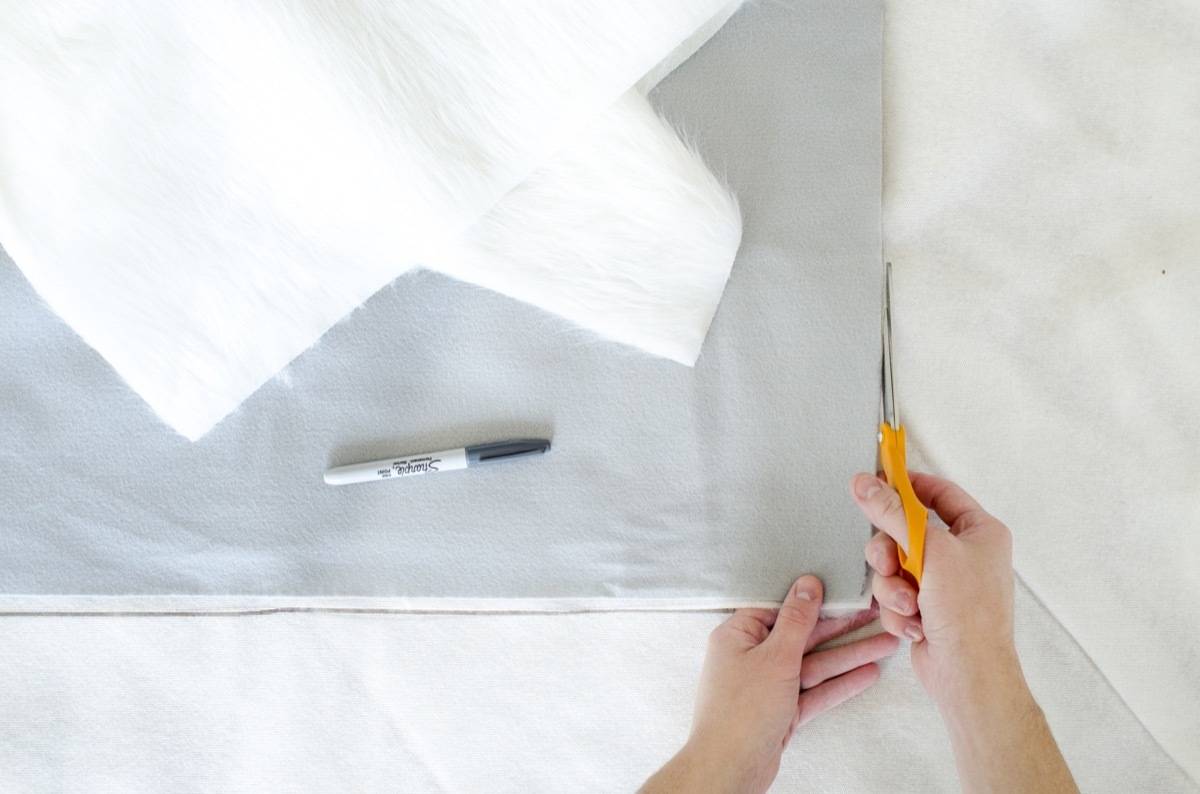
Use the felt square as a template to cut five additional squares from the faux fur, for a total of six squares.
Step
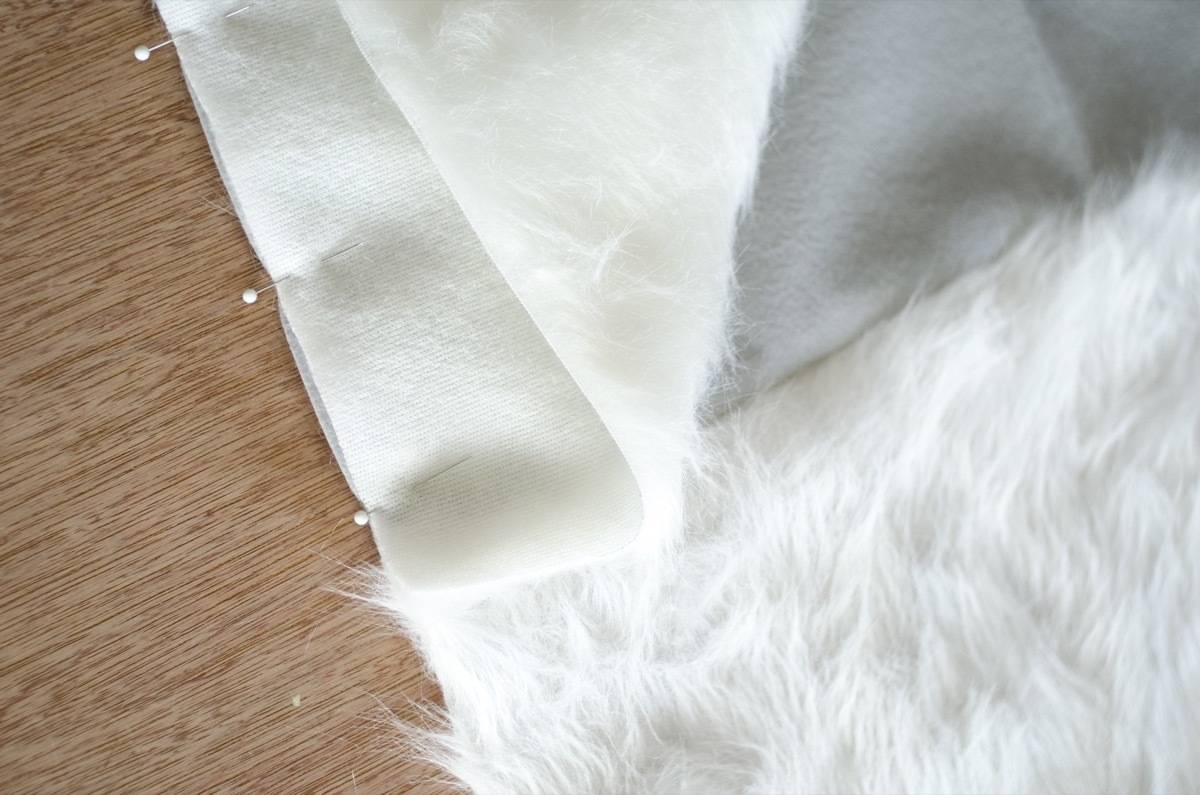
Now it is time to assemble the shell of the faux fur pouf. The ottoman is cube-shaped, made up of six squares. Sew one side at a time. Start by sewing a furry panel to the felt panel. Pin the fabrics right-sides together (use lots of pins as faux fur backing is slippery), and use a straight stitch 1/2 inch from the edge to join the pieces together. You want the seam to begin 1/2 inch away from the top and end 1/2 inch from the bottom. Continue in this method to join the panels together, as seen below.
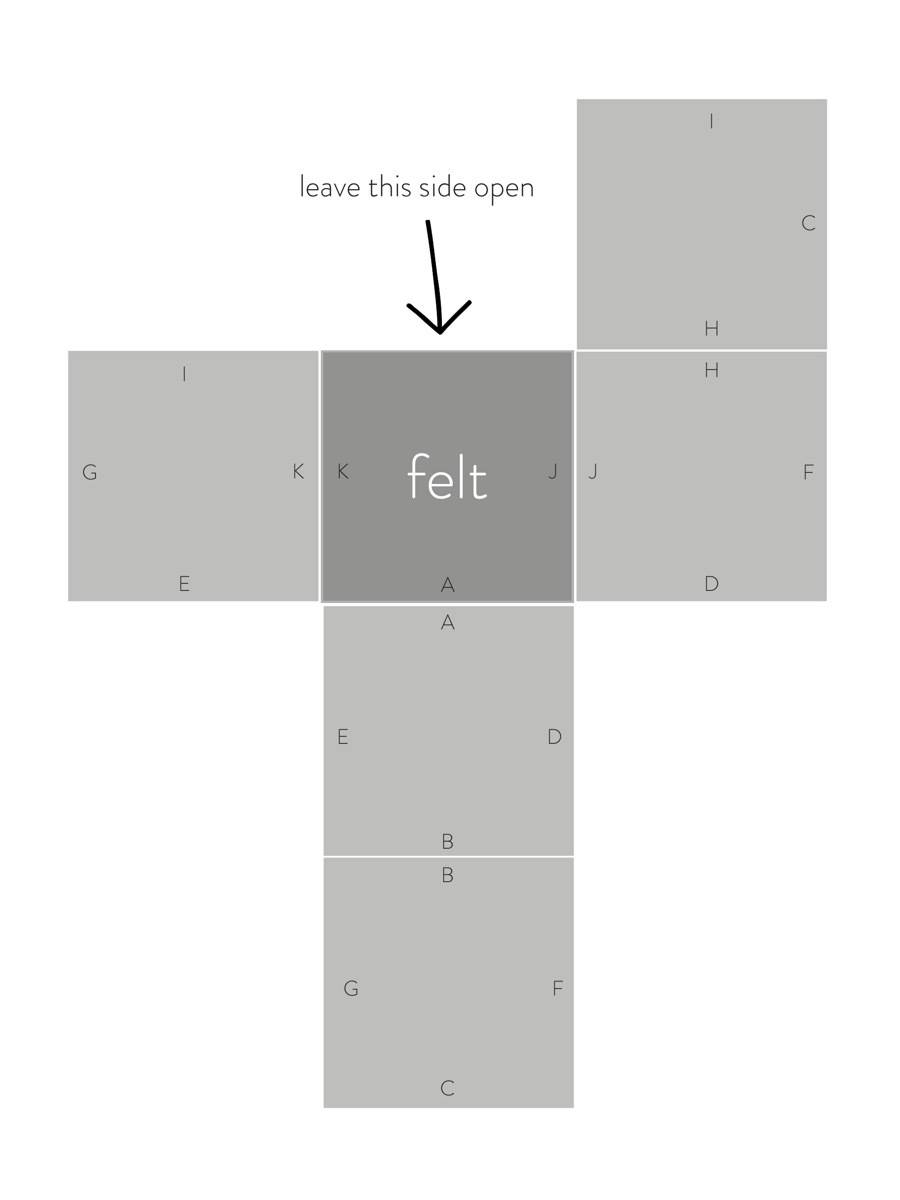
The above graph shows which sides go together, and does not indicate the order. You are free to sew sides together in whichever order you want. Go slowly, and take your time to check that you are sewing the appropriate panels together.
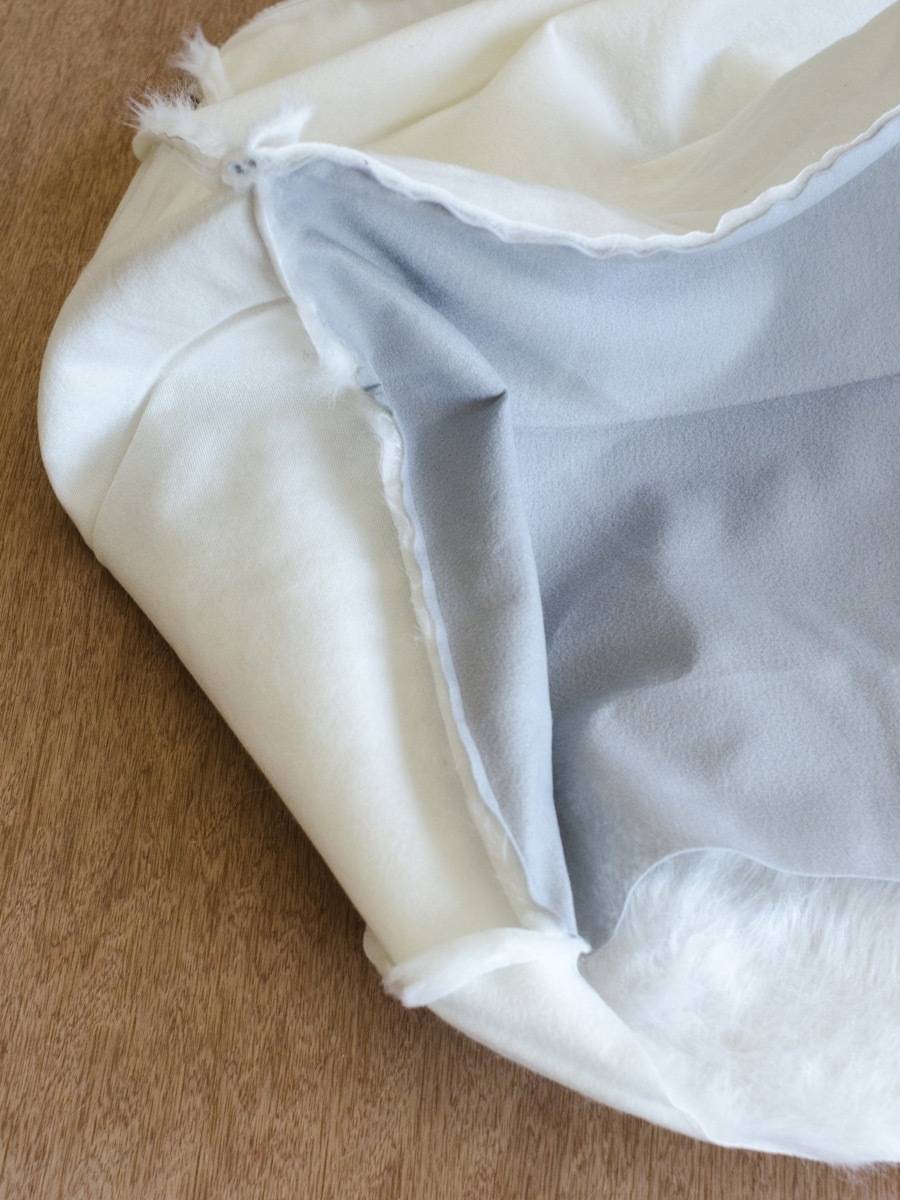
Leave one side of the felt panel open for stuffing. When all the sides (except for this one) have been sewn together, turn the shell of the faux fur pouf inside out.
Step

Now to fill! The density of the pouf will be based on how much you stuff inside it. I.e., the more tightly packed the materials inside, the firmer the pouf will be. You can fill the pouf with any old blankets, towels, pillows, etc. To even out the shape of the pouf, fill any holes and corners will poly-fil.
Step
Using upholstery thread, stitch the opening along the bottom of the pouf closed. Done!
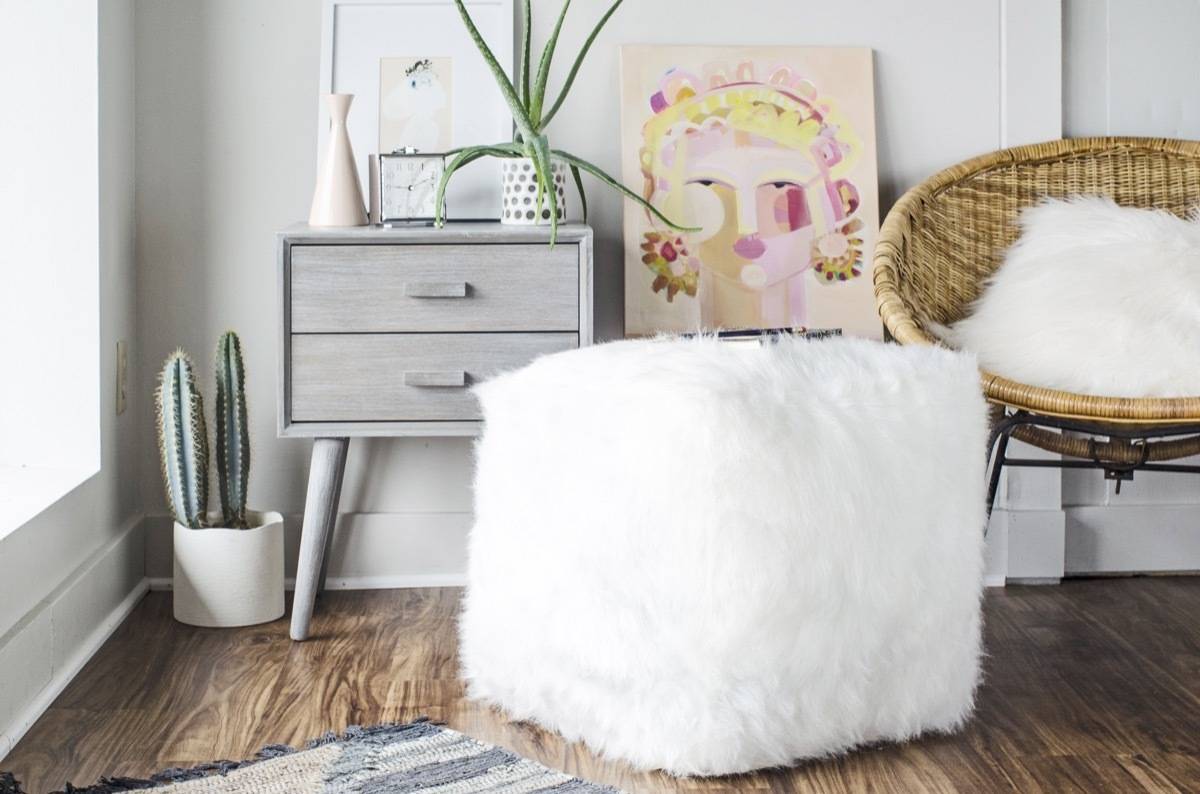
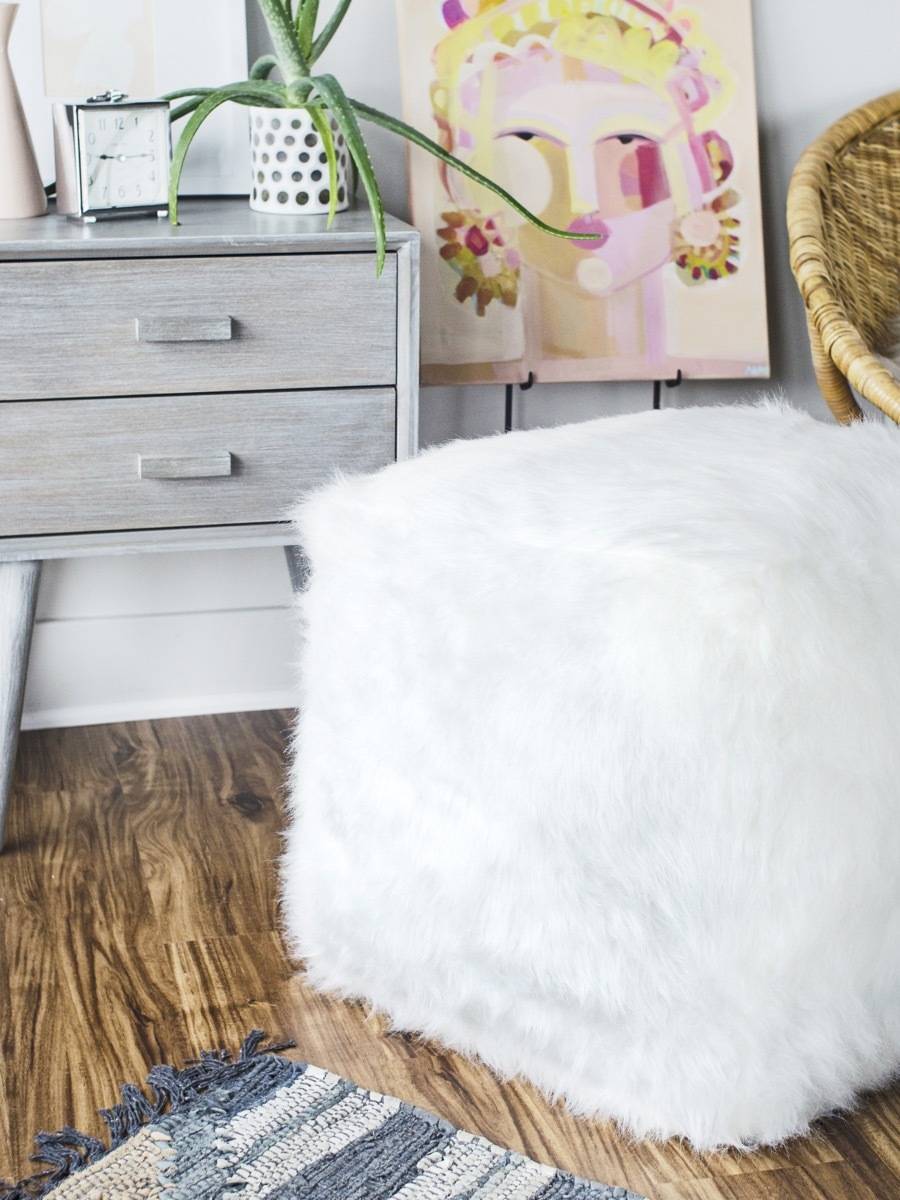
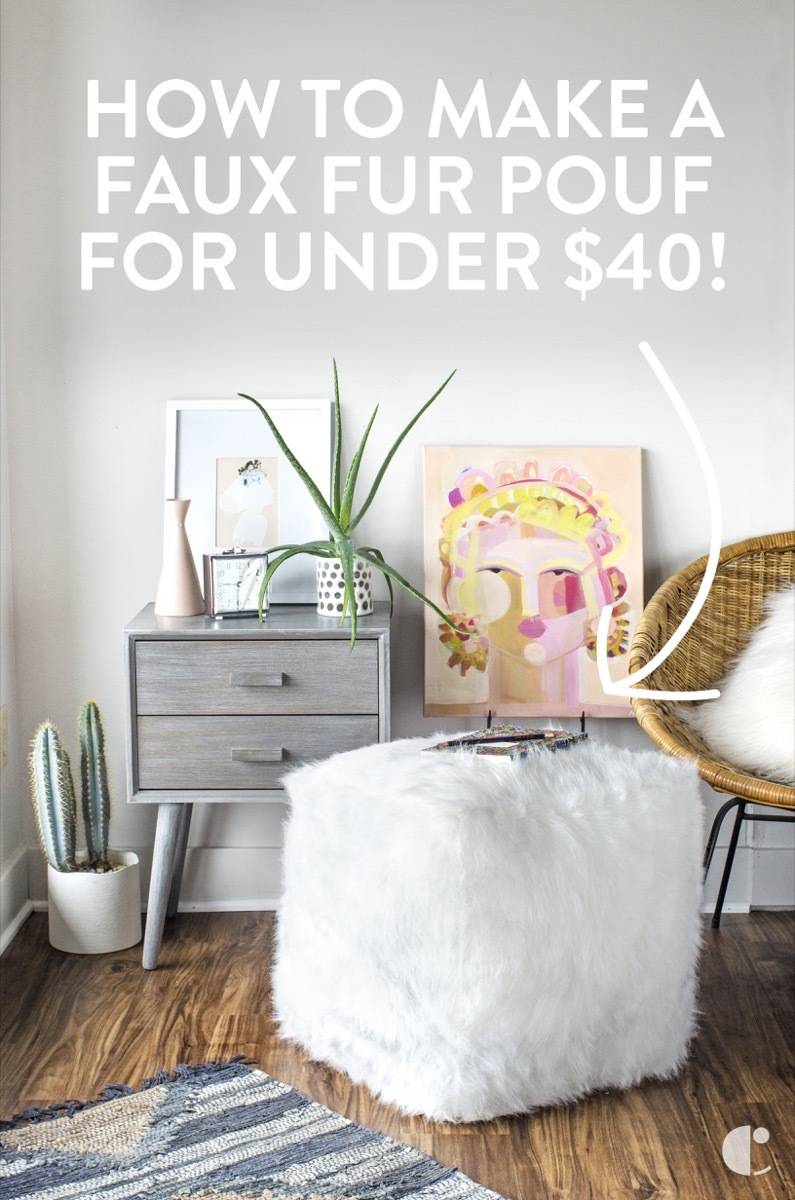
I just love this squishy, furry cube. And I love how affordable it was to make! Are you as obsessed with faux fur as I am? Let me know in the comments!
If you’re looking for more great sewing projects, check out this collection of Simple Sewing Projects for All Skill Levels.
Looking to decorate your room beyond a faux fur pouf? Check out 10 more DIY dorm decor ideas!