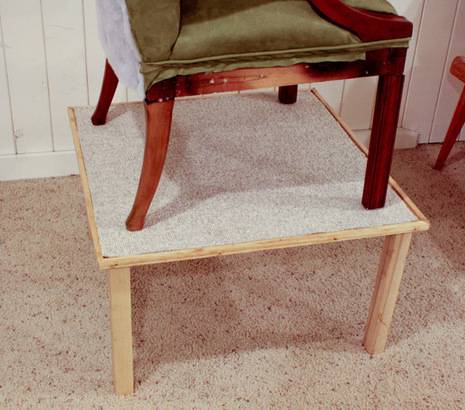
How are you all ever going to get that chair reupholstered without a proper upholstery height workbench? The right tools are a must. You see, upholstering on the floor is no good. You get up and down and have to flip and lift furniture to get all around it. A normal table height is no good either, a chair is way too high up to get the leverage you need. Now there’s an answer. Just follow my simple instructions and photos of the Mr. making my stowable upholstery workbench. The legs are removable and it can be hidden away in a closet or under a bed. Ingenius! Patent attorney????
Here’s what you need:
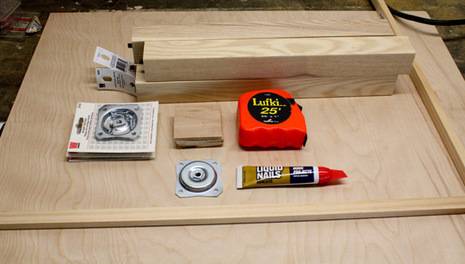
One 28 x 28 3/4″ plywood or birch veneer plywood (Lowe’s will make straight cuts for you)
Approximately 120″ of 1″x 1″ pine trim
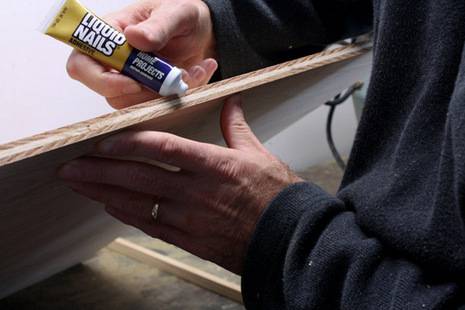
Liquid Nails or other wood glue
4 furniture leg plates (with screws)
4 16″ square furniture legs
Drill, drill bit and phillips head attachment
Miter saw or hand saw and miter box
Clamps or braces
4 3 x 3 pieces of scrap wood
What you do:
1. Measure, cut and miter the 1×1 trim pieces to fit around the 28″ square

2. Apply glue to the edge of the wood square and press trim pieces in place
3. Attach clamps to hold the trim in place
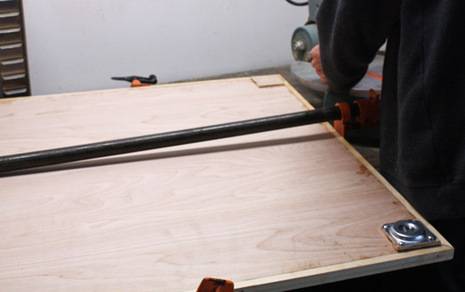
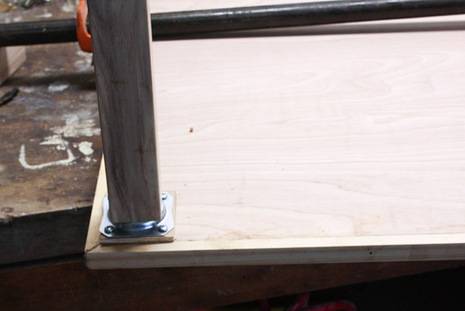
4. Glue a piece of 3 x3 scrap wood on each corner where the leg plates will be attached
5. Measure and mark where the leg plate screws go
6. Attach leg plates
7. Screw on the legs
8. Add a piece of carpeting on the inside of your upholstery workbench to keep the chair from sliding
9. When done, unscrew legs, slide the legs and top under the bed