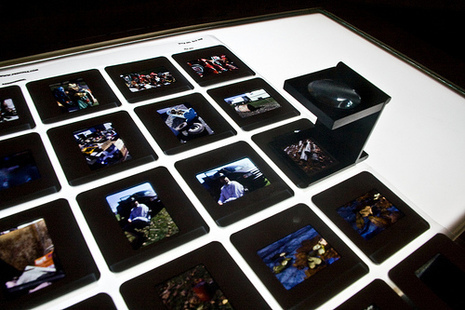
Viewing slides, tracing artwork, exposing photo emulsion for screenprinting, as a background for photography special effects…I can think of myriad reasons one could use a light table. And, with these instructions from DIYPhotography, it’s a totally reasonable weekend project.
“The idea behind the light table is simple. Things look really great if the light is passing through them. As opposed to light being reflected off them. This is why slides look so good, this is why we love vitrage windows in churches. A light table is the perfect way to inspect slides, negs and to do some really interesting art.”
Materials
- Table or desk ($15)
- White piece of plastic to diffuse the light ($12). P
- Glass (7$)
- Fluorescent lights (2x $10)
- Extension cord ($1)
- Thin foil, tape, glue, screws, electrical switch, etc
