While soldering joints in your new copper water lines is great, there are other ways to put those new skills to use. A fun and low-risk way to practice and perfect your soldering skills is to build sculptures out of copper pipe and fittings. It’s surprising how many shapes and forms you can make out of rigid pipe and the limited types of copper fittings used for plumbing.

See my copper soldering tutorial if you don’t know how to do it. I’ve listed all the tools you need and an easy guide to get through it.
For sculpture materials, feel free to buy as much copper pipe and fittings as you like. Stroll down the aisle at the hardware store and see what looks interesting. To start, you should be good with 5 feet of 1/2 inch pipe. For fittings, start out with about 10 90s, some 45s, a few tees, some caps, and a few street fittings (the kind with one side that fits into another fitting).
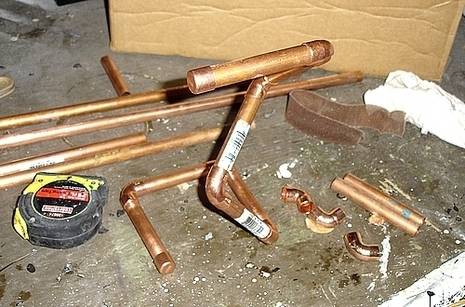
When I first started thinking about what I could build with copper, I thought about practicality. I wanted something I could use. I had some scrap lengths of copper about 4 inches each, so I put them all together with 90s and caps. When assembling copper pipe and fittings, dry fit everything before you get ready to solder anything. It’s important for fun stuff like this, but even moreso for real water pipes. This is what I started with:

I figured it might make a good mail rack, but the shape was boring. So I decided to jazz it up a little.
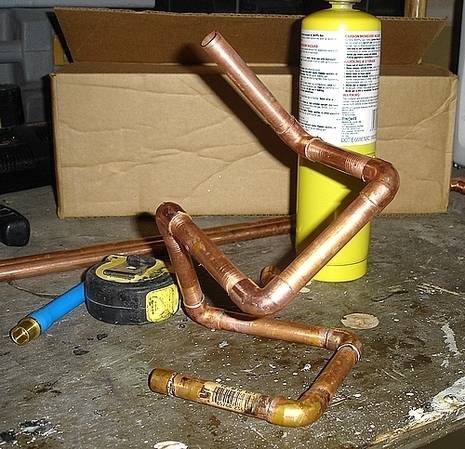
This looked more interesting than what I had, but I wasn’t sure it was a mail rack anymore. I stood staring at my new shape, thinking of how I could use what I now had, or how I could make it into something I could use. It was about then my friend Sandor walked in, a crazy Salvadorian artist raised on the Ramones and the Misfits. He started picking up pipes and fittings and suddenly something different began to emerge.
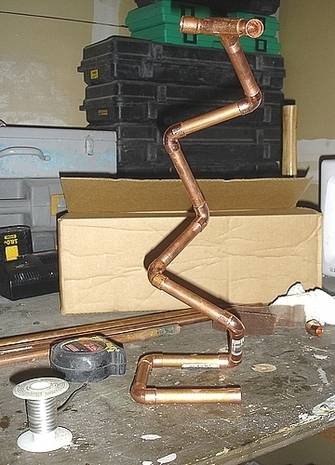
Before I knew it, he grabbed some PEX adapters and tees and had put together something I never would have made.
Everything was dry-fit, which was hard to keep standing. It was up to me to solder it up. First, I cleaned and fluxed all the pipe and fittings. I didn’t want to lose the hard-fought shape so I soldered by sections. The first part was the base.
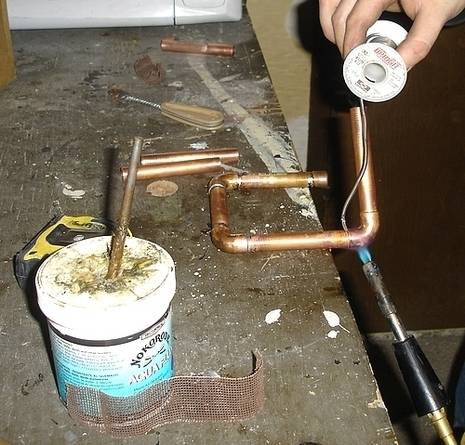
When I got the base soldered, I fit one piece on top of the other until I reached the top.
The most important thing to me was to make the joints clean. A project like this is a great way to practice your soldering skills, but when it comes to the real thing, pressurized water flowing through pipes, the joints have to hold whether they look good or not. Just because a joint looks clean doesn’t always mean it’s solid.
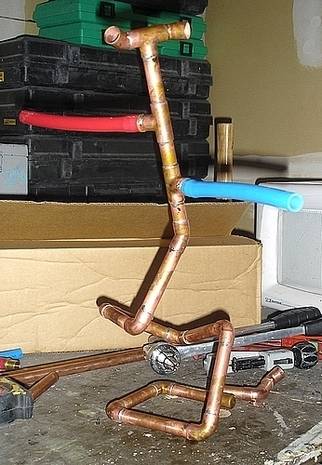
The finished product we ended up with definitely wasn’t a mail rack. It wasn’t anything practical at all. But it looked all right, and it was fun to build. The downside for me was that as soon as we finished, Sandor stuffed our sculpture in his coat and left. All I had left were a couple hot copper burns for my trouble.
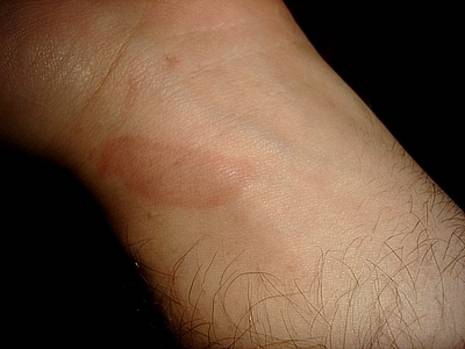
It’s easy to forget how hot copper gets until you get burned. It happens even to the best of us, once in a while.