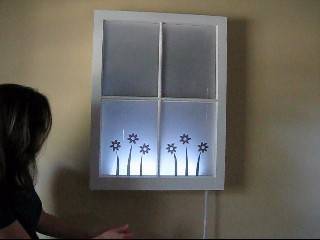
I have a thing about windows. Especially barn sash windows, one of which just happened to be lying around. It was too good not to turn into something, so kicked around some ideas and came up with a wall art/light fixture idea and went to work.
What we used:
an old barn sash window
scrap 1″ x 3″ pine
a piece of handy board
frosted glass spray
Contact paper
scissor and paper punch
LED light strip
table saw, screws, drill, nails hammer, etc.
What we did:
To see the entire project, watch the video below or click here. For a written play by play, continue reading.
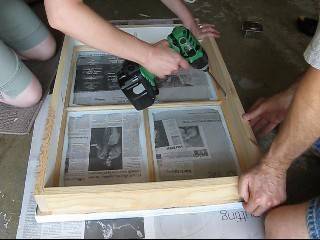
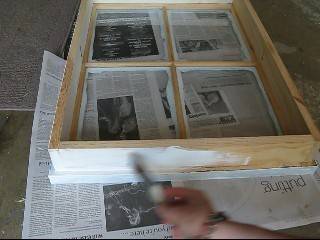
First, using the 1″ x 3″ we made a simple box frame, which we attached to the inside of the window.
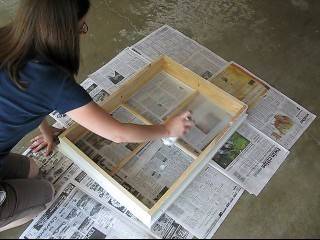
Then I painted the entire front and sides of the window with a couple of coats of latex enamel.
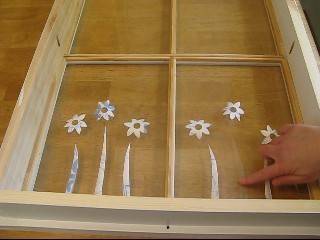
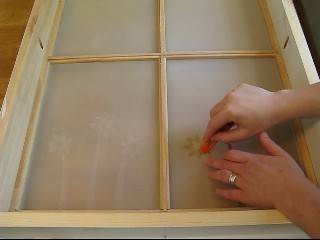
Next, I made flower stickers out of the Contact paper, using a scissors to cut stems and a paper punch to make flowers. I stuck the stickers onto the inside bottom of the window’s panes.
I sprayed the panes inside with the frosting spray.
After the frosting spray was dry, I carefully removed the Contact paper.
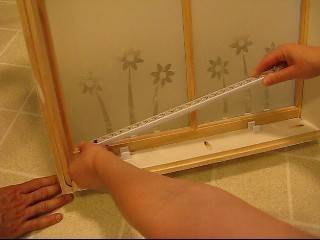
Then I installed a cool burning LED light strip to the inside bottom of the window. We also drilled a hole at the bottom of the window through which to feed the LED’s power cord.
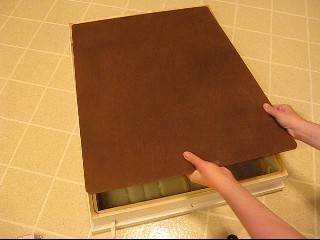
I chose to add a back to my window/light fixture/wall art as the contrast between my wall color and the frosted glass wasn’t great enough to make the Contact paper cutouts really ‘pop’. For the back, I used a thin piece of handy board, cut to size and painted a rich chocolate brown. Note: for safety’s sake, don’t let your light run all night long; it would be best to plug it into a timer.
After attaching the back to the window and installing a hanger, my window/light fixture/wall art was complete!