
Standing by in frustration to watch the water in a clogged bathroom sink drain will not make it go any faster. There is a clog, and it needs to be dealt with. But before you make that call to enrich your local plumber, try replacing the p-trap under the sink yourself. Most likely the clog is there, and when you remove the old one you’ll know right away if a tangle of hair and grime is the problem.
A sink’s p-trap is there to seal off the pipe with water to keep sewer gas that bypasses the vent from rising into your bathroom. Replacing your old p-trap should only take about 15-20 minutes for beginners, and the total cost for materials should be less than $20 if you have all the tools.The tools you will need to replace your old p-trap will depend on what kind of trap you want to buy. If you want a chromed metal p-trap, you will need expandable pliers or a large crescent wrench to loosen the nuts. I prefer to use channel lock pliers over all others for plumbing of any kind. You will also need a saw to cut the new p-trap; a hacksaw for metal and a plastic pipe saw for PVC.For materials, besides the new p-trap and plastic or rubber gaskets for it, you should buy some pipe thread compound.
To remove the old p-trap, first unscrew the nut securing the p-trap tailpiece to the pipe in the wall. Then unscrew the nut securing the trap to the sink drain tailpiece. Loosen the nut in the middle, but only enough to let you manipulate the two parts of the p-trap. This will make it easier to remove. There will be water inside, so keep an old rag close.
If you look inside the old trap, you may see a lot of stuff you’d rather not see. If this is so, this was causing a slow drain, and replacing the p-trap will solve the problem. You have two options moving forward. The first is to clean and re-install the old p-trap. It will save you a few bucks, but make sure to replace all the rubber or plastic gaskets. It also helps to spread a layer of pipe thread compound to the touching trap/gasket surfaces. This reduces the chances of a leak.
Here’s a step-by-step to make installing a new p-trap under your bathroom sink easy.
1. Make sure to buy the right p-trap. The correct pipe size is 1 1/2 inches for a bathroom trap. The easiest type to work with is PVC, but chromed metal looks better for exposed sinks. For a PVC trap, buy the package that comes with all the plastic gaskets and nuts. For a chromed trap, you’ll need rubber gaskets. The trap itself is 1 1/2-inch pipe, but the tailpiece from the sink is likely 1 1/4. You’ll need a transition gasket for this.
2. Test fit the p-trap onto the sink drain tailpiece and into the wall without the nuts. You may need to cut the tailpiece of the p-trap to fit into the wall drainpipe. The trap tailpiece should go as far as possible into the wall pipe. If the tailpiece is too short, you’ll need a 1 1/2-inch slip-joint extension to cover the distance. A slip-joint extension attaches to the trap tailpiece the same way the trap attaches to the sink drain tailpiece–a nut and gasket that creates a water-tight seal.
3. When the trap is cut to fit, slip the nut and then the 1 1/4-1 1/2-inch gasket over the sink tailpiece. Then slip the nut and 1 1/2-inch gasket over the trap tailpiece.
4. Assemble the p-trap. You will not need a gasket for this part if working with PVC, only a layer of pipe thread compound where the plastic surfaces meet. If working with chrome, spread thread compound on the surfaces where the gasket will touch. Make sure to tighten the nut on the p-trap snugly but not tight yet. This will give you flexibility to get the trap into place if needed.
5. Spread thread compound on the surfaces where the gaskets will touch on both the p-trap and wall pipe before setting it into place. Set the trap in place, and then slip the gaskets down the pipes to the threads, and then tighten the nuts over the gaskets hand tight. Finally, tighten the nut holding the p-trap together. If working with PVC and plastic gaskets, hand tight should be sufficient. With chrome, make the nuts hand tight plus a quarter turn with the channel locks or wrench.
6. To test your new trap, plug the sink and fill it completely. A full sink will fill the pipe and reveal any leaky spots right then. Now let the water go and watch for drips at all the trap’s connections. Make sure to touch the joints to feel for water, rather than just eyeballing. If you have a leak, tighten the nut a little more, wipe the joint dry and test again.
If you get persistent leaks, especially in one spot, check to make sure there’s not a problem with the gasket. Every professional at one point or another has forgotten one completely, so don’t feel so bad if you commit this heinous crime your first time out.
Love reading about DIY fixes and renovations? Check out Bruno’s Curbly House bathroom makeover journal here.
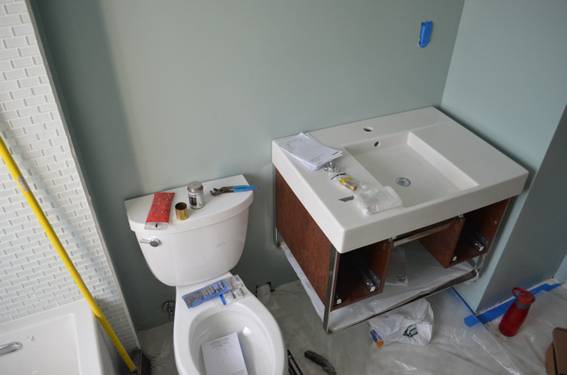
The image provided shows an S trap not a P trap. A p trap is shaped like a P and exits perpendicular to itself. The picture above shows a trap which bends twice like an S.