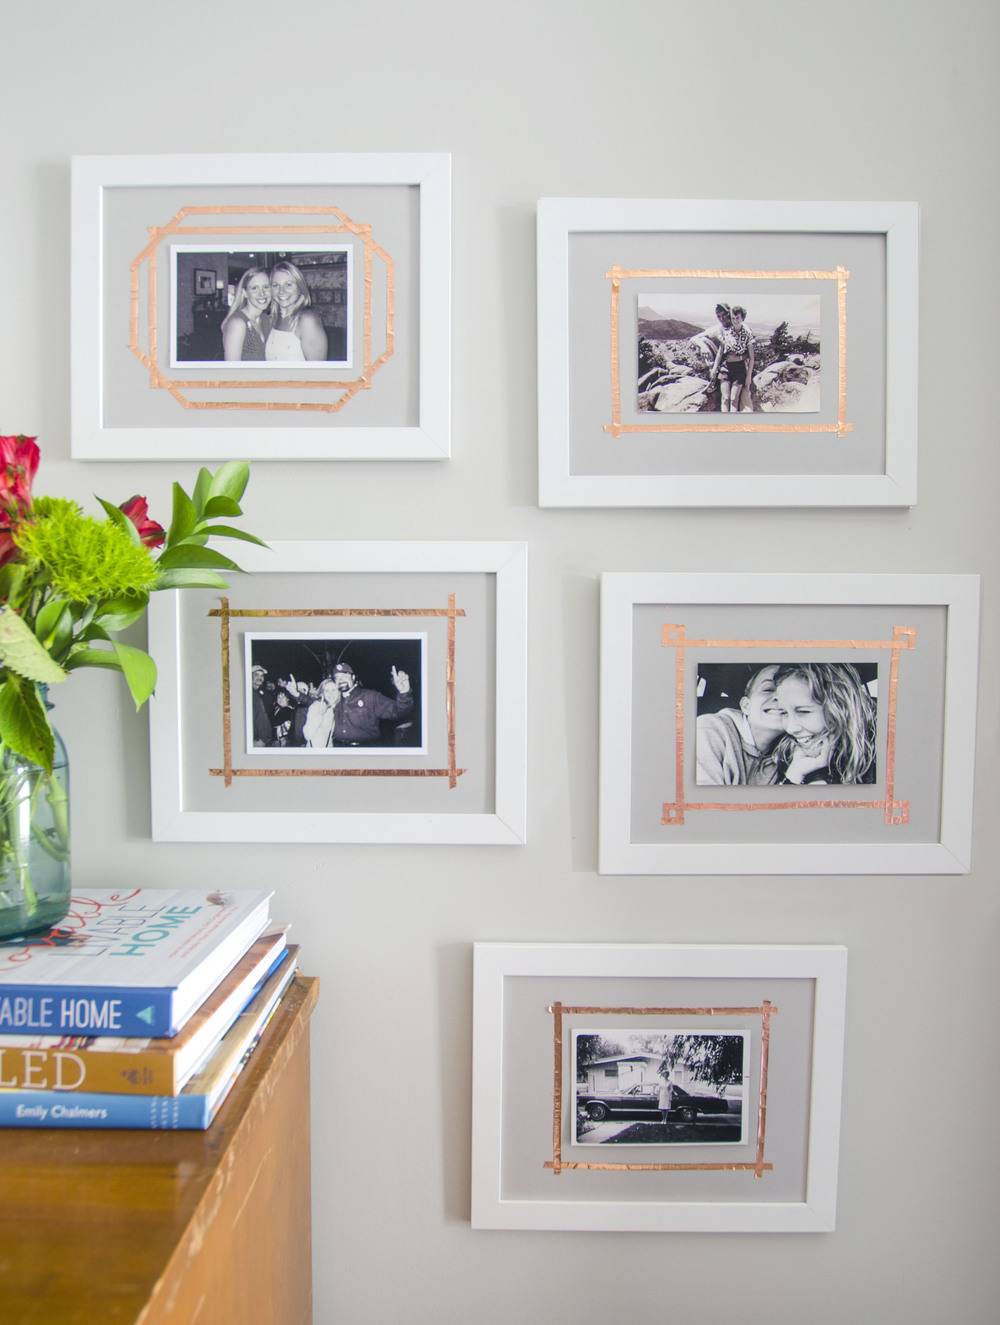
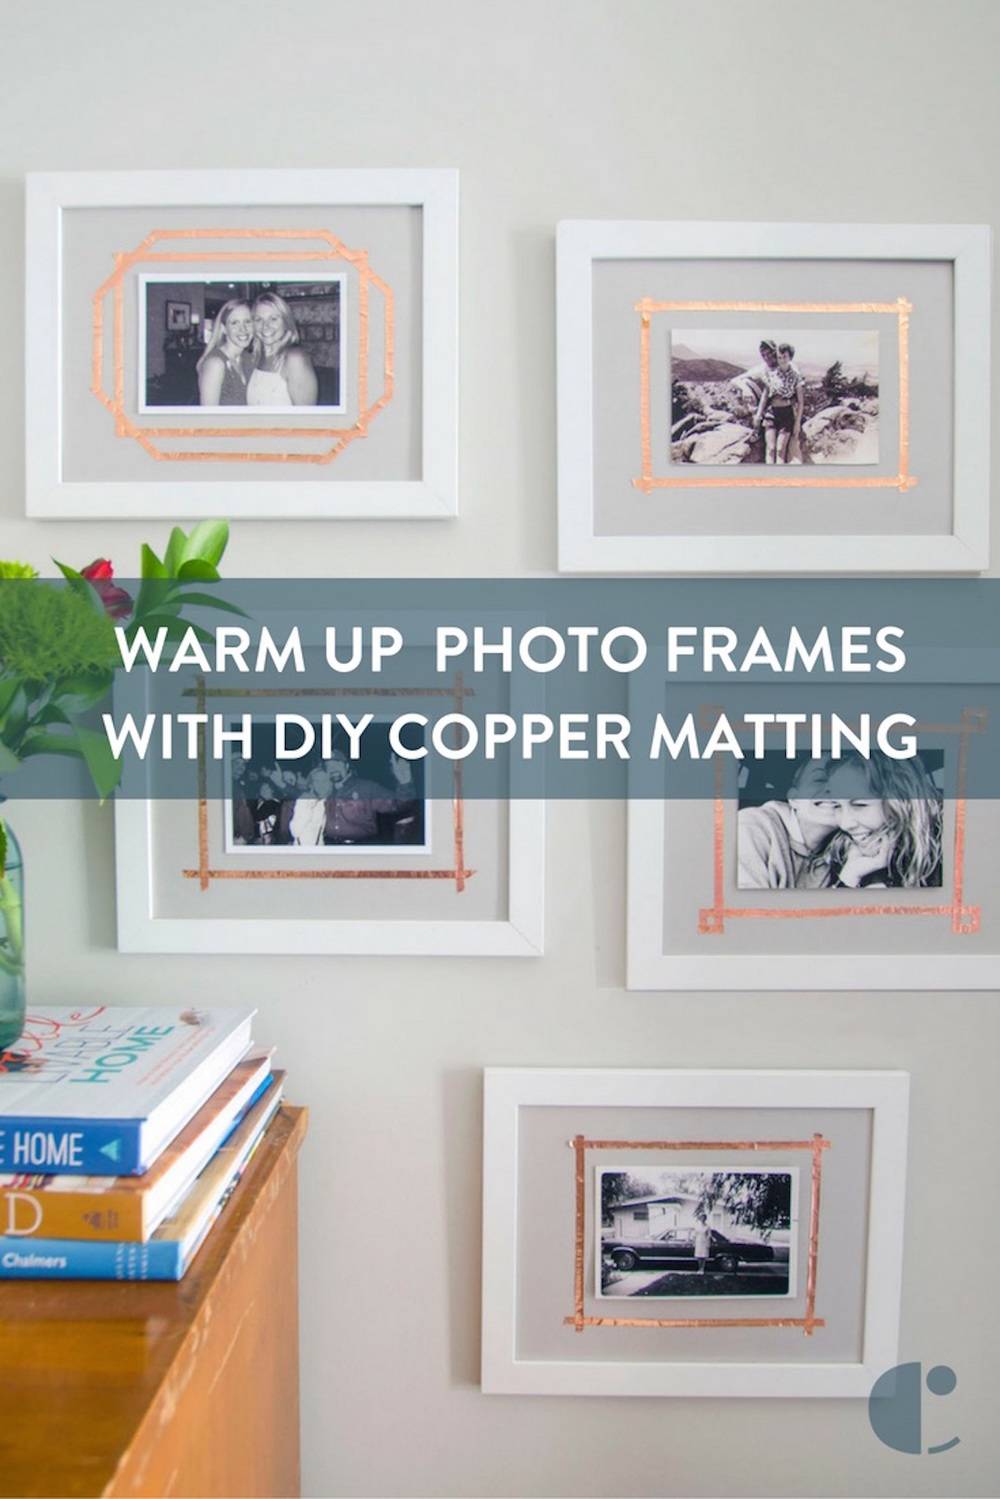
Everyone has inexpensive frames lying around their house. Here’s how you can take a pretty plain frame, and warm it up with a DIY copper mat. The DIY skill level required is low. If you can purchase copper foil tape and know how to “peel-n-stick”…you got this DIY — no problem.
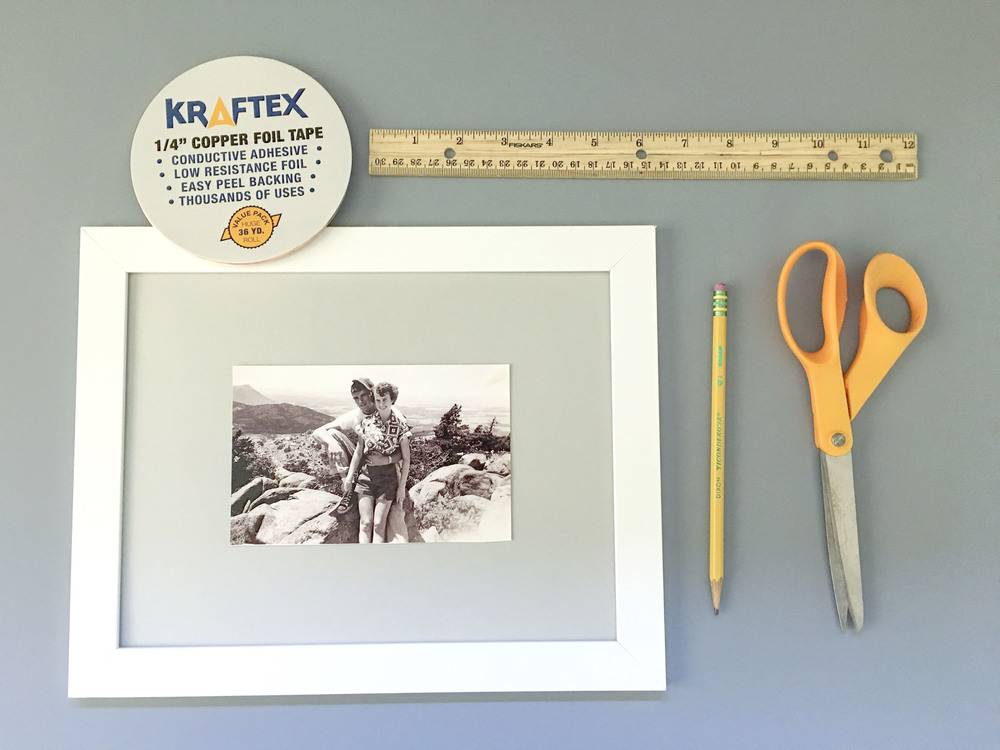
Materials
In my first home I bought 20 IKEA FISBO frames, matted them with gray cardstock, and framed some family pictures for a gallery wall. When we moved, they were packed away and they’ve been boxed up ever since. We are renovating our current home, but as rooms become finished I slowly start to hang art and photos on the wall. I love the simplicity of the FISBO frames, but I thought they just needed a little somethin’ else. Why not add a copper mat? Here’s what you need…
- Matted frame: Any frame will do. Like I said, mine are from IKEA.
- Copper Foil Tape – I got mine at Amazon
- Scissors
- Ruler
- Pencil

I probably used about 5ft of copper foil tape for this project. Needless to say, I have a ton left over. My frames were smaller so I chose the skinniest tape I can find. It does come in thicker sizes.
Step
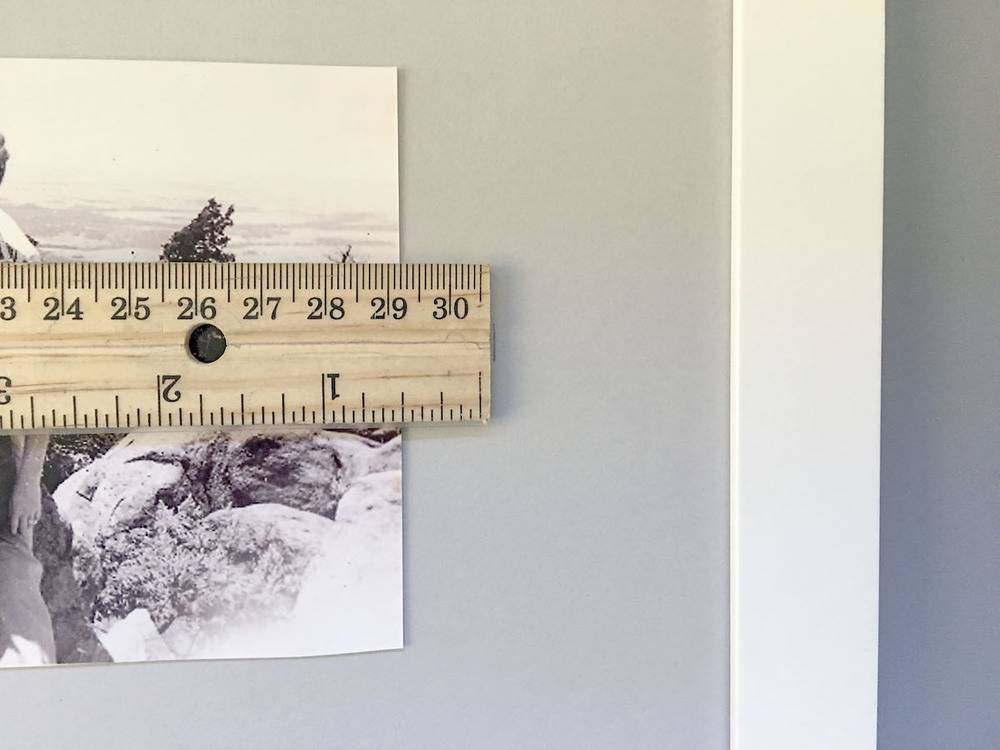
Place your photo on or in the photo mat. Next, measure and mark (lightly) the distance around your photo where you want the border. I wanted my border to be 1/2 inch from the edge of each photo.
Step
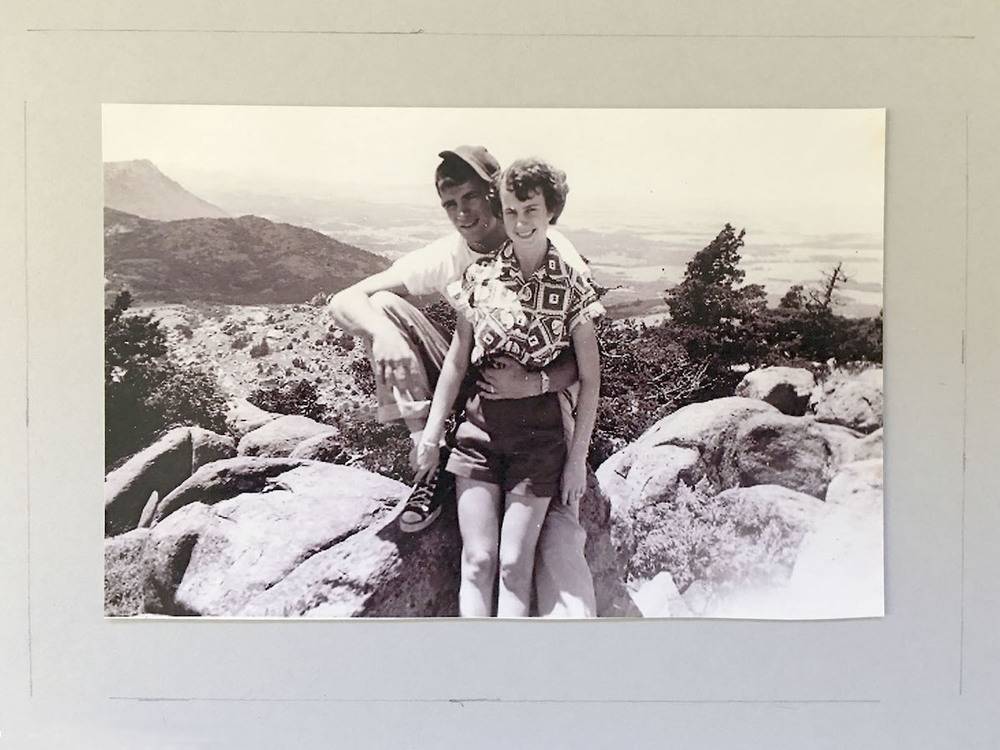
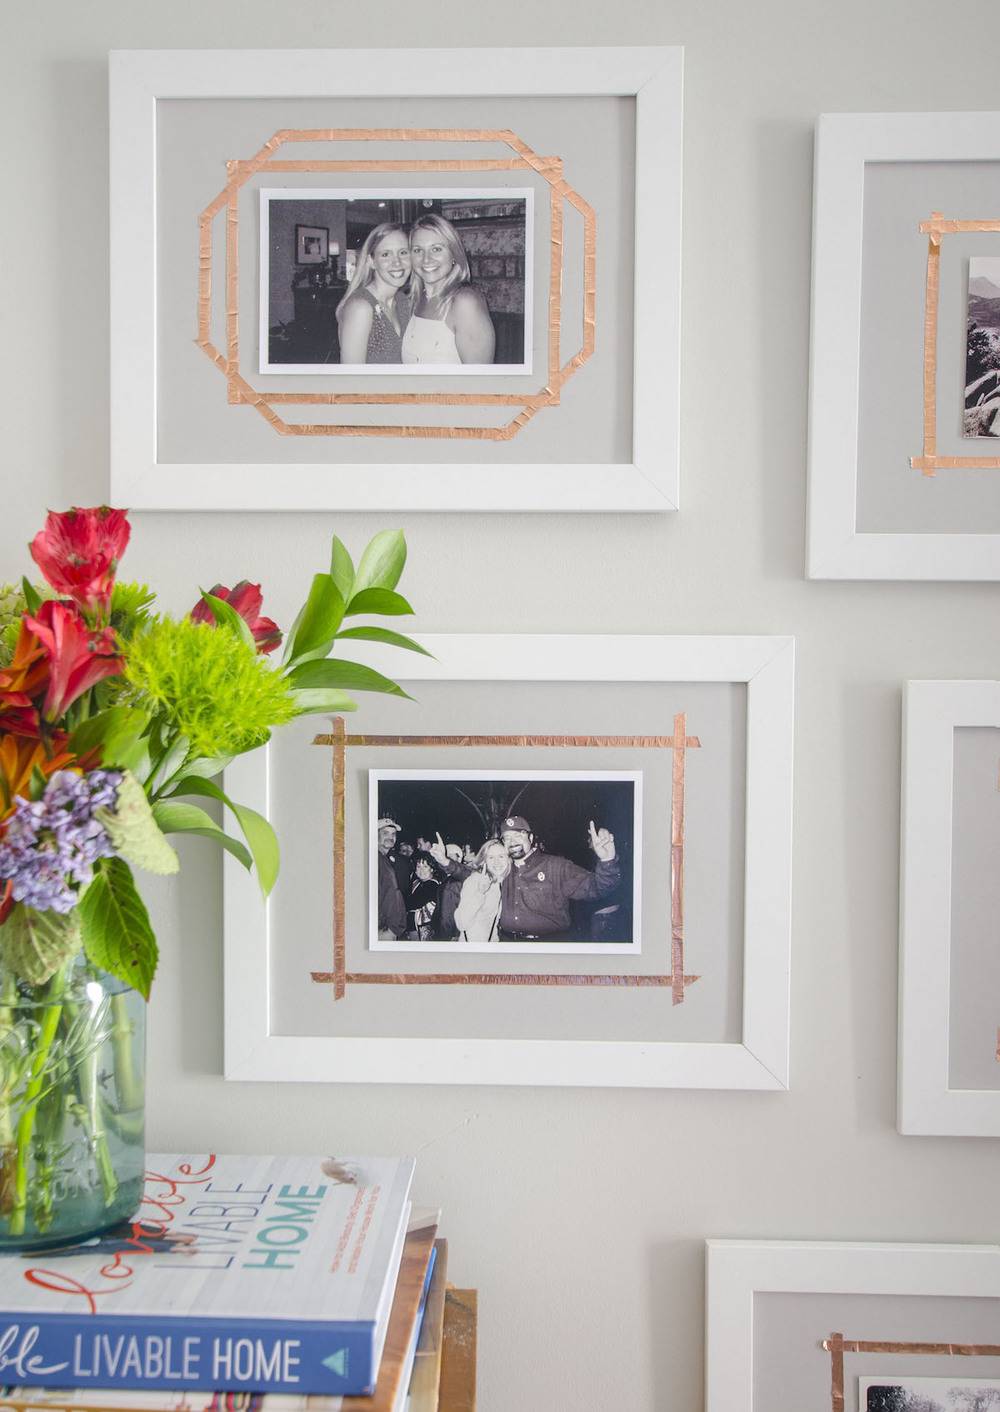
Draw a light border around your photo with the ruler. Even when doing a fancier border, I always draw the rectangular border first. Once you have it set, it’s easy to add diagonal lines or squares at the corners for a fancier border. By the way, aren’t my grandparents adorable in their 20s?
Step
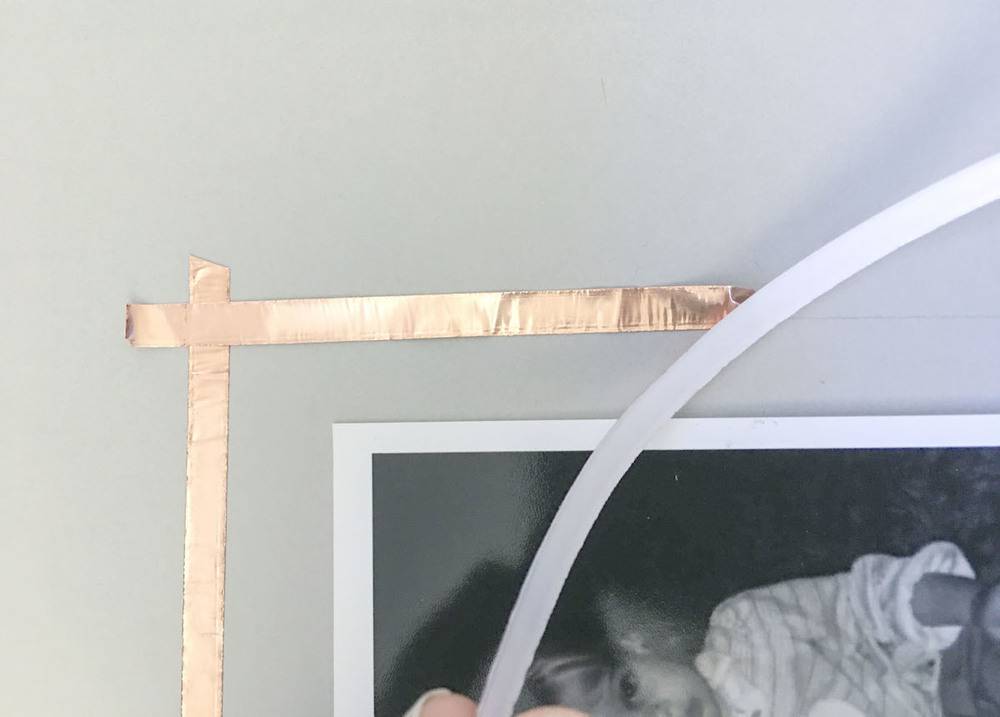
Peel the copper tape and stick it along the lines you have drawn. Copper foil tape is not like washi tape, it is more like foil. It will crinkle up a little but don’t worry about it because it gives it a little character. I wanted this look, but if you want a cleaner line then you could attach the foil tape to the photo mat without peeling the backing off. You would need to do this with a thin and even layer of glue, brushed on the back of the foil backing.
Step
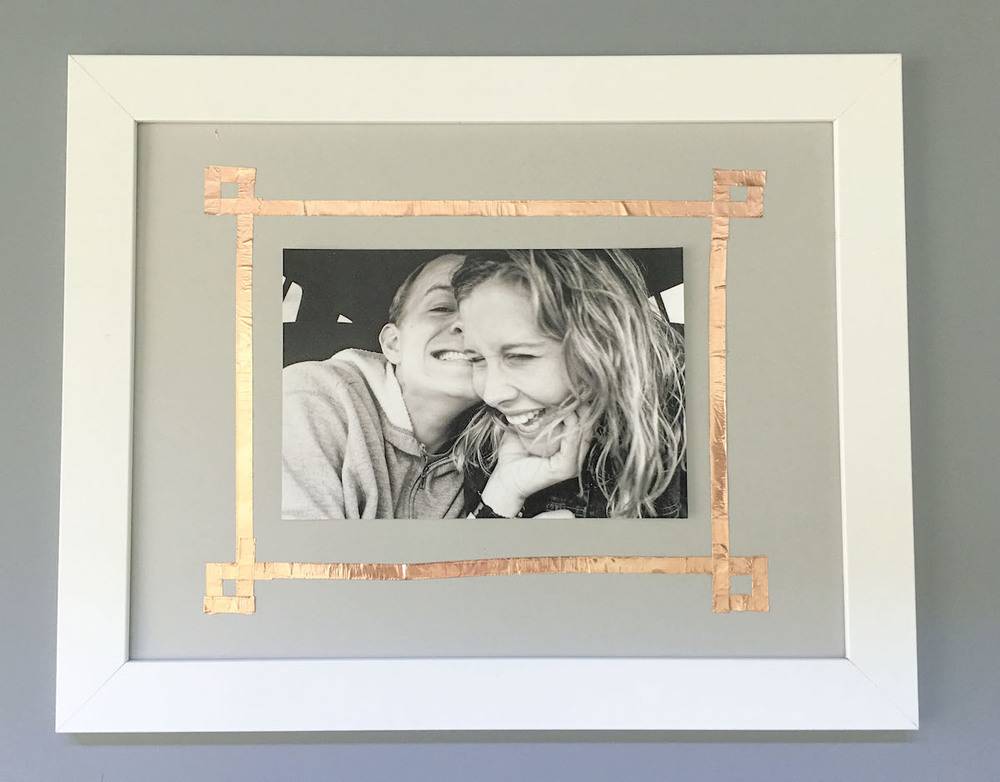
Frame your copper embellished photo mat.