
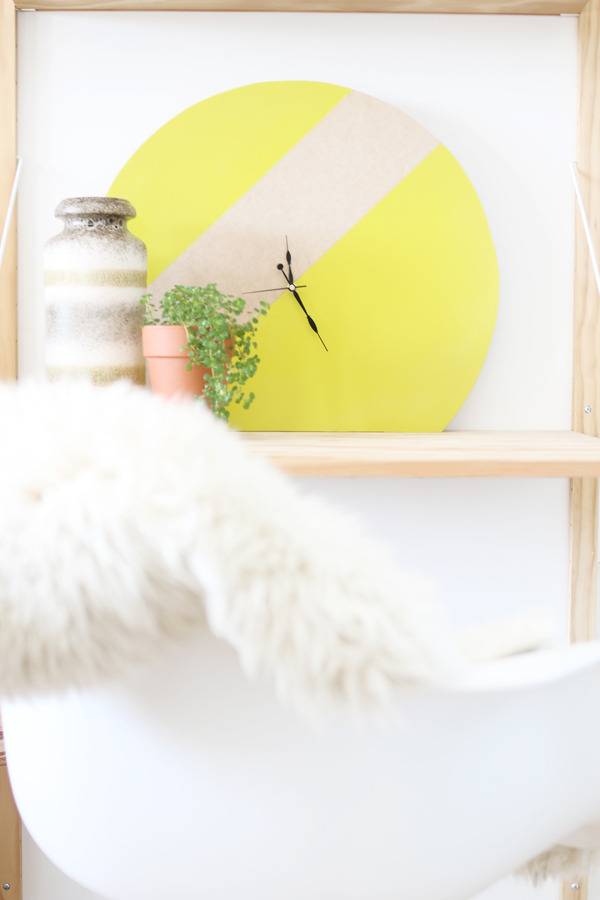
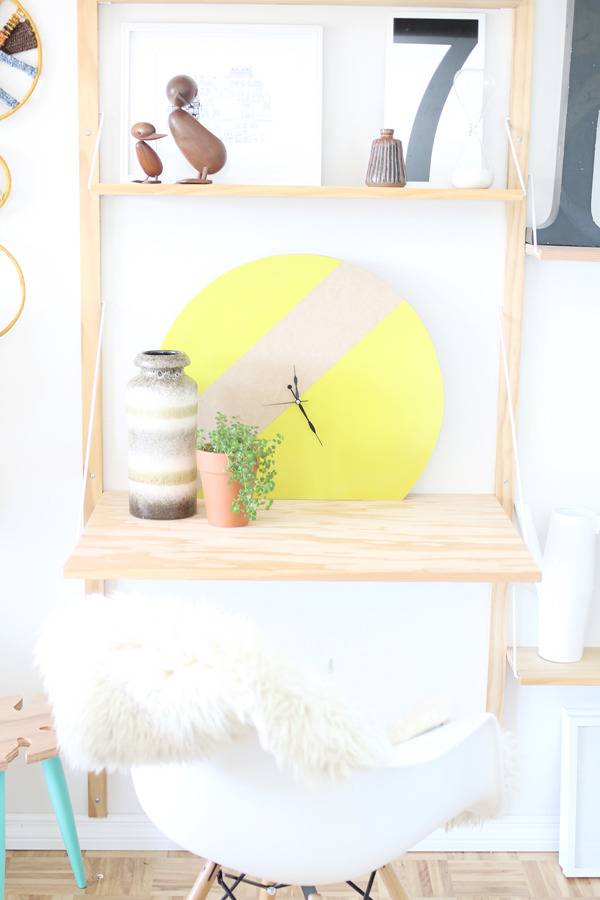
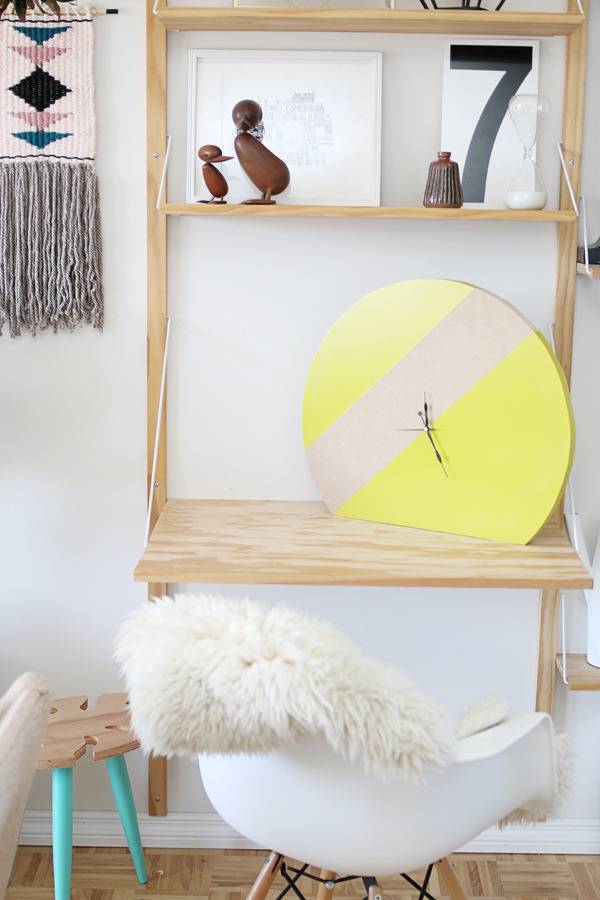
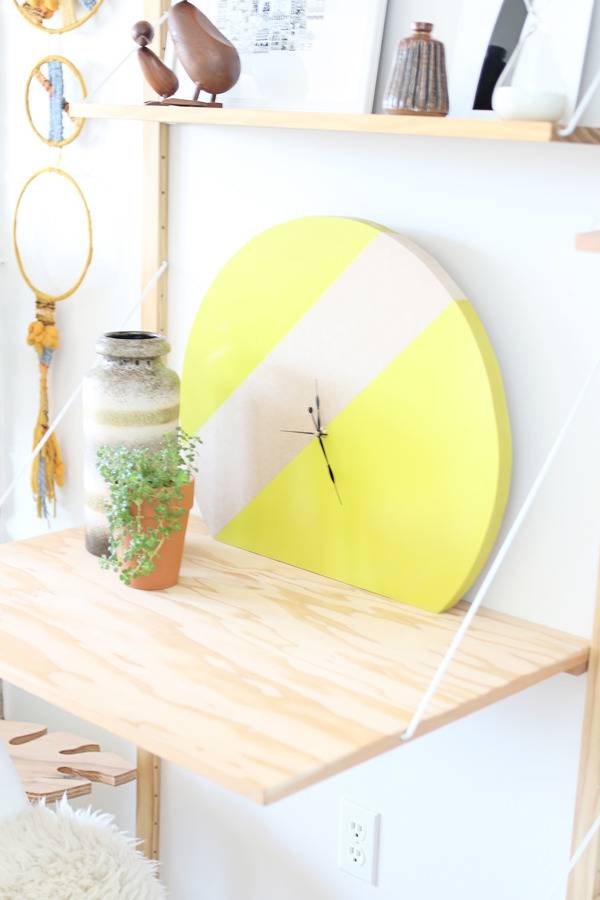
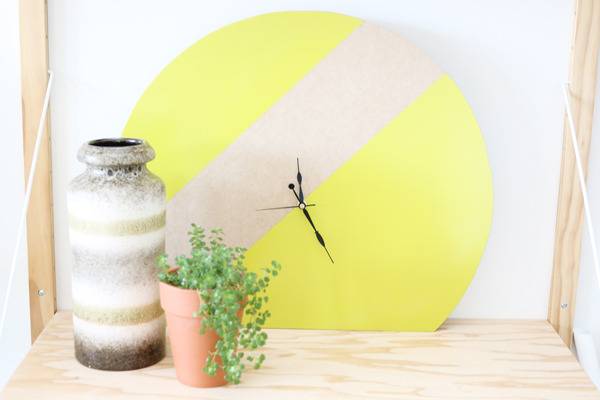
I love to add emphasis and a little drama to decor pieces that are otherwise mundane and a little boring. We all have clocks in our home, but I’m sure we buy them with functionality in mind, rather than style. I decided to create this Giant Modern Clock, because it not only serves a purpose (as clocks always do), but also it adds that great burst of color and a geometric touch to the space in a big and bold way!
Materials
- MDF board (or whatever you prefer)
- Ruler
- Compass (we made ours out of string and a nail)
- Pencil
- Jig saw
- Clock works
- Painters tape
- Spray paint

Instructions
1. Begin by measuring your MDF board to find the center. Make a line as a guide to split the board into two pieces.
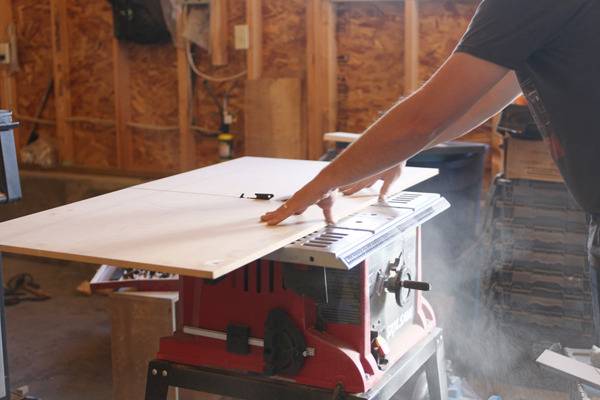
2. With your saw, cut the board in half.

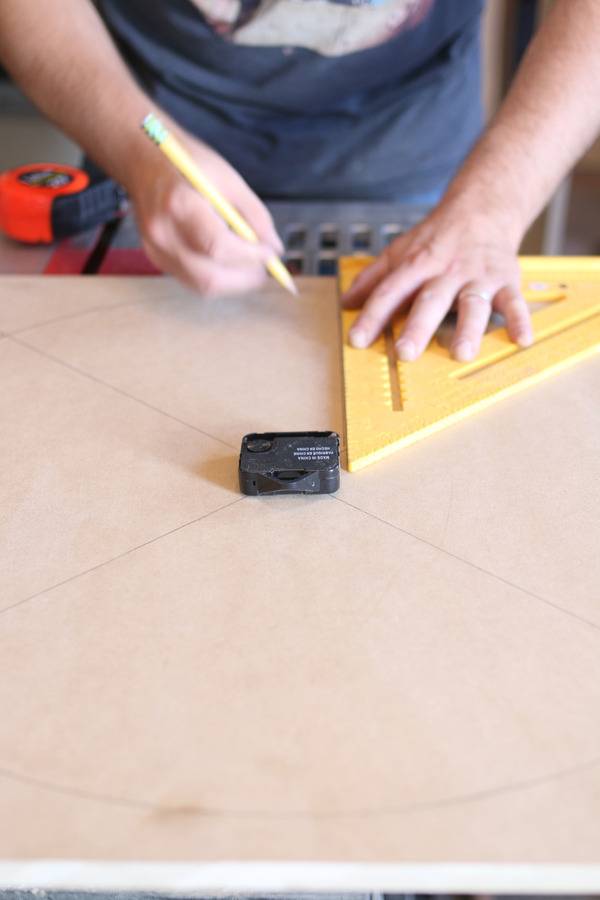
3. On one of the boards, measure corner to corner to create a giant “X” to find the center of the board.
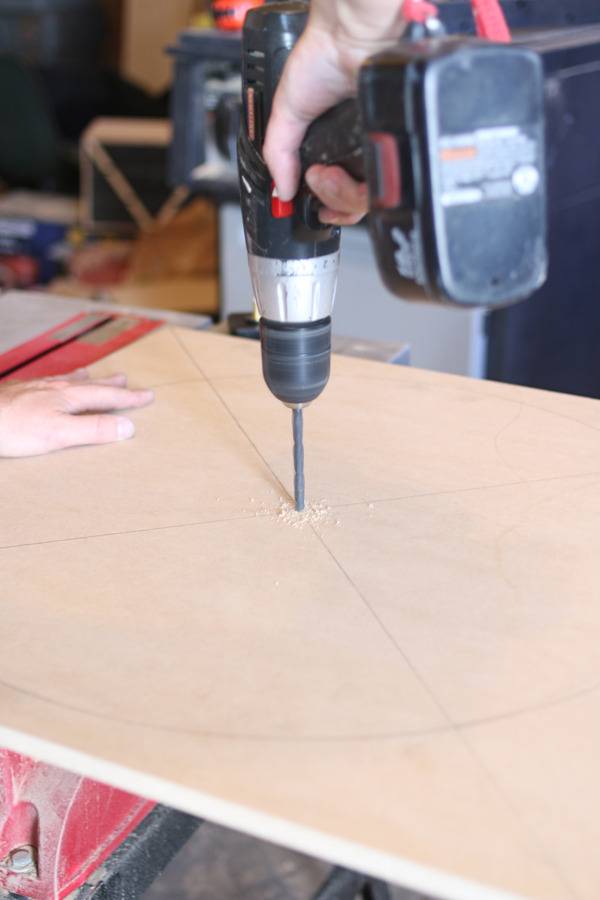
4. Drill a hole using a bit that is the same diameter as your clockworks in the center where the “X” meets (this is where your clock works will go).
5. Place your clockworks in the hole to make sure it fits. You will also need to measure the width of the clockworks and create a rectangular shaper towards the outside of your MDF board (you will cut this out so that the clockworks can sit flush to the back of the board and not stick out awkwardly on the back). Optional: If you have a router, you won’t have to remove as much material off the back of the board.
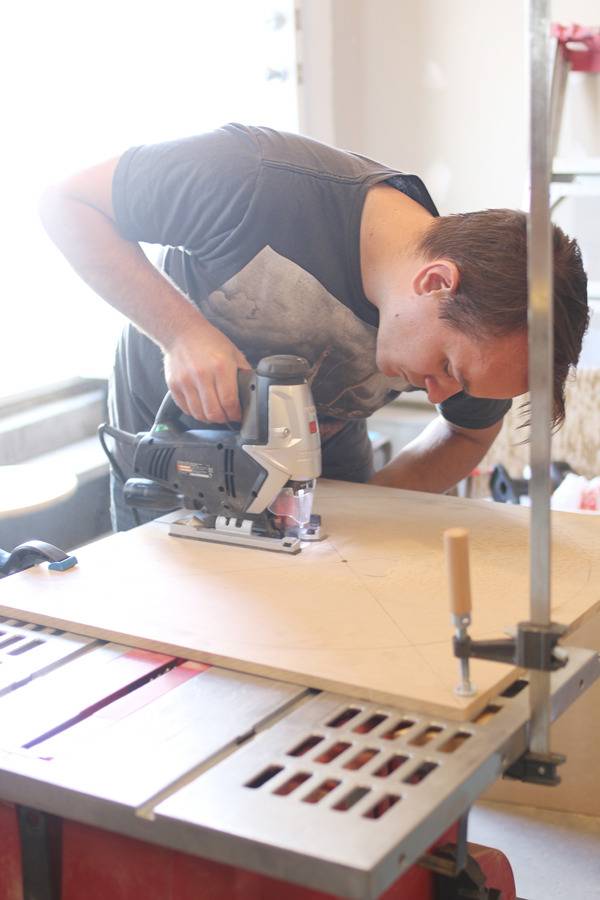
6. Using your jig saw, cut the rectangle out that you measured above.
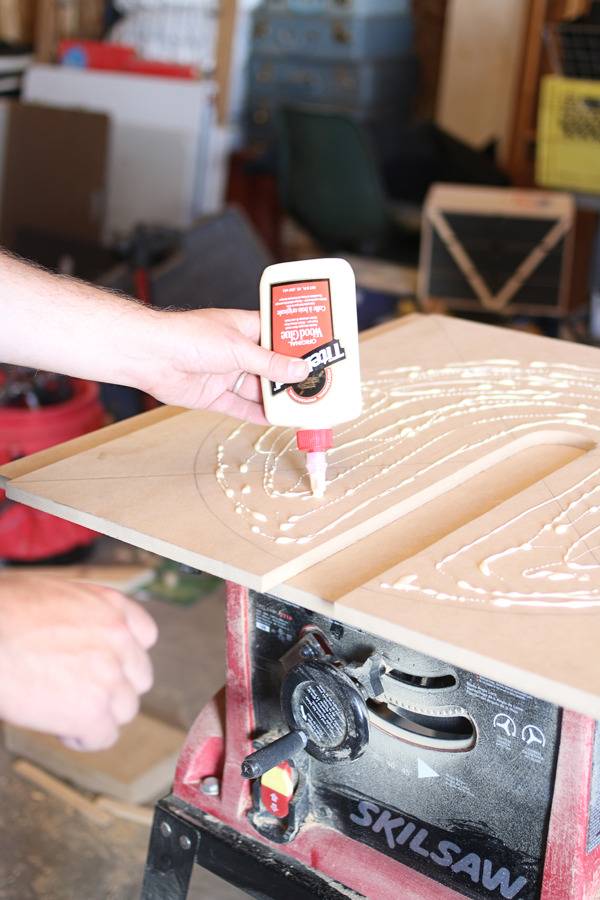
7. Glue your two MDF boards together. Clamp and allow wood to dry according to glue instructions.
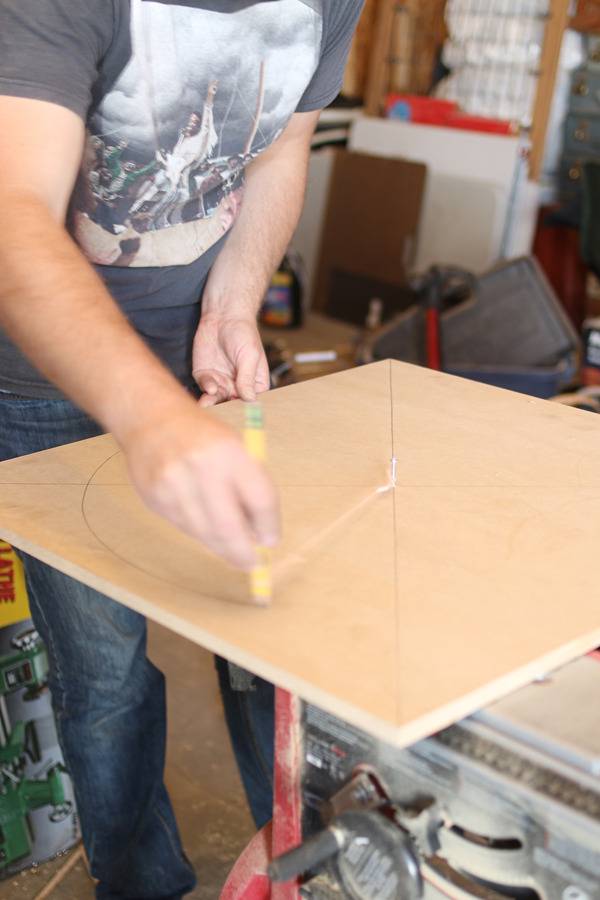
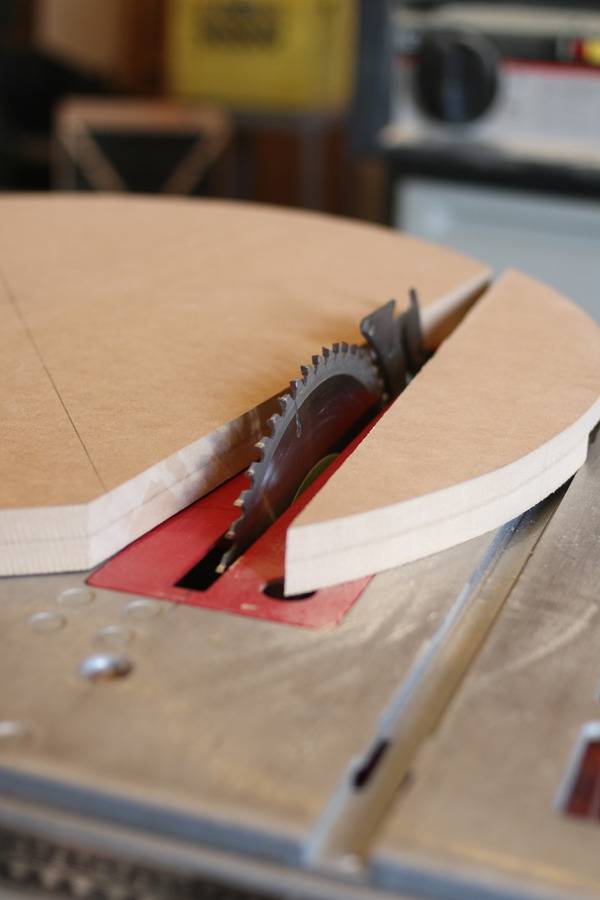
8. Once dry, use a compass to create a large circular shape as a guide for your clock outline.
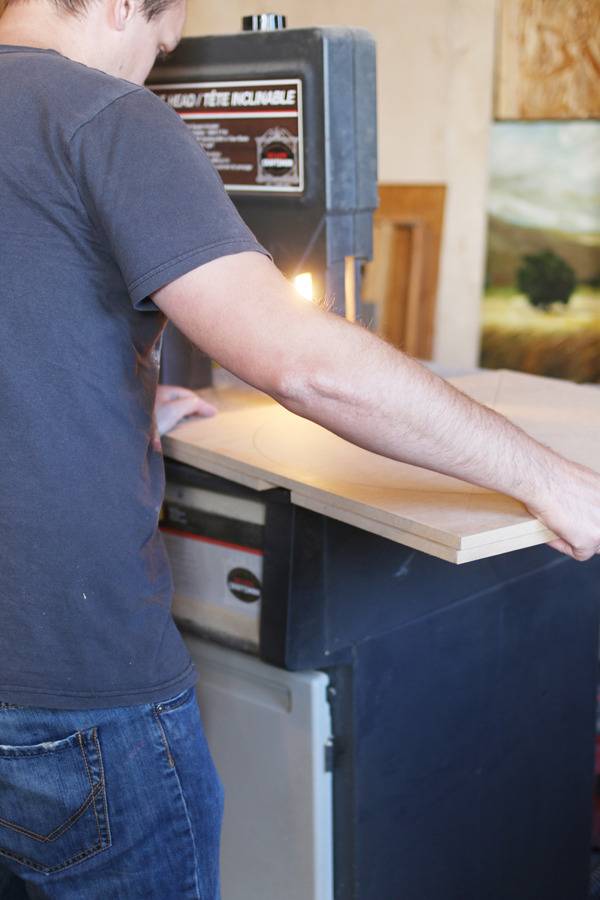
9. Using a jig saw (or band saw), cut out your circle. In order for your clock to sit flat on a table or surface, you will need to use a table saw to cut part of the circle off. This will give you a flat bottom for standing.
10. Sand and wipe clean.
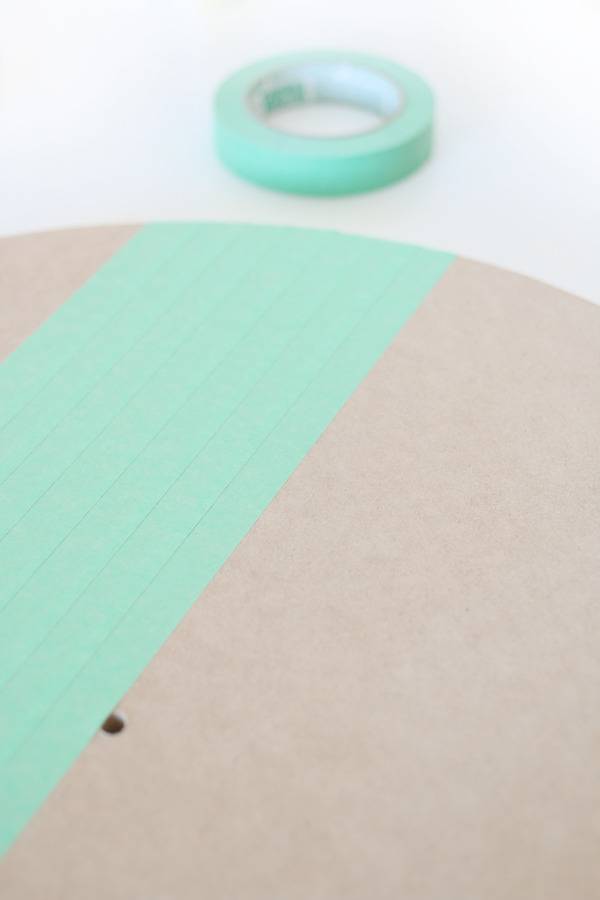
11. Tape your design using your painters tape.
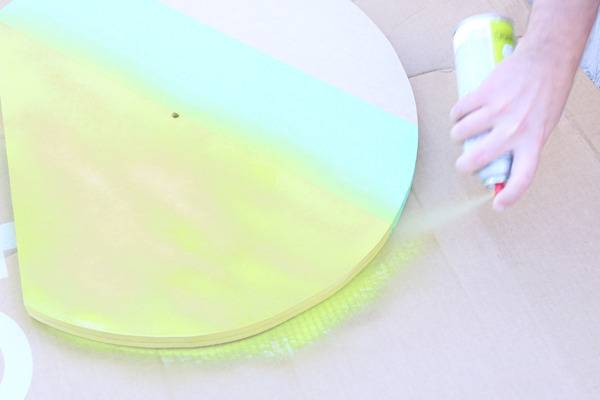
12. Spray paint your clock any color until you have full coverage. Allow for each layer to dry completely in between coats.
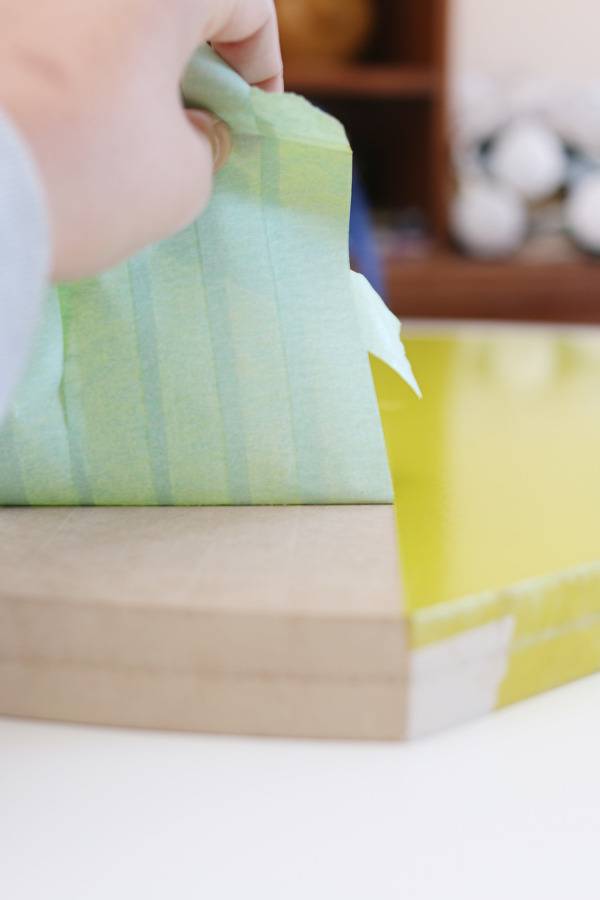
13. When the paint has completely dried, slowly remove tape.

14. Place clock works into your clock according to directions.
15. Display and enjoy!
It’s just the right “in your face” clock for making a statement and for telling time – yay! I love this bright shade of green in the space. It’s fun to take risks with color on projects like this. It’s not permanent and you can always move the clock into another area of the home if you find it clashes with other pieces in the room. I think it really serves as a focal point and as a unique piece of art in it’s own way as well!
This looks neat! But could you tell me why you need to use the 2 layers of plywood? Wouldn’t one be enough?
Thanks a lot for sharing