We’re excited to welcome Sibylle Roessler from Funkytime on the blog today! She’s sharing a tutorial and free download for making your own stuffed elf Christmas ornaments.
Sibylle Roessler

These Elf Christmas ornaments will add a little bit of magic and color to any Christmas Tree this year. They are so easy to make, even adults can do them, but only with kids supervision of course! They’re a perfect little project for a snowy Sunday afternoon.
 Sibylle Roessler
Materials:
- Elf Template — download it here
- fabric
- ribbon
- scissors
- sewing machine
- stuffing/filler
Instructions:
1. Print the template on fabric. (Check for local shops that will do this, use Spoonflower, or use your own inkjet printer and follow this tutorial from MAKE.)
 Sibylle Roessler
2. Cut out each elf. You will have a front and a back print. Lay both prints on top of each other with the printed sides facing each other. Cut some ribbon to use as hanger, make a loop, and lay it in between those fabric layers with the ribbon aligned as pictured.
 Sibylle Roessler
 Sibylle Roessler
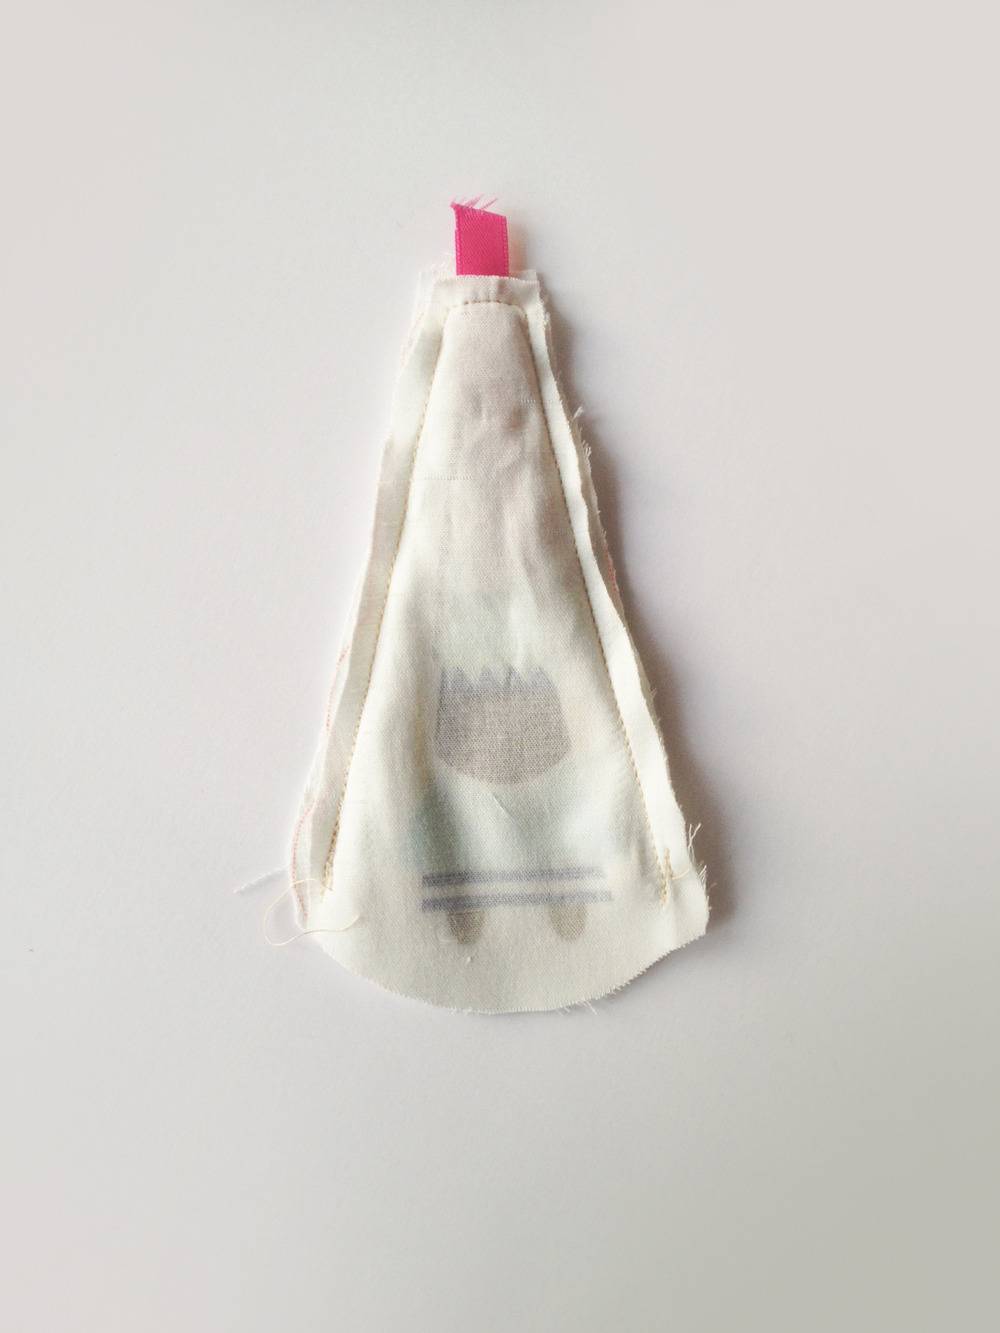
3. Sew the two sides together, leaving about a 2 inch opening for the filler (cotton balls or pillow stuffing, etc). Turn the elf inside out by pulling the loop.
 Sibylle Roessler
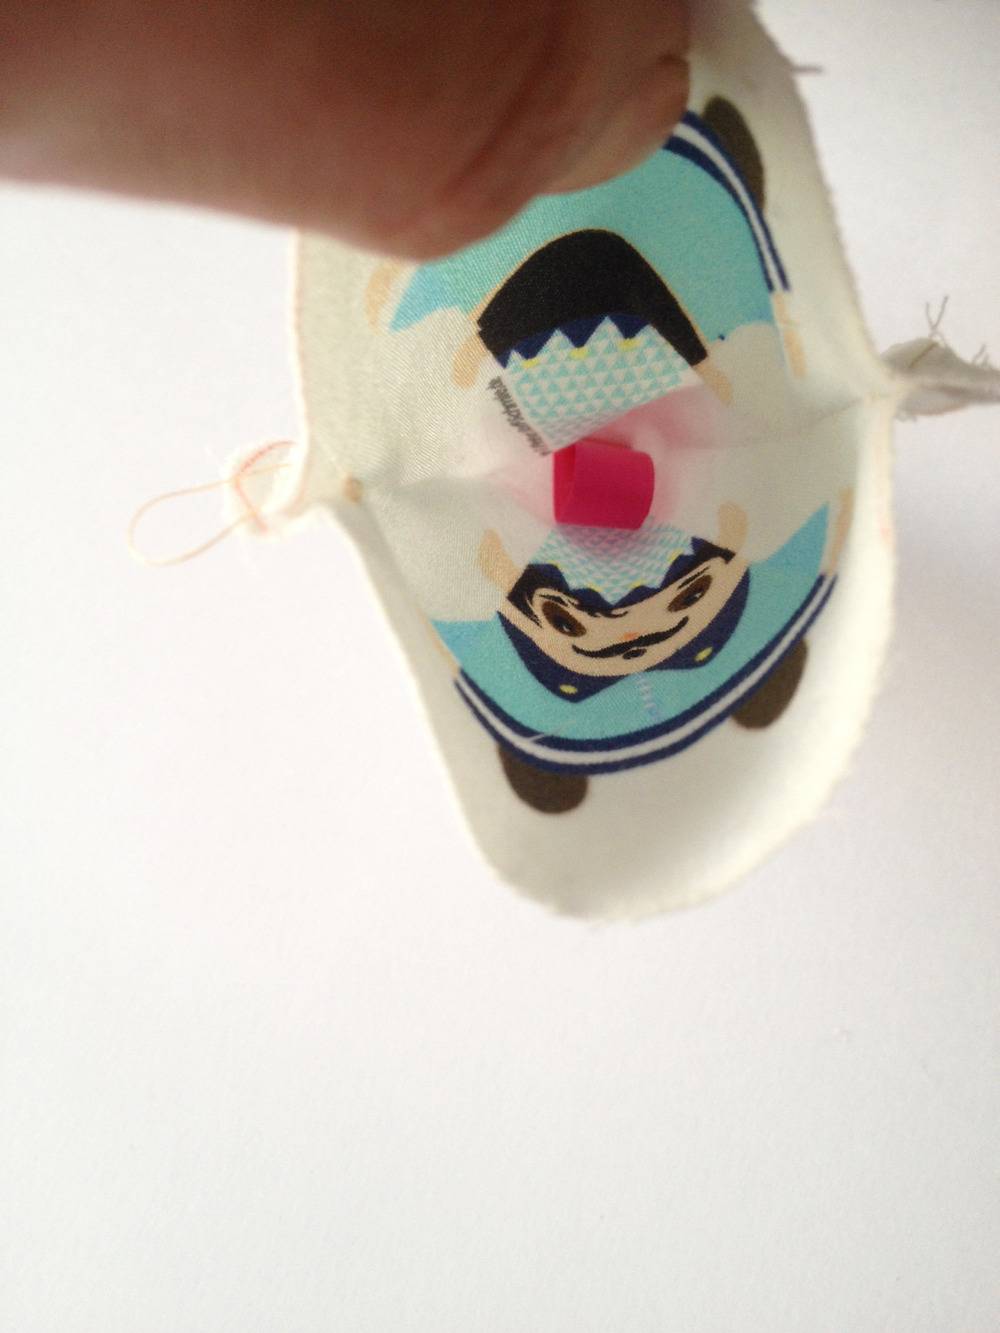
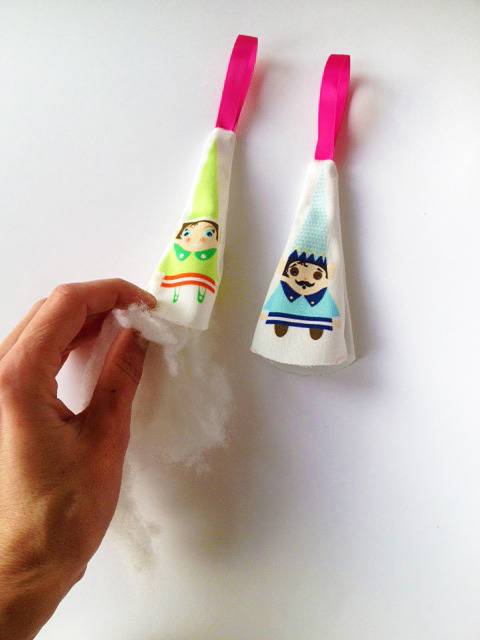
4. Stuff the elf, making sure not to over-stuff as it will be very hard to sew closed after!
 Sibylle Roessler
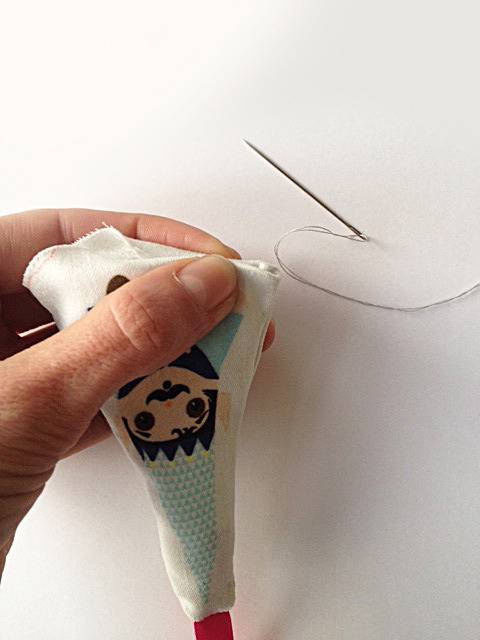
5. Now for the tricky part: sewing the last two inches. For this, we’ll use a blind stitch. Grab your elf and make sure the seam allowance at the opening is folded over and pressed. You will use the creases of these folds to guide you as you sew. Push your needle up and through one of the folded seams, from back to front, and pull the thread completely through. Across from the point at which your thread emerges at your starting point, push the needle down and then back up through the opposite seam crease to create a stitch that is about 1/4 inch.
 Sibylle Roessler
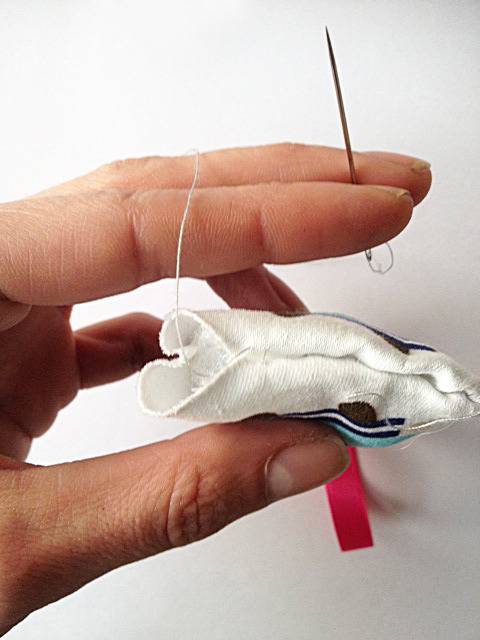
6. Repeat step 5 until you reach the end of the opening. You will notice that the stitches you made are concealed within the seam crease. At the end, pull the thread to tighten the stitches and form a knot. And that’s it!
 Sibylle Roessler
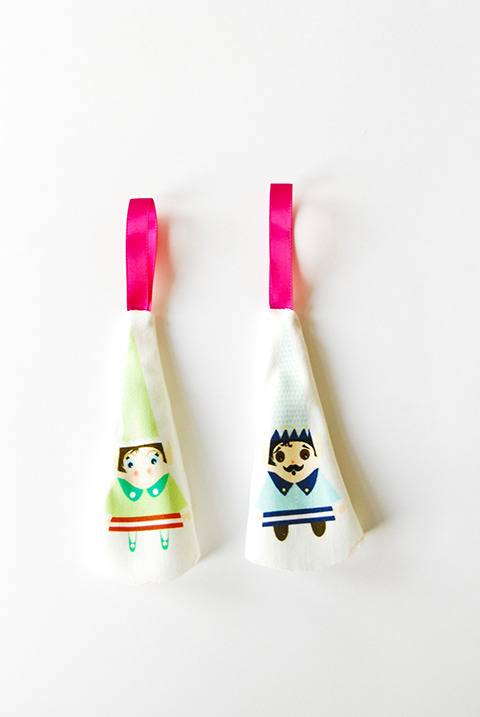
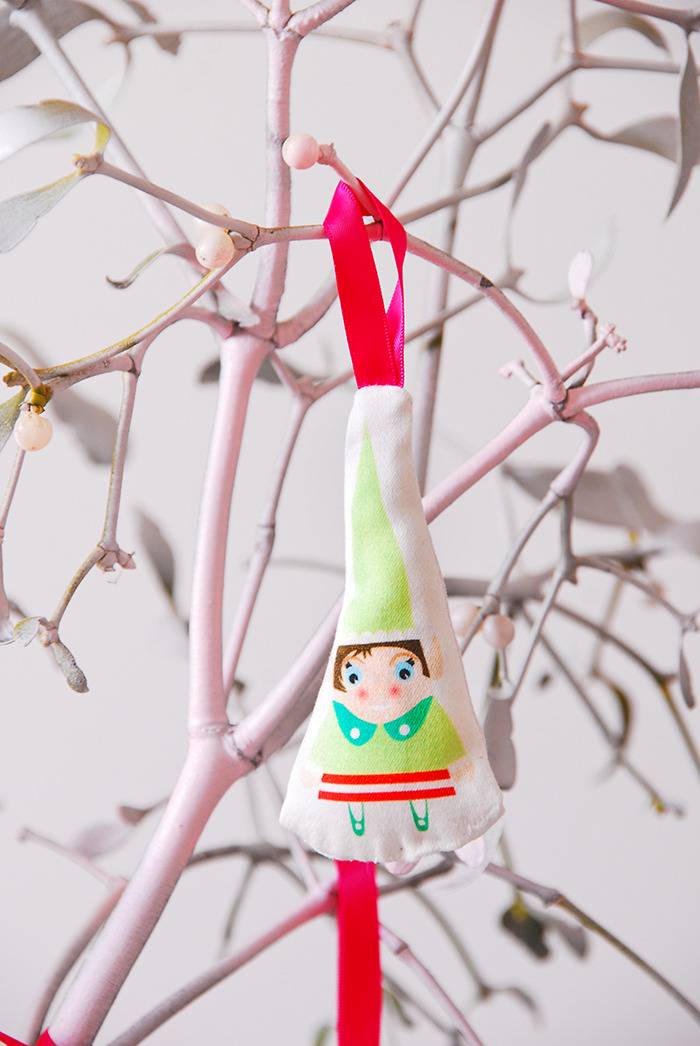
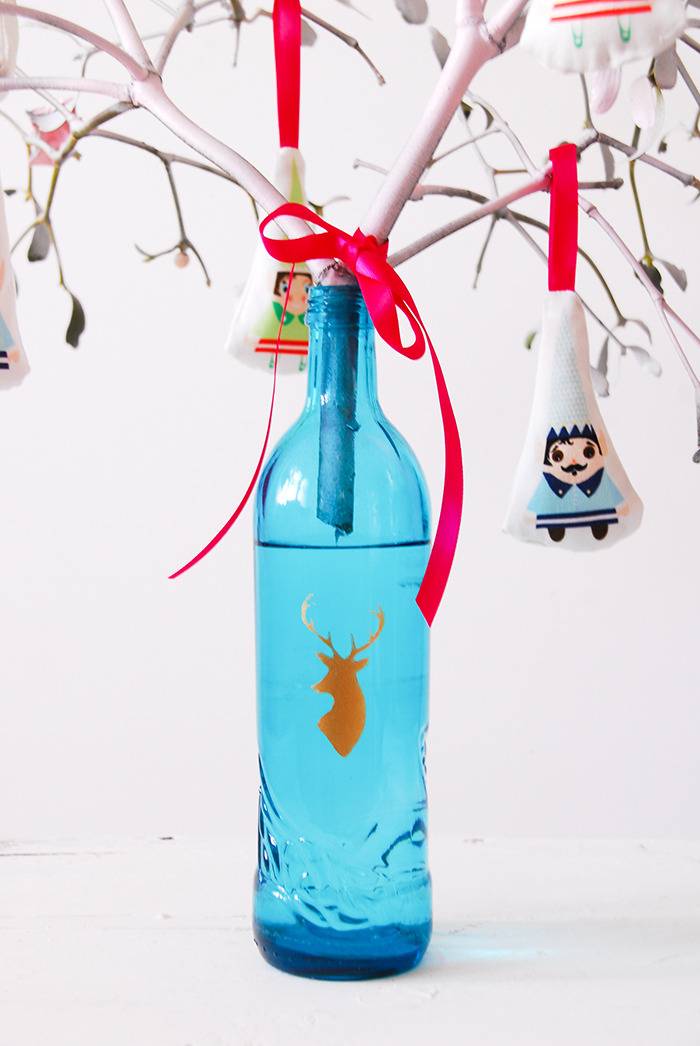
7. Hang your elf on some mistletoe or the Christmas tree, use him to embellish holiday presents, or surprise your neighbor and hang one on their doorknob — the possibilities are endless!
 Sibylle Roessler
 Sibylle Roessler
 Sibylle Roessler
BONUS: Don’t want to sew anything? Print this foldable 3D paper version instead!
Sibylle Roessler is a graphic designer/creative blogger/German girl. She designs her own furniture and writes a cool blog called Funkytime. Check out more of her tutorials and free printables right here!