
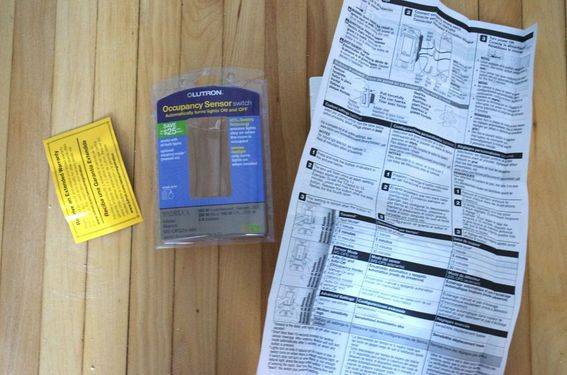
Installing an occupancy-sensor switch is a quick, easy job that can make a big difference. This week, I got a chance to try out one of Lutron’s Maestro Occupancy Sensing switches in our bathroom. Read on to see how I installed it, and to find out how to enter to win five Maestro switches for your home (a $100 value!).
First off, do you know what an occupancy sensing switch does? How about a vacancy-sensor? Yeah, I guess I was a little confused at first, too. It’s pretty simple: an occupancy sensor turns the lights on when it detects motion in the room, and then turns them off when you leave (with a user-defined delay). With a vacancy sensor, you have to turn the lights on when you enter the room, but they’ll turn off automatically after you leave.
(Hey, don’t forget to scroll down to the giveaway info at the end!)
I thought an occupancy sensing switch would be perfect for our bathroom. We have two little ones (granted, one of them is still in diapers, so he doesn’t use the bathroom much yet), so there are plenty of middle-of-the-night bathroom trips in our family. I also liked the idea of the bathroom lights automatically turning off when the room was empty (no, four-year-olds don’t really understand the idea of energy-savings, and unfortunately my daughter is often the answer to the age-old question, “Who left the lights on?”).
Actually, Lutron has done some surveying on that very question, and come up with a handy infographic:

The other cool thing about the Maestro switch is that it has an ambient light detection feature, so you can configure it to not turn (automatically) on if there’s plenty of daylight in the room.
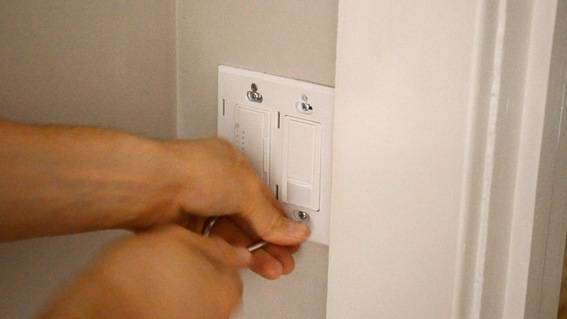
Here’s a video of my install process. The whole thing took about fifteen minutes (plus 45 minutes of me figuring out how to position the camera so I didn’t block the view!)
I started by turning off the power to the bathroom and the breaker box. Guess what? THIS STEP IS REALLY IMPORTANT.
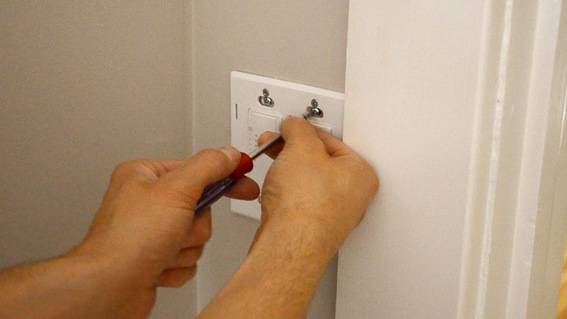
Once the power was off (and I tested the bathroom outlets using a handy voltage tester that cost all of $3.49), I took off the switchplate cover and removed the old switch (which was also a Lutron Maestro, but not the occupancy sensor kind!).
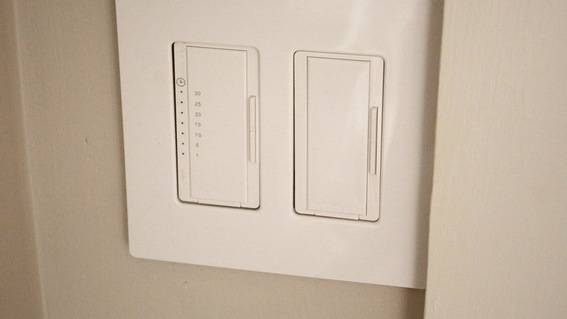
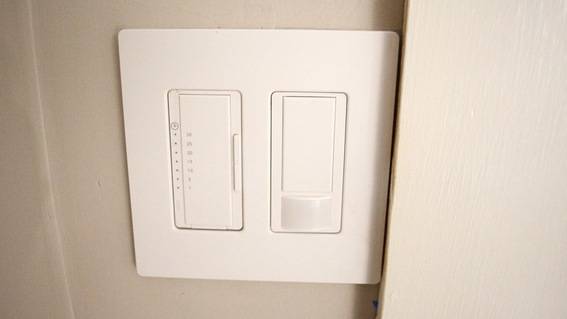
(If you’re wondering, that switch on the left is a Lutron Timer switch for the bath fan. It turns off automatically after a certain amount of time.)
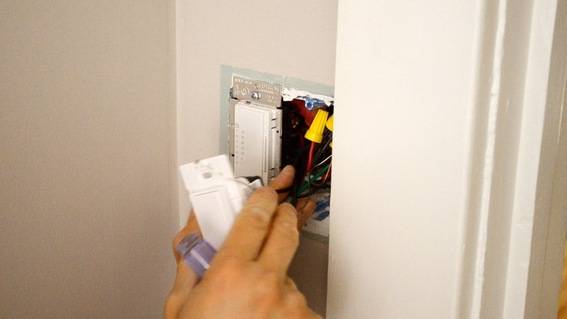
Then I carefully glanced, ahem, I mean, read, the instructions that came with the new switch, and installed it as directed. Fortunately, this was a very easy, single-pole install.
That’s it. Pretty simple. Now I can spend the rest of the day walking in and out of the bathroom like a crazy person or a poor maladapted animal at the zoo (see: Stereotypy (non-human)).
OK, ENOUGH WITH THE BLABBING, BRUNO, HOW DO I ENTER THE GIVEAWAY!
Hey, no need for yelling.
The prize is five Lutron Maestro Occupancy Sensing switches.
THIS GIVEAWAY IS NOW CLOSED!
P.S. – If you don’t want to wait to see if you win the contest, get 25% off Maestro occupancy/vacancy sensor dimmers and switches on LutronStore.com PLUS one free Claro single-gang wallplate($4.90 suggested list price) with each qualifying item. Just use the promo code: wholeftthelightson
Pick me. Thanks for the opportunity.
Thank you for this opportunity, a $500 home Depot gift card would be a wonderful Christmas gift as my fiance and I have recently started a complete home remodel! We would begin by purchasing closet organizer, our kitchen wood stain and sanding materials and backsplash. Merry Christmas and God bless!