
We are a bit strapped for closet space here in San Francisco –- the verdict is still out on if it’s because I have a shopping problem or the fact that our 1906 apartment has tiny closets! I had been on the hunt for a practical way to store excess blankets and pillows when I came up with the idea to make a fabric basket.
I decided to use pellon, a common material at fabric stores that adds cardboard-like stiffness to just about any fabric that can be ironed, giving you the freedom to match the design of the room! This is a fairly simple DIY that can be completed in under an hour.
Fabric Basket DIY

Tools and Materials:
- 1.5 Yards of Fabric
- 1.5 Yards of Pellon 71F Peltex (available in most craft/sewing supply stores)
- Iron
- Ironing Board
- Sewing Machine
- Size 16 Needle (denim needle)
- Pins
- Rotary Cutter
- Cutting Mat
- Ruler
- Pencil
Directions:
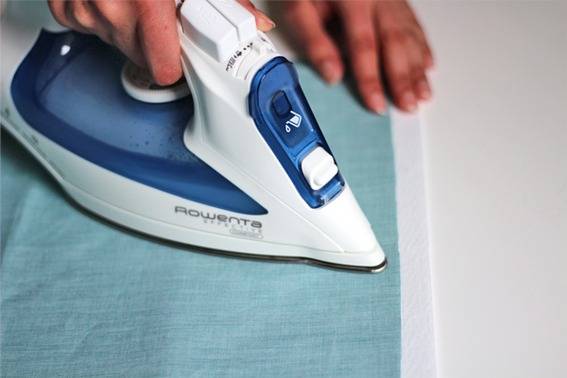
Step 1: Iron the fabric to the Pellon backing.
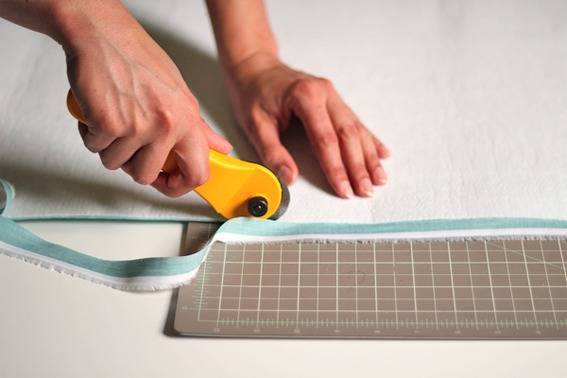
Step 2: Trim the excess fabric.
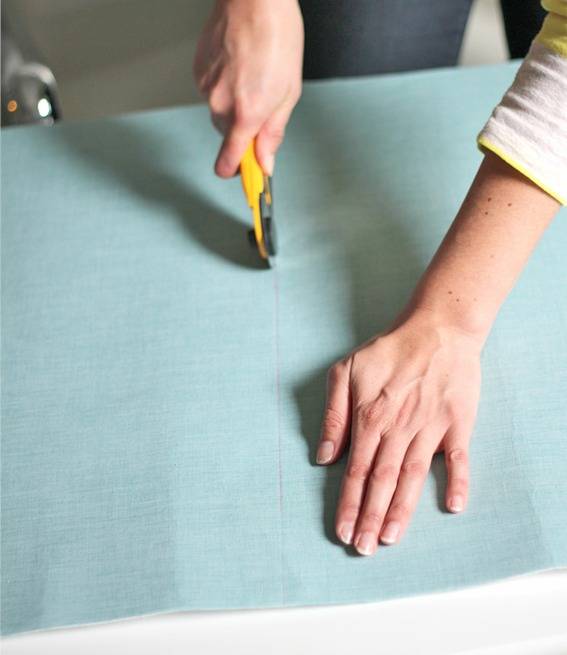
Step 3: Cut a 20 x 30 inch piece out of the fused fabric.
Step 4: Cut two 13×10 inch pieces out of the fused fabric.
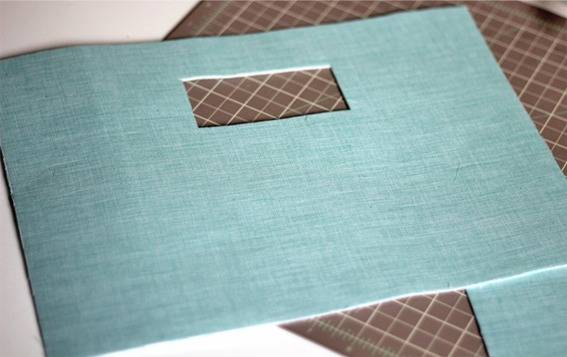
Step 5: Measure to the middle of the 13×10 inch piece and mark with a pencil on the inside facing piece. Measure 1 inch down and make another mark. Draw a 2×4 inch rectangle and cut out the handle. Repeat on the other 13×10 inch fabric piece.
Note: You will make the basket inside out and then fold right side out once it’s complete.
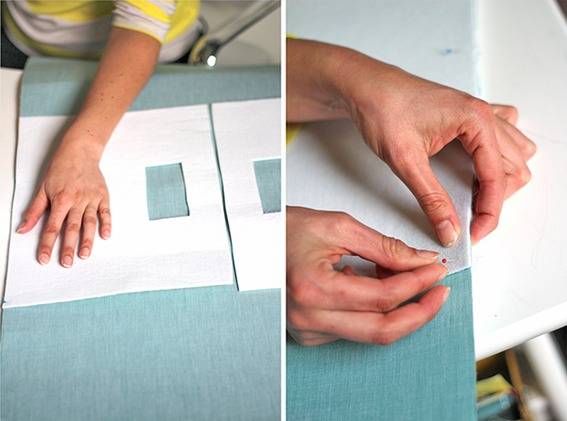
Step 6: With the fabric side down, pin the handle sides to the outside middle of the 20 x 30 inch piece. Sew in place and repeat on the other side.
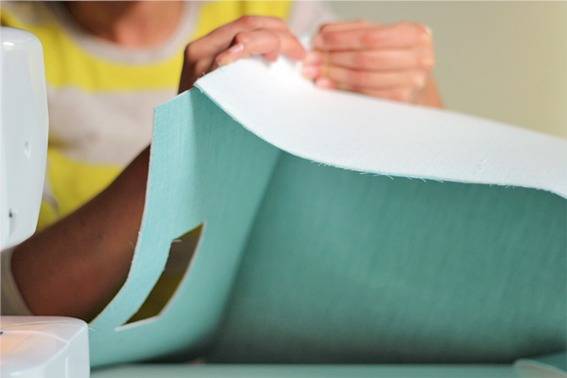
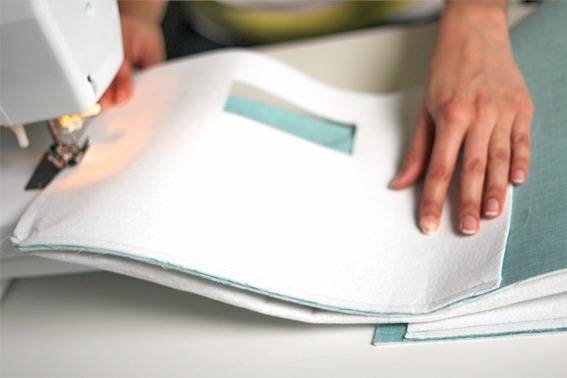
Step 7: Fold the side pieces up, pin in place and sew. (You may have to finagle the fabric a bit to get it to lay flat because there is some bulk to the material that helps it stand on its own.) Repeat for the remaining three sides.
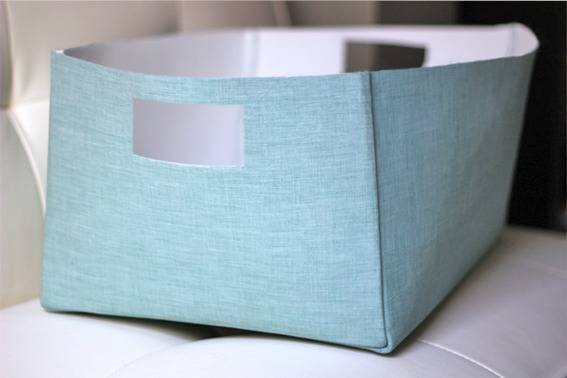
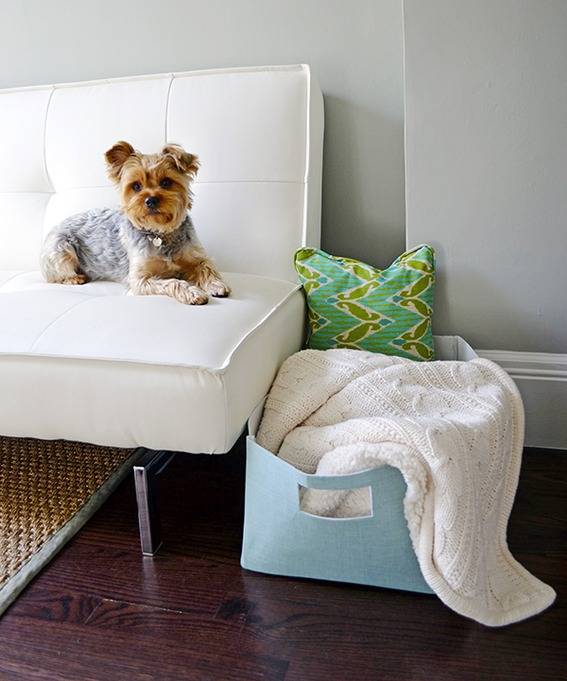
Step 8: Turn right-side-out and voila! You have yourself a one-of-a-kind fabric storage basket!
Stacy Wichelhaus is a wedding planner and wedding publicist for Hello Cupcake Public Relations. When not consumed by all things wedding, she can be found creating original DIY projects on her blog, Hello Cupcake.
[Images by Meredith Nguyen of Not Merely Living]