
Wall murals have come a long way since the 1970s. Back then they were basically flimsy sheets of wall paper applied with glue. Flash forward to the 20 double digits. Now we can find them made of heavy-duty vinyl with peel & stick repostionable backings like those from Murals Your Way.
First, let’s take care of a little business. Murals Your Way has a HUGE collection of murals from which to choose. They have countless pre-made images you can customize by adding names, pictures, business logos and such. They also offer us the capability of actually uploading our own photos to create totally custom murals. After you’ve selected (or created) your image, you can choose a material on which the image is printed. Pick from a fabric-backed vinyl, canvas or the peel & stick option. As far as sizes are concerned, they’re almost limitless too but do have a minimum of 4′ x 6′. Other than that stipulation, just request the dimensions you want–to cover part of a wall or the entire wall–and that’s the size you’ll get. With all these options, you can see why we were eager to get our hands on some of their products.
Now let’s get to the fun stuff, the 10 minute makeover! Murals Your Way sent over one 4′ x 6′ wall mural with the SmartStick® Peel & Stick back in the Orange Roses design in a hard cardboard box on a super-sturdy tube, pictured below.
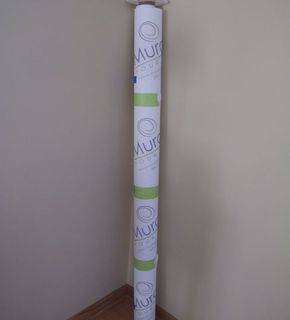
Because of its relatively small size, it came in one sheet. (Larger murals might come in 2 or even 3 sheets.) We followed the included instructions for installation, which was a breeze. We measured up from the baseboard 6′ and then, using a bubble level, penciled a line on the wall. We then peeled off a few inches of the mural’s backing and lined it up with the pencil line and pressed it to the wall. We continued peeling off the back as we lightly smoothed out the mural with the palms of our hands from the center to the edges to eliminate any air bubbles and wrinkles. (Honestly, it took me longer to write this paragraph than it did installing the mural.) Here’s what the blank wall above looked like after installation:
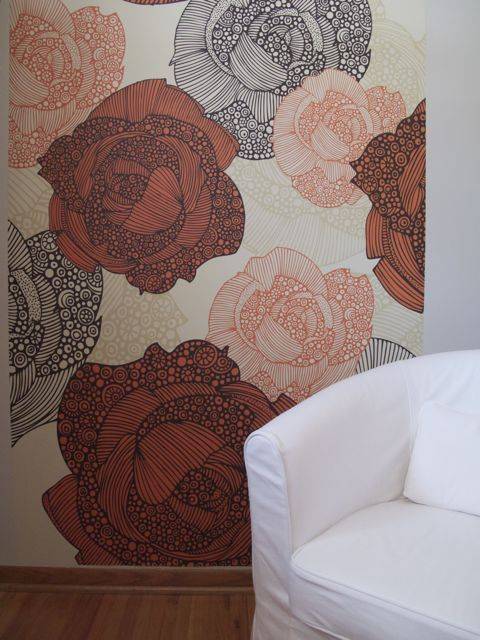
Of course, the mural is REPOSITIONABLE, so we needed to remove it to test that aspect as well. That took about a minute with absolutely no damage to our walls. We were even able to put the original backing back onto to the mural and then re-wind it onto its shipping tube. Perfect for moving to another location!
If this makes you want to go shopping at Murals Your Way, keep these few hints in mind. First, absolutely take advantage of their free samples (of the pre-made images) and request one before you order. Although the palette of the Orange Roses was fairly accurate on-line, it wasn’t exact. Also, when you get your sample keep in mind that the print is sized for the size of the sample. To illustrate, note the center sample in the top row of these Murals Your Way sent along:

It’s the Orange Roses print. The graphics are a fraction of the size of the blown up 4′ x 6′ mural that we installed. Absolutely follow the suggestion in the accompanying instructions and get a buddy to help you with the installation. It’s definitely a two-person job, not because it’s hard, but because it’s awkward. And, finally, the price. Of course the bigger the mural the bigger the price, but you can count on the peel & stick option to cost about $11 a square foot for a pre-made image and about $12 for an uploaded, custom image.
So, to summarize, we were very impressed with the quality and easy of installation of this sample from Murals Your Way. Throw in the whole peel & stick, repositionable angle and we’re going to give them two enthusiastic thumbs up.